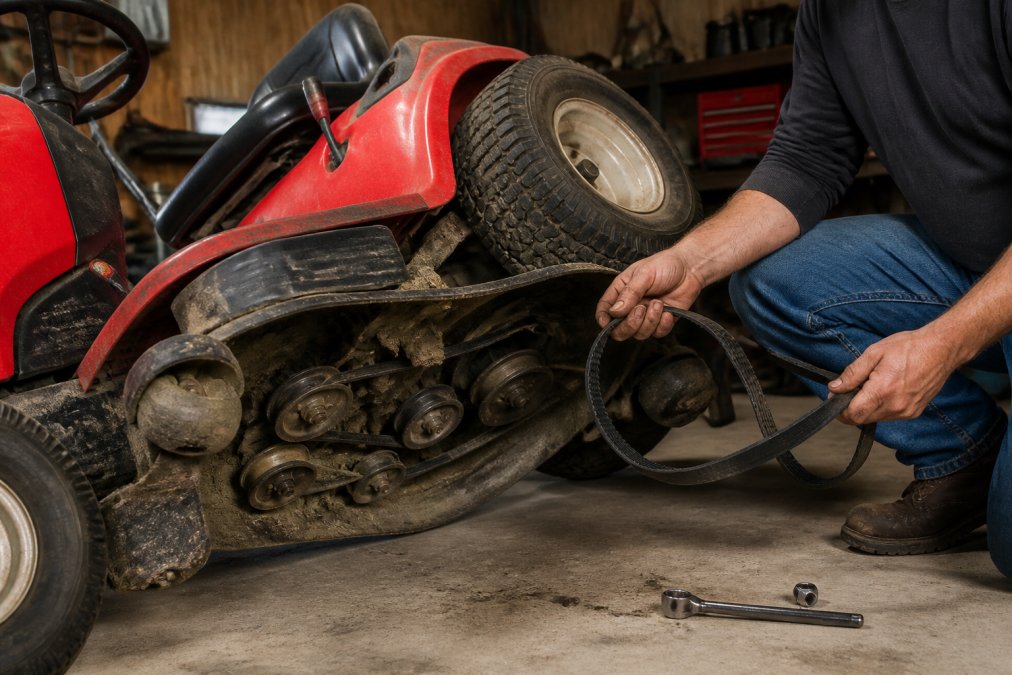
 how-to
How to Change Riding Mower Belt Step by Step
Table of Contents
- Signs of a Failing Mower Belt
- Safety Precautions and Preparation
- Riding Mower Belt Replacement Tools You'll Need
- How to Measure Lawn Mower Belt Size
- Step-by-Step Belt Replacement Process
- Belt Quality and Material Comparison
- Common Mistakes to Avoid
- Conclusion
- Frequently Asked Questions
Last Updated: September 18, 2026
Signs of a Failing Mower Belt
Catching a worn riding mower belt early saves money and prevents mid-season breakdowns.
Listen for squealing when starting or engaging the deck, this indicates belt slippage. You may also notice uneven cutting or blade slowdown in thick grass.
Look for visible cracks, fraying, or glazing (shiny, smooth appearance instead of textured). These signs indicate the belt needs replacement.
If the deck won't engage or disengages on its own, the belt tension is likely too loose and can't transfer power to the spindles.
Safety Precautions and Preparation
Never work on a running mower. Turn off the engine, remove the ignition key, and wait at least 10 minutes for cooling.
Disconnect the spark plug wire to prevent accidental starting. Wear safety glasses to protect your eyes from debris.
Place the mower on a flat surface, engage the parking brake, or use wooden blocks behind the rear wheels to prevent rolling.
Gather all tools and the replacement belt before starting. Verify the new belt matches your mower's specifications exactly.
Riding Mower Belt Replacement Tools You'll Need
Essential tools:
- Socket wrench set (typically 10mm, 12mm, 13mm sockets)
- Ratchet handle
- Adjustable wrench
- Screwdrivers (both Phillips and flathead)
- Safety glasses
- Work gloves
Helpful but optional:
- Belt routing diagram (check your owner's manual)
- Flashlight or headlamp
- Jack or ramps to raise the mower safely
- Shop towels for cleaning
The belt itself is your main purchase. V-Belt Nation offers a wide selection of lawn and garden belts. Have your mower's model number ready so you order the correct size and type.
Safety glasses protect against flying springs and clips. Gloves protect your hands from sharp deck edges.
How to Measure Lawn Mower Belt Size
Getting the correct belt size is critical, oversized belts won't fit, and undersized belts won't engage properly.
Check your owner's manual first for the exact belt size and part number, the fastest and most accurate method.
If you lack the manual, look for a label on the deck or under the seat. Belt sizes appear as "5L," "A38," or "4L-1060."
The first character indicates profile (cross-sectional shape); the second is length in inches. "5L-1060" means 5-inch profile, 106 inches long.
Measure the old belt if you have it. Lay it flat on a table and measure the length from end to end. Write down the measurement and the profile size visible on the belt.
Step-by-Step Belt Replacement Process
A typical belt replacement takes 30 to 45 minutes. The process varies slightly by deck type (side-discharge, mulching, or bagging), as each routes the belt differently around spindle pulleys.
Step 1: Locate the Deck and Drive Belt
Open the hood or seat cover to access the belt area. Most mowers have a deck belt (powers cutting blades) and a drive belt (powers transmission). This guide focuses on the deck belt.
Examine the cutting deck underside. Trace the belt path around spindle pulleys before removal.
For side-discharge decks: The belt typically routes in a figure-eight or serpentine pattern, passing around three spindle pulleys (left, center, and right) before returning to the tensioner. The belt must clear the discharge chute opening.
For mulching decks: The routing is often more compact, with the belt making tighter loops around the spindles. Mulching decks sometimes use a single wide belt instead of separate belts for each spindle.
For bagging decks: The belt path may include an additional pulley that drives the blower fan. This adds one more routing point to track.
Take a photo of the belt routing with your phone as a reference. A manual belt diagram is even better for deck-specific routing details.
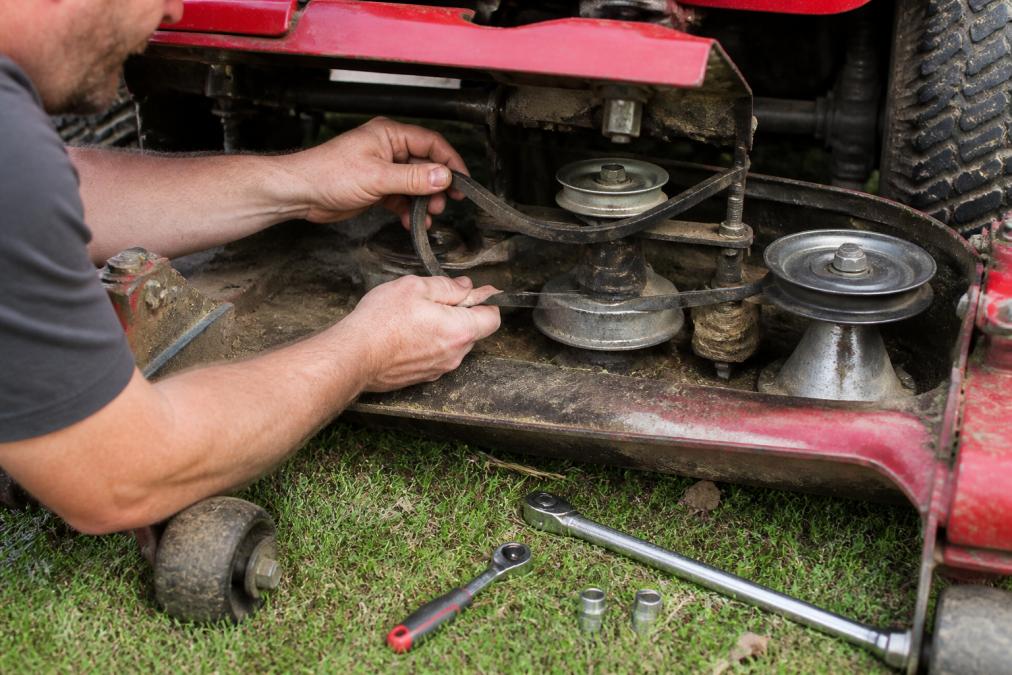
Step 2: Release Belt Tension
Locate the tensioner pulley, which keeps the belt tight. It's usually spring-loaded or bolt-secured.
For spring-loaded tensioners, pull the arm away from the belt to release pressure and create slack. A click sound is normal.
For bolt-secured tensioners, loosen (don't remove) the bolt with a socket wrench to move the pulley closer to the belt, creating slack. Most require 10mm or 12mm sockets.
Some mowers use an idler pulley instead of a tensioner. Check your manual, some idler pulleys have adjustment bolts.
Step 3: Remove the Old Belt
Slide the old belt off the pulleys carefully. On mulching decks with multiple spindles, you may need to remove it in sections or at an angle.
Examine the old belt for wear patterns. One-sided wear may indicate pulley misalignment or incorrect routing.
Clean the pulleys with a shop towel, removing dirt and grass. Use compressed air for stubborn buildup in grooves. Dirty pulleys cause new belt slippage and premature wear.
Inspect each pulley for cracks, rust, or worn grooves. Replace damaged pulleys before installing the new belt.
Step 4: Route and Install the New Belt
Using your reference photo or manual diagram, position the new belt around each pulley in sequence, following the old belt's exact path.
The belt must sit fully in each pulley groove. Reposition if it rides on the edge, improper seating causes slipping and premature wear.
For side-discharge decks: Start at the left spindle pulley, route to the center spindle, then to the right spindle. Ensure the belt clears the discharge opening. Route the belt back to the tensioner pulley, maintaining even tension across all three spindles.
For mulching decks: Follow the tighter routing path, ensuring the belt doesn't twist as it loops around the spindles. Mulching decks often have belt guides or brackets that keep the belt centered, make sure the belt passes through these guides correctly.
For bagging decks: Route the belt through the blower pulley in the correct sequence.
Step 5: Adjust the Tensioner Pulley
Move the tensioner pulley to create tension. For spring-loaded tensioners, let the spring pull back into position. The belt should be snug but not overly tight.
Belt Quality and Material Comparison
Not all belts are created equal. Understanding the differences helps you choose the right replacement and avoid premature failure.
Choosing the right belt for your situation:
-
Residential mowers with light use (under 100 hours per season): A quality aftermarket V-belt offers the best value. You'll save money without sacrificing reliability. Expect to replace the belt every 2 to 3 seasons.
-
Residential mowers with moderate to heavy use (100 to 300 hours per season): Consider a cogged belt or a premium aftermarket V-belt. The extra durability pays for itself in reduced replacement frequency. Plan to replace the belt every 2 to 4 seasons depending on conditions.
-
Commercial or heavy-duty mowers: Invest in an OEM belt or a high-grade cogged belt. These mowers operate under demanding conditions and require maximum reliability. The warranty and guaranteed fit justify the higher cost. Budget for annual belt replacement or inspection.
-
Zero-turn-radius mowers: These mowers often use banded belts or multiple spindle belts. Stick with OEM or equivalent-quality aftermarket belts. The complex routing and higher spindle speeds demand reliable performance.
Common Mistakes to Avoid
Mistake 1: Installing the belt backwards. Check your manual or reference photo. Backwards installation causes poor grip and premature wear.
Conclusion
Changing a riding mower belt is straightforward maintenance that saves money and extends equipment life. The process takes less than an hour with basic tools.
Frequently Asked Questions
How do I know if my riding mower belt is worn out?
A failing mower belt shows visible cracks, fraying edges, or glazed surfaces where the rubber appears shiny and smooth. You may notice the deck not cutting evenly, slipping sounds during operation, or the mower losing power when engaging the cutting blades. If the belt shows signs of wear and tear, replacement is necessary. Check your owner's manual for specific wear indicators for your model.
What tools do I need for riding mower belt replacement?
Essential tools include a socket wrench or ratchet set, screwdrivers (flathead and Phillips), safety glasses, and work gloves. You may also need a belt routing diagram specific to your mower model, available in the owner's manual or from the manufacturer. A flashlight helps with visibility inside the deck area. Some models require a specific tool to adjust the tensioner pulley, so check your manual before starting.
Can I replace the mower belt without removing the deck?
On most riding mowers, you can access and replace the belt without full deck removal by lifting or tilting the deck slightly. However, some models require partial or complete deck removal for safe access to the belt routing and pulleys. Consult your specific mower's manual before starting. Removing the deck gives you better visibility and reduces the risk of dropping tools or damaging components inside the cutting deck.
How do I measure my lawn mower belt to order the correct replacement?
The easiest way to measure a lawn mower belt is to remove the old belt and measure its length using a tape measure, recording the measurement in inches. Alternatively, check your mower's model number and owner's manual, which lists the exact belt size and part number. You can also wrap a string around the belt's path and measure the string. Belt sizes are typically expressed as a width-length combination (e.g., 5L or 4L designation). Always verify the belt type, deck belts and drive belts differ, before ordering your replacement.