 ultimate-guide
Industrial Belt Installation Best Practices: 2026 Guide
Table of Contents
- The Costly Mistakes That Ruin Industrial Belt Installation
- Step-by-Step Industrial Belt Installation Procedure
- How to Fix V-Belt Slippage After Installation
- Industrial Belt Tensioning Tools: What You Need
- Causes of Premature Belt Failure: Installation and Beyond
- Preventative Maintenance Schedules and Belt Storage
- Energy Efficiency and Material Selection in Belt Installation
- Conclusion
- Frequently Asked Questions
Last Updated: September 20, 2026
The Costly Mistakes That Ruin Industrial Belt Installation
A drive belt that fails in three weeks instead of three years almost never fails because the belt was bad, it fails because of how it went on. Industrial belt installation best practices exist for one reason: small errors during mounting and tensioning, not the belt itself, decide whether you get full service life or a premature breakdown that stops production.
Step-by-Step Industrial Belt Installation Procedure
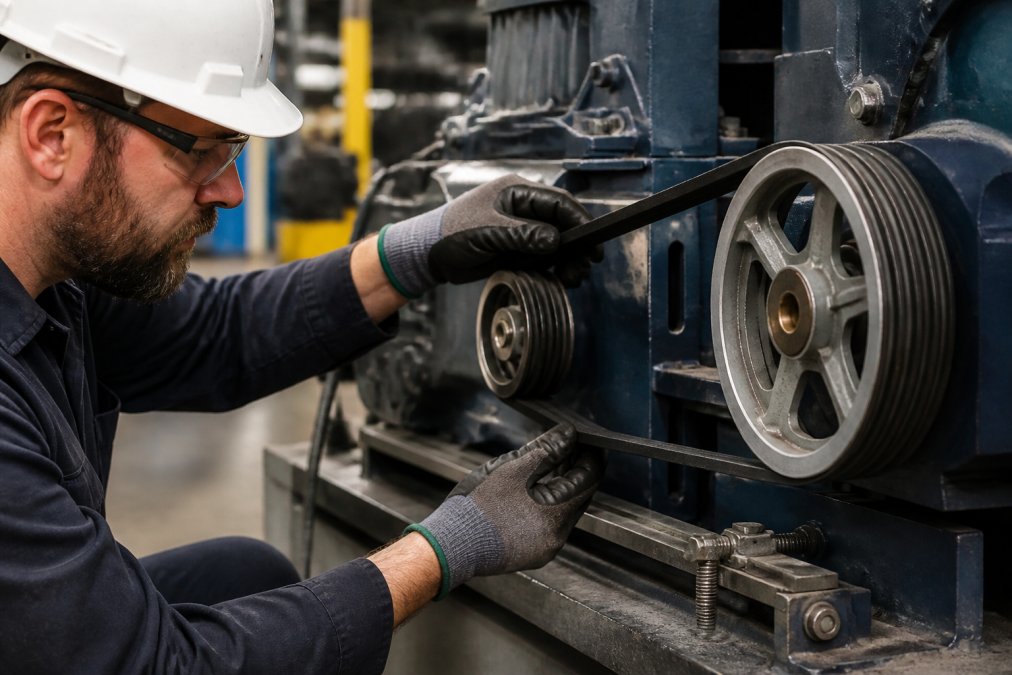
A correct installation follows a fixed sequence: inspect and prepare, mount without forcing, align the pulleys, then tension to spec and re-check after run-in. Skipping any step pushes the failure risk onto the next one.
Pre-Installation Inspection and Preparation
Before the new belt goes on, the drive itself needs a clean bill of health. Worn sheaves or a bent shaft will destroy a fresh belt within days.
- Check pulley grooves for sidewall wear, glazing, and embedded debris; a worn groove lets the belt sit too deep and slip
- Confirm shafts are straight and bearings turn freely
- Wipe grooves clean of oil, grease, and rust; contamination is a leading cause of slippage
- Verify the replacement belt matches the original section, pitch, and length
- Never pry a belt over a pulley with a screwdriver; crimp damage to the tensile cords is invisible and permanent
Mounting and Tensioning the Belt
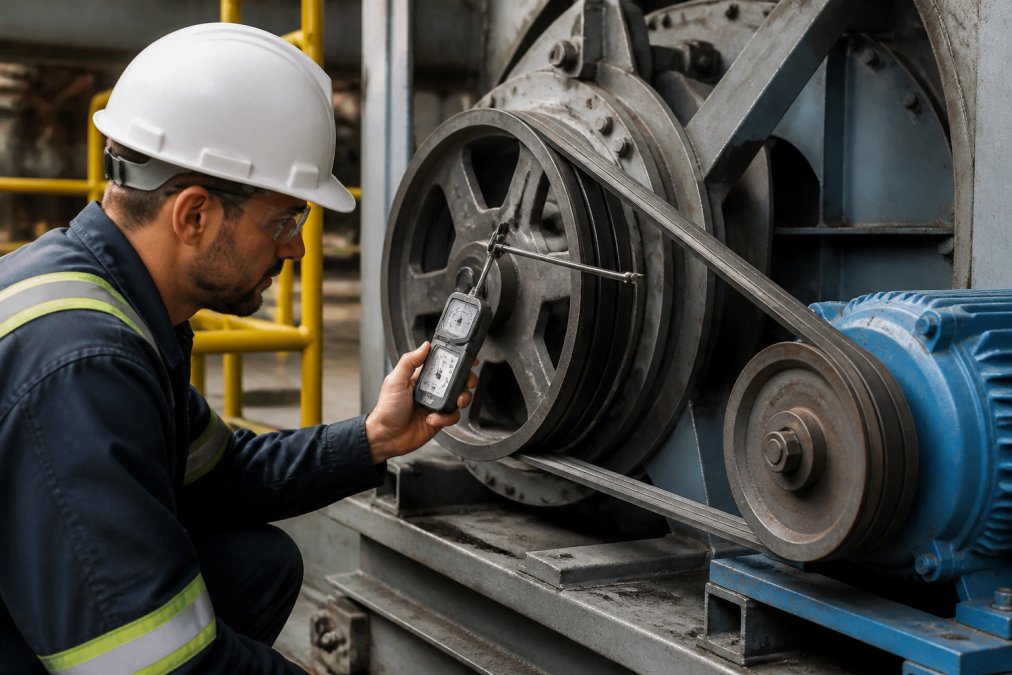
Mount the belt by shortening the center distance, not by forcing it. Then tension it to the drive manufacturer's specification using a gauge, never by thumb pressure.
- Loosen the motor mount and move the drive together until the belt slips on without stretching
- Apply tension evenly, then rotate the drive by hand several turns to seat the belt in the grooves
- Re-check tension after the first run-in period, since new belts stretch and settle
- Confirm pulley alignment with a straightedge or laser before locking the mount down
How to Fix V-Belt Slippage After Installation
Slippage after a fresh install is almost always under-tension, misalignment, or contaminated grooves. Diagnose in that order.
- Squealing at startup: usually under-tension
- Squealing under load: often misalignment or overload
- Glazed, shiny sidewalls: the belt has been slipping; replace it
- Belt riding low in the groove: worn sheave, not a belt problem
Industrial Belt Tensioning Tools: What You Need
The right industrial belt tensioning tools turn a guess into a measurement: at minimum, a tension gauge matched to the belt type and a straightedge or laser for alignment.
Causes of Premature Belt Failure: Installation and Beyond
Most premature belt failures trace back to installation and operating conditions, not manufacturing defects. The useful question is which of the four failure families, tension, alignment, environment, or load, killed the belt, because that tells you whether to fix the drive, the environment, the load, or, rarely, call the belt supplier.
| Symptom | Likely Cause | Failure Family | Fix |
|---|---|---|---|
| Sidewall wear, glazing, shiny flanks | Under-tension, slippage | Tension | Re-tension to spec; replace glazed belt |
| Cracking, hardening, brittle cogs | Thermal degradation, heat | Environment | Check ambient temp and ventilation |
| Cord line rupture, clean snap | Crimp damage, forced mounting | Installation | Remount without prying |
| Uneven edge wear, one-sided wear | Misalignment, sheave wear | Alignment | Realign; replace worn pulleys |
| Cog loss, backside cracking | Backside idler too small | Load / design | Resize or reposition idler |
| Swelling, softening, tacky surface | Oil or chemical contamination | Environment | Shield drive from exposure |
| Belt riding low in groove, slipping despite correct tension | Worn sheave groove | Alignment / wear | Replace or re-machine pulleys |
| Repeated short-life failures on the same drive | Overload or undersized drive | Load | Re-check drive design against actual load |
Tension Failures
Under-tension is the most common single cause of premature failure, and the most misdiagnosed. A loose belt slips intermittently, generating friction heat at the sidewalls that hardens the rubber into a glaze and destroys its ability to grip, and once glazing appears, re-tensioning will not recover the belt. Over-tension is the mirror failure: it overloads shaft bearings and stretches the tensile cords past their elastic limit, so the belt loses tension permanently and the bearings fail early too.
Alignment Failures
Misalignment loads one sidewall harder than the other, so the belt wears unevenly and rides up or down in the groove. Angular misalignment (pulleys not parallel) and parallel misalignment (pulleys offset) produce different wear patterns, which is why a straightedge check across the pulley faces is worth doing on every install. Worn sheave grooves are subtler: a groove worn wider lets the belt sit too deep and slip even at correct tension, so measure groove wear with a sheave gauge rather than eyeballing it.
Environmental Failures
Heat, cold, oil mist, ozone, and abrasive dust all attack the belt compound. Heat accelerates rubber aging and is the leading environmental cause of cracking and hardening. Oil and chemical exposure cause swelling and softening, changing the belt's dimensions and grip. Ozone, often present near electric motors and other electrical equipment, attacks the rubber surface and produces fine surface cracks.
Load and Design Failures
A drive sized too close to its load capacity limit runs hot and fatigues the cords faster, and shock loads, frequent starts, and reversing duty all shorten life compared with steady running. Backside idlers too small in diameter force the belt to bend tighter than its design minimum, cracking the backing and shedding cogs. When the same drive eats belts repeatedly despite correct tension and alignment, the problem is usually the drive design or the actual load, not the belt.
Manufacturing Defects: The Rare Case
True manufacturing defects exist but are the exception, tensile strength and fatigue life failures from a bad batch are uncommon compared with the installation and operating causes above. Before blaming the belt, confirm tension, alignment, environment, and load, in that order. If all four check out and the belt still fails early, a batch or material defect becomes the likely explanation.
Preventative Maintenance Schedules and Belt Storage
Two things competitors miss: what you do between installs, and how you store belts before they ever touch a drive. Both extend fatigue life, and both are where the cheapest reliability gains live.
A Practical Maintenance Cadence
A schedule only works if each task has a trigger and an owner. Tie the cadence to running hours where you can, because calendar-based schedules drift on drives that run intermittently.
- Weekly: listen and look for squeal, vibration, or dust buildup; check for oil or debris accumulation around the drive
- Monthly: check tension and alignment; inspect for cracking, glazing, or uneven wear
- Quarterly: vibration analysis on the drive to catch bearing or misalignment issues early; measure sheave groove wear with a gauge
- Annually: full drive audit, including sheave wear measurement, belt replacement planning, and a review of whether the drive still matches the actual load
Predictive Maintenance: Catching Failure Before It Starts
Most guides stop at reactive troubleshooting, the belt squeals, you diagnose it. Predictive maintenance watches the drive's condition continuously so you replace the belt on your schedule instead of the drive's.
Three techniques are practical on industrial belt drives:
- Vibration analysis detects bearing wear, misalignment, and looseness before they show up as belt damage. A drive that is drifting out of alignment will show a rising vibration signature weeks before the belt wears unevenly.
- Ultrasonic monitoring picks up early friction and air leaks that are inaudible over plant noise. Ultrasonic readings can flag a slipping belt or a dry bearing before it becomes a squeal.
- Thermal imaging reveals hot spots at bearings, sheaves, and the belt itself. A belt running hotter than its neighbors is slipping or misaligned, even if it looks fine.
Belt Storage and Shelf-Life Degradation
Rubber degrades over time, so belts sitting on a shelf for years lose flexibility before they run. This failure mode produces "pre-installed" failures, a belt already past its useful life the day it went on.
Storage rules that actually matter:
- Store belts in a cool, dark, dry place, away from direct sunlight
- Keep them away from ozone sources such as electric motors and other electrical equipment
- Keep them away from oil, grease, and solvents
- Hang them on a peg with a large radius, or lay them flat; never coil them tightly or hang them on a nail, which kinks the cords
- Rotate stock so older belts are used first, and check shelf life before installing a belt that has been in inventory for years
Energy Efficiency and Material Selection in Belt Installation
At V-Belt Nation, we stock classic, wedge, cogged, banded, and lawn and garden belts, so you can match the compound and profile to the drive instead of settling for whatever is on the shelf.
Conclusion
The gap between a belt that lasts three weeks and one that lasts three years comes down to installation discipline: clean grooves, true alignment, measured tension, and a re-check after run-in. Get those right and you eliminate most premature failures before they start.
Frequently Asked Questions
What are the most common causes of industrial belt failure?
Improper tension, misalignment, environmental exposure, and installation damage are the leading causes. Over-tensioning stretches cords and overloads bearings, while under-tensioning causes slippage and glazing. Pulley misalignment creates uneven sidewall wear. Heat, oil, and contaminants degrade rubber compounds. Following industrial belt installation best practices and scheduling regular inspections can prevent most failures.
How do you properly tension an industrial V-belt?
Use a tension gauge to measure deflection at the center of the span. Always refer to the drive manufacturer's specifications. After initial tensioning, run the drive for 24-48 hours and re-tension to account for initial stretch. Using industrial belt tensioning tools ensures accuracy and extends belt life.
What are the signs that an industrial belt needs replacement?
Look for cracking, glazing (shiny surface), missing cogs, frayed edges, or exposed cords. Slipping, squealing, and vibration during operation also indicate wear. If the belt has stretched beyond the tensioner's range or shows sidewall wear, replace it. Ignoring these signs leads to sudden failure and unplanned downtime.
Why is belt alignment critical for power transmission systems?
Misalignment causes uneven loading, which accelerates sidewall wear, generates heat, and can lead to cord rupture. It also increases energy consumption and vibration. Proper alignment ensures the belt runs true on the pulleys, maximizing efficiency and lifespan. Use a laser alignment tool or straightedge during installation to verify pulley parallelism and angular alignment.
How often should industrial belt tension be inspected?
Inspect tension after the first 24-48 hours of operation, then every 500 hours or monthly, depending on operating conditions. High-vibration or high-temperature environments may require more frequent checks. Keep a maintenance log to track tension adjustments and belt wear. Regular inspections help identify issues before they cause downtime.
Can improper storage affect industrial belt performance?
Yes. Belts stored in direct sunlight, extreme temperatures, or high humidity can degrade. Rubber compounds dry out, crack, or become brittle. Store belts in a cool, dark, dry area away from ozone sources like electric motors. Coil them loosely to avoid kinks. Following shelf-life guidelines and rotating stock ensures you install belts in optimal condition.