 how-to
V-Belt Tensioning for Maximum Life: A How-To Guide
Table of Contents
- Why V-Belt Tensioning Matters for Equipment Life
- Understanding Belt Tension: Deflection Force and Span Length Basics
- How to Measure V-Belt Tension Correctly
- Step-by-Step V-Belt Tensioning Procedure
- How to Fix V-Belt Slippage: Tension and Alignment Corrections
- Signs of Over-Tensioned V-Belts and How to Prevent Bearing Damage
- Common Mistakes to Avoid During V-Belt Tensioning
- Tensioning for Special Applications: VFDs and Thermal Expansion
- Frequently Asked Questions
Last Updated: September 22, 2026
Why V-Belt Tensioning Matters for Equipment Life
Proper v-belt tensioning is one of the simplest maintenance tasks you can perform, yet it directly determines how long your equipment will run before something breaks. Get the tension wrong, and you're looking at belt slippage, bearing damage, and premature failure. Get it right, and your machinery runs smoothly for years.
The stakes are real. Incorrect tension causes two opposite problems: under-tensioning leads to slippage and lost power transmission, while over-tensioning accelerates bearing wear and shortens belt life. Both scenarios cost money in downtime and replacement parts.
Understanding Belt Tension: Deflection Force and Span Length Basics
Deflection force is the amount of pressure needed to move the belt downward at its midpoint between two sheaves. This measurement tells you whether the belt has the right amount of grip on the pulleys without crushing the bearing load.
The span length, the distance between the center points of the two sheaves, determines how much deflection you should be targeting. Longer spans require different tension settings than shorter ones. This is why you can't use a one-size-fits-all approach.
Here's what actually matters: the deflection force should be about 1/64 of an inch per inch of span length. So a 32-inch span needs roughly 0.5 inches of deflection when you press down on the belt midway between pulleys. This isn't arbitrary, it's the sweet spot where the belt stays seated in the sheave groove without overloading the bearings.
Many maintenance teams get this backwards. They think tighter is always better. In reality, excessive tension is one of the fastest ways to destroy bearings. The friction coefficient between belt and sheave is already optimized at the correct tension. Adding more force doesn't improve grip, it just accelerates wear.
How to Measure V-Belt Tension Correctly
Measuring belt tension accurately requires understanding two distinct methods and knowing which tool works best for your situation.
The Force-Deflection Method Explained
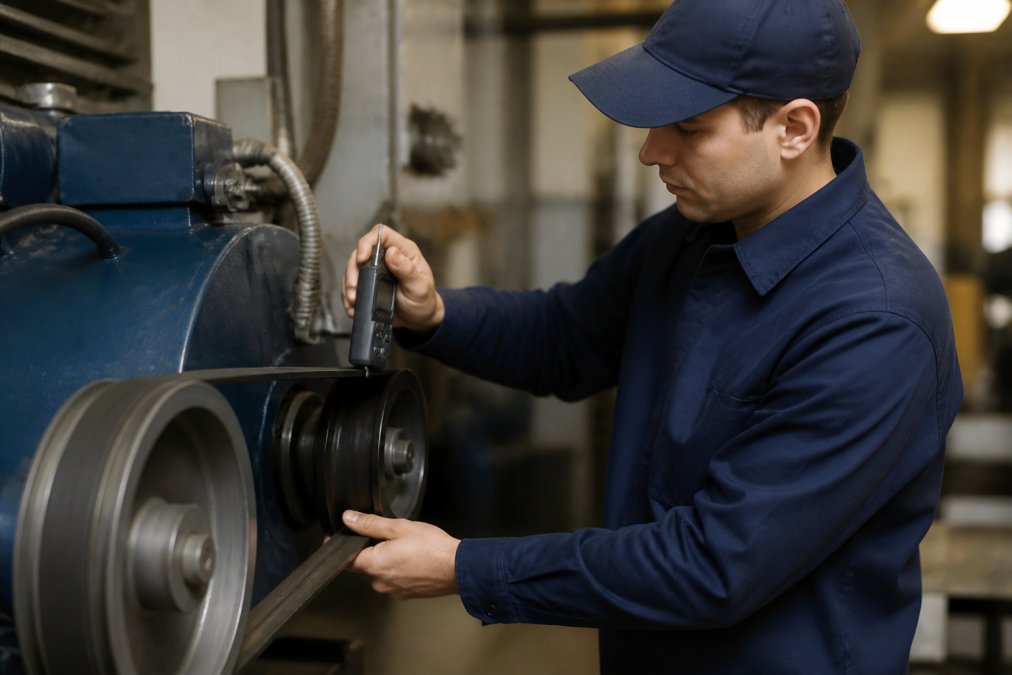
The force-deflection method is the most practical approach for field maintenance. You use a simple scale or deflection gauge to measure how much force is needed to move the belt downward at its midpoint.
Here's the process:
- Locate the midpoint of the belt span between the two sheaves
- Press down perpendicular to the belt with your scale or gauge
- Note the force required to move the belt 0.5 inches downward
- Compare the result to your equipment's specification sheet
This method works because it directly measures the tension at the pitch line, the effective running surface of the belt. The pitch line is where power actually transfers, so this is the most relevant measurement point.
The advantage is simplicity. You don't need expensive equipment. A basic deflection gauge or even a bathroom scale works in a pinch. The disadvantage is that technique matters. If you press at an angle or use inconsistent pressure, your reading will be off.
V-Belt Tension Gauge Usage: Digital vs. Analog Tools
Two types of tension gauges dominate field maintenance: analog and digital models.
Analog gauges have been the standard for decades. They use a spring-loaded arm that deflects the belt and display the force on a dial. They're durable, require no batteries, and cost less than digital versions. The downside is reading accuracy depends on your eye, parallax error and wear on the dial can introduce mistakes.
Digital gauges eliminate the guesswork. They display the exact force reading on a screen, making it harder to misread. They're more precise and many include memory functions to log readings over time. The trade-off is they require batteries and cost more upfront.
For most maintenance operations, a digital gauge is worth the investment. The precision matters, especially if you're managing multiple pieces of equipment and want consistent results. But an analog gauge works fine if you're careful about technique and take multiple readings to verify.
Regardless of which type you choose, calibrate your gauge annually. A gauge that drifts just 10% can lead to systematic over- or under-tensioning across your entire operation.
Step-by-Step V-Belt Tensioning Procedure
Proper installation and tensioning follow a sequence. Skip steps and you'll end up re-doing the work.
Step 1: Inspect Sheave Alignment Before Tensioning
Before you touch the tension adjustment, verify that both sheaves are aligned. Misaligned sheaves cause the belt to wear unevenly and slip, no matter how perfect your tension setting is.
Check alignment by:
- Placing a straightedge across both sheave grooves
- Confirming the belt runs parallel to the centerline
- Measuring the distance from the belt edge to the frame at multiple points
Step 2: Position the Idler Pulley and Apply Initial Tension
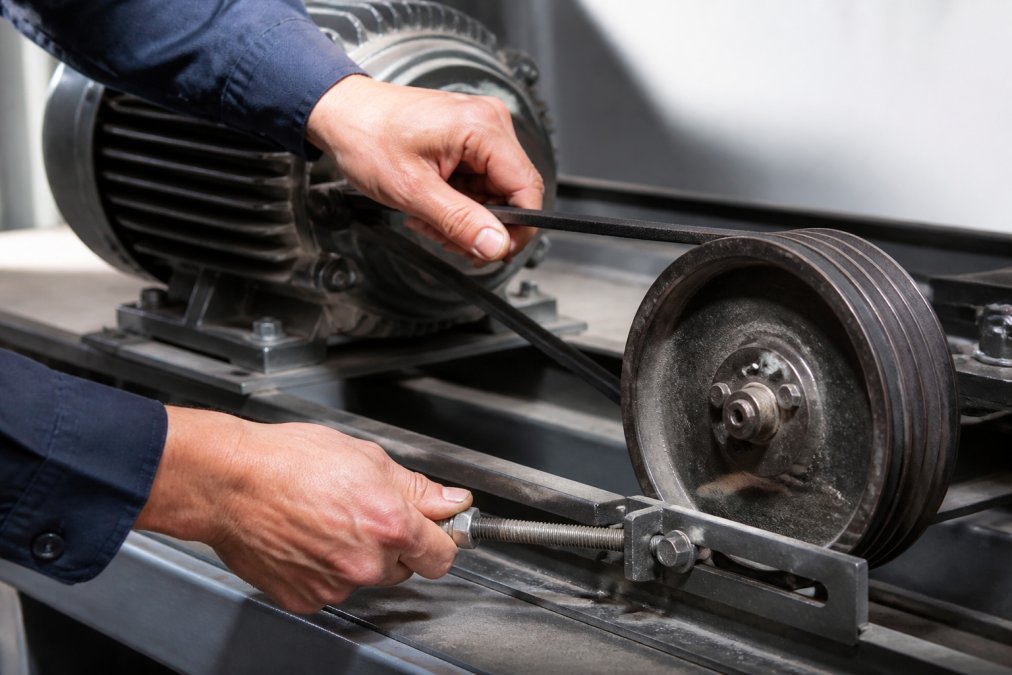
The idler pulley controls how much tension you apply. Loosen the idler mounting bolts to reduce tension, or tighten them to increase it. Most systems allow adjustment in small increments.
Step 3: Measure and Verify Deflection at Pitch Line
Once initial tension is applied, measure the deflection force at the belt's midpoint. Use your chosen gauge, digital or analog, and press perpendicular to the belt.
Step 4: Run-In Period and Re-Tensioning Interval
After you've set the initial tension, run the equipment for 15-30 minutes under normal operating conditions. The belt will settle into the sheave grooves and may lose some tension.
Once the belt has settled, establish a re-tensioning schedule:
- Check tension every 24 operating hours for the first week
- Then monthly for the first three months
- Then quarterly after that, unless you notice noise or slippage
This schedule catches tension drift before it causes problems.
How to Fix V-Belt Slippage: Tension and Alignment Corrections
First, check tension. Measure deflection force as described above. If it's below specification, increase tension gradually until the slippage stops. This solves the problem 70% of the time.
Signs of Over-Tensioned V-Belts and How to Prevent Bearing Damage
Over-tensioning is insidious because the equipment runs fine at first. The damage accumulates silently until a bearing fails suddenly.
Watch for these warning signs:
- Excessive heat around the bearing housing. Feel the bearing with your hand (carefully). It should be warm, not hot enough to cause discomfort.
- Increased noise from the bearing, a grinding or rumbling sound that wasn't there before.
- Vibration that increases over time, even though the equipment was running smoothly.
- Rapid belt wear, the belt surface shows visible cracking or fraying within weeks.
Common Mistakes to Avoid During V-Belt Tensioning
Most tensioning failures fall into a handful of predictable patterns.
Tensioning for Special Applications: VFDs and Thermal Expansion
Some equipment requires modified tensioning approaches.
Variable Frequency Drives (VFDs) create unique challenges. VFDs control motor speed electronically, which can cause the belt to slip at startup when torque is highest. Standard tension may not be enough.
For VFD systems:
- Increase initial tension by 10-15% above the standard specification
- Use a digital gauge to verify the higher tension is consistent
- Monitor for slippage during startup, if it occurs, increase tension another 5%
- Check tension more frequently, as VFD-driven belts experience more dynamic load changes
Account for this by:
- Installing tension at the expected operating temperature, not ambient temperature
- If you must install in cold conditions, reduce initial tension by 5-10% to account for tightening
- If you must install in hot conditions, increase initial tension by 5-10% to account for loosening
Frequently Asked Questions
What should V-belt tension be for optimal performance?
Proper v-belt tension depends on belt profile, span length, and sheave diameter. The force-deflection method is the industry standard: apply a perpendicular force at the midpoint of the belt span and measure the deflection. Most v-belts require 0.5 to 1.5 inches of deflection per inch of span length. A tension gauge provides precise readings in pounds of force, eliminating guesswork. Consult your equipment manufacturer's specifications or belt documentation for exact tension targets, as over- and under-tensioning both reduce service life significantly.
How do you know if a V-belt is too loose?
A loose v-belt exhibits visible slippage, squealing noise during startup or high-load operation, reduced power transmission efficiency, and visible belt movement within the sheave groove. The belt may also show uneven wear patterns or fail to seat properly in the groove. Check deflection at the midpoint of the belt span using the force-deflection method. If deflection exceeds manufacturer specifications, re-tension immediately. Loose belts cause increased operational hours to complete the same work, leading to premature failure of both the belt and driven equipment.
Can a belt tensioner have too much tension?
Yes. Over-tensioning causes excessive bearing load, accelerates belt stretch, increases friction coefficient to the point of heat generation, and shortens both belt and bearing life dramatically. Symptoms include unusual vibration, excessive heat at bearing points, squealing even under light load, and visible belt glazing or cracking. Over-tensioning also increases mechanical stress on sheaves and can cause premature sheave groove wear. Always follow the force-deflection method and manufacturer specifications rather than tightening by feel. Proper tension balances torque transmission with component longevity.
What is the typical lifespan of a properly tensioned V-belt?
A properly tensioned v-belt typically lasts 3 to 5 years or 10,000 to 20,000 operational hours, depending on application severity, environmental conditions, and belt profile. Correct initial installation, proper tension maintenance through regular re-tensioning intervals, sheave alignment, and preventative maintenance extend service life significantly. Thermal expansion, dynamic load cycling, and belt stretch during the run-in period require re-tensioning after the first 24 to 48 hours of operation, then periodically thereafter. Poor tensioning, misalignment, or contamination can reduce service life to under 6 months.