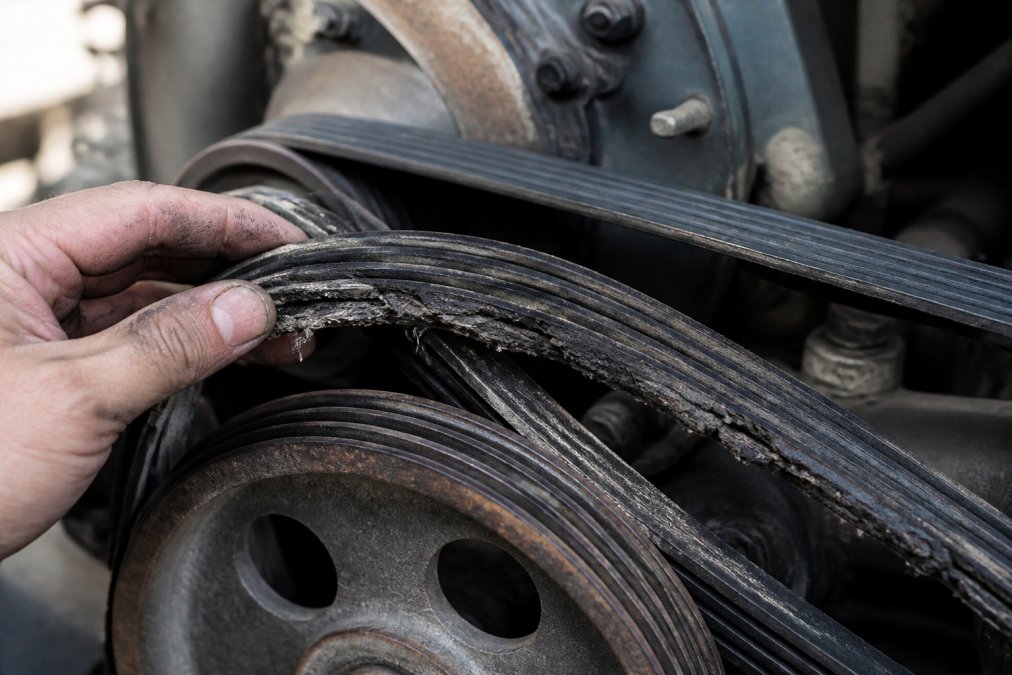
 ultimate-guide
Why Industrial Belts Fail Prematurely: 7 Root Causes
Table of Contents
- Why Industrial Belts Fail Prematurely: The Seven Root Causes
- Improper Belt Tension and How to Fix V-Belt Slippage
- Pulley Misalignment Symptoms and Drive System Failures
- Industrial Belt Tensioning Best Practices
- Environmental Factors: Heat, Cold, and Contamination
- Installation Errors and Handling Damage
- Preventative Maintenance Schedules to Extend Belt Life
- Frequently Asked Questions
Last Updated: September 19, 2026
Why Industrial Belts Fail Prematurely: The Seven Root Causes
Industrial belts fail prematurely when maintenance teams overlook the core mechanical and environmental factors that degrade performance. Understanding why industrial belts fail is essential for any facility manager, maintenance technician, or procurement specialist responsible for keeping machinery running. The good news: most premature failures are preventable with proper installation, tensioning, and maintenance discipline.
Understanding why industrial belts fail is essential for any facility manager, maintenance technician, or procurement specialist responsible for keeping machinery running. By learning to recognize these causes, you'll extend belt life, reduce unplanned downtime, and cut replacement costs significantly.
Below, we'll walk through each failure mode, explain how to spot the warning signs, and show you exactly what to do to prevent it.
Improper Belt Tension and How to Fix V-Belt Slippage
Belt tension is the single most common culprit behind premature failure. Too loose, and the belt slips on the pulleys, generating heat and friction that accelerate wear. Too tight, and you overload the bearings, snap the belt's internal cords, and wear out the sheaves faster than they should.
The right tension depends on your drive system design, belt type, and load. V-belts typically need 1.5 to 2 times the load tension to prevent slippage while avoiding excessive stress. A tension that works for a light-duty cooling tower fan will destroy a high-torque industrial compressor belt in days.
How to measure and adjust tension:
The deflection method is the most practical field approach. Apply 10 pounds of force perpendicular to the belt midway between two pulleys. The belt should deflect 0.5 inches for every 12 inches of span. Adjust the motor or idler pulley until you hit this target. Use a straightedge and ruler to measure the movement accurately.
An alternative is the tension gauge, which measures the actual force the belt exerts. These cost more but eliminate guesswork, especially on critical drives. If you're managing multiple machines, a gauge pays for itself in reduced callbacks.
Recheck tension after the first 24 hours of operation and again after one week. New belts stretch slightly, and loose tension will develop quickly if you don't compensate.
Pulley Misalignment Symptoms and Drive System Failures
Misaligned pulleys are the second leading cause of belt failure. When sheaves don't line up perfectly, the belt rides on one edge instead of the full width, causing sidewall wear, cord line rupture, and rapid degradation.
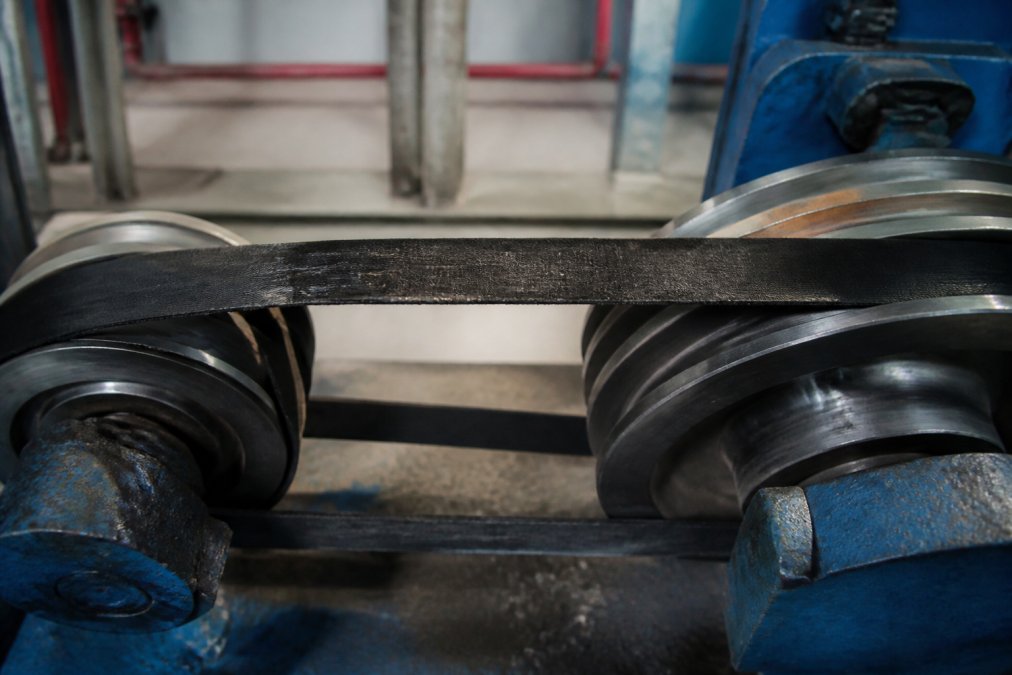
Misalignment takes three forms: parallel (pulleys on the same axis but offset), angular (sheave grooves not parallel to each other), and combined. Even 1/16 inch of offset can cause noticeable sidewall wear within weeks on a high-speed drive.
Common symptoms of misalignment:
- The belt tracks to one side of the pulleys
- You see uneven wear across the belt width
- The belt squeals or makes grinding noise despite proper tension
- Belt life drops to 25% of the manufacturer's rating
- Vibration increases on the driven machine
To check alignment, mark the belt edge with chalk and run the machine briefly. Stop and inspect where the belt sits on each pulley. It should contact the full width of the groove. If it's riding the edge, misalignment is present.
The fix requires precision. Use a straightedge across both sheaves to check parallel alignment. A laser alignment tool is better for critical drives, it catches angular misalignment that a straightedge will miss. Loosen the motor or idler bolts slightly and shift the entire unit until the sheaves align. Retighten and recheck tension.
Industrial Belt Tensioning Best Practices
Proper tensioning is the foundation of belt longevity. Too many facilities treat it as a one-time setup task and forget about it. In reality, tension management is an ongoing discipline.
Start by selecting the correct belt type and size for your drive. A belt undersized for the load will slip regardless of how tight you make it. An oversized belt wastes energy and creates unnecessary stress. Consult the motor horsepower, pulley sizes, and speed ratio before ordering.
Once you've installed the correct belt, follow a structured tensioning protocol:
- Install the belt with the motor or driven unit positioned for slack (usually by moving the motor away from the driven pulley)
- Apply initial tension using the deflection method or gauge
- Run the machine for 15-20 minutes at no load to allow the belt to seat
- Stop and recheck tension, it will have dropped slightly
- Adjust to the target tension again
- Check tension daily for the first week, then weekly for the first month
- After the belt has stabilized (usually 30-60 days), switch to monthly checks
Document every tension reading in a maintenance log. This gives you a baseline to spot when tension is drifting, which signals that something else is wrong (misalignment, pulley wear, or bearing degradation).
Different belt types have different optimal tensions. Synchronous (timing) belts need much less tension than V-belts because the teeth prevent slipping. Serpentine belts on automotive engines have specific tension ranges printed in the service manual. Cogged industrial belts for cooling towers sit somewhere in between. Always consult the belt manufacturer's guidance for your specific product.
Environmental Factors: Heat, Cold, and Contamination
Environmental exposure is where many facilities lose belts prematurely. Belts are made of rubber and fabric, both vulnerable to temperature extremes, oil, dirt, and UV radiation.
Heat accelerates thermal degradation. Rubber loses elasticity and becomes brittle. Fabric backing separates from the rubber. A belt running in a 140°F environment will fail 30-40% faster than the same belt in a 70°F space. Cooling system failures, missing guards, or proximity to heat sources (ovens, steam pipes) are common culprits.
Cold makes belts stiff and prone to cracking. In freezing conditions, a belt that flexes smoothly at room temperature becomes rigid and loses grip. Outdoor equipment, refrigerated spaces, and poorly heated facilities are at risk. Cold-weather starts require slower acceleration to prevent shock loading.
Oil and grease contamination destroys belt grip by creating a slippery film between the belt and the sheave. A small oil leak from a motor bearing or drive coupling will ruin a belt in days. Inspect for leaks regularly and fix them before they reach the belt. If contamination has already occurred, clean the belt and sheaves thoroughly with a degreaser before installing a replacement.
Dust and dirt act as abrasives, wearing away the belt surface and clogging the grooves. Facilities in dusty environments (grain mills, concrete plants, sawmills) must use belt guards and covers to minimize exposure. Periodic cleaning with a soft brush keeps grooves clear.
UV exposure from sunlight degrades rubber over time. Outdoor drives and equipment stored in direct sun age faster. Use UV-resistant belts for outdoor applications and cover idle equipment when possible.
Installation Errors and Handling Damage
How a belt is installed determines whether it reaches its rated lifespan or fails within weeks. Common installation mistakes are surprisingly easy to make and almost always result in premature failure.
The worst error is forcing a belt onto the pulleys without first moving the motor or idler to create slack. Prying the belt on with a screwdriver or pry bar causes crimp damage to the internal cords and sidewall cracking that may not be visible but will cause failure within days. Always loosen the motor bolts and shift it to create enough slack that the belt slides on by hand.
Another frequent mistake is installing the belt backward or upside down. Some belts have directional markings or asymmetrical profiles.
Preventative Maintenance Schedules to Extend Belt Life
A structured maintenance schedule is the most cost-effective way to prevent premature belt failure. Most facilities can extend belt life by 50-100% with basic preventative care.
| Maintenance Task | Frequency | What to Check |
|---|---|---|
| Visual inspection | Weekly | Cracks, glazing, sidewall wear, alignment |
| Tension check | Monthly | Deflection or gauge reading |
| Pulley alignment | Quarterly | Parallel and angular alignment |
| Contamination check | Monthly | Oil, dust, debris on belt and sheaves |
| Bearing inspection | Quarterly | Noise, vibration, temperature |
| Belt replacement | As needed | When wear reaches 25% of thickness or cracks appear |
Frequently Asked Questions
What are the most common causes of industrial belt failure?
Industrial belts fail prematurely due to improper tension, pulley misalignment, environmental contamination, installation errors, overload conditions, material defects, and thermal degradation. Tension issues account for roughly 40% of premature failures. Misalignment causes sidewall wear and cord line rupture, while heat, oil, and dust accelerate thermal degradation and fatigue life reduction. Proper installation and regular vibration analysis catch most issues before catastrophic failure.
How does improper tension contribute to belt wear and slippage?
Under-tensioned belts slip on pulleys, causing friction, heat buildup, and accelerated glazing. Over-tensioned belts create excessive load on bearing systems and shorten fatigue life through cord rupture and crimp damage. The correct tension balances friction requirements with load capacity. Check belt stretch regularly and re-tension according to manufacturer specifications, most belts require re-tensioning after 24 hours of operation on new installations.
What role does pulley misalignment play in shortening belt lifespan?
Misaligned pulleys cause uneven contact across the belt width, creating sidewall wear, spin burn, and accelerated degradation on one edge. This reduces effective load capacity and fatigue life by 30-50%. Misalignment also increases vibration, which stresses cord lines and leads to cord line rupture. Check pulley alignment using a straightedge or laser alignment tool at installation and during routine maintenance. Even 1/8-inch offset compounds over time.
How can I tell if my belt is failing before it breaks completely?
Early warning signs include squealing or slipping, visible cracking or glazing on the belt surface, sidewall wear visible on the edges, and increased vibration in the drive system. Thermal degradation shows as discoloration or brittleness. Cog loss appears as missing teeth on synchronous belts. Implement vibration analysis quarterly to catch fatigue before cord line rupture occurs. Replace belts showing multiple warning signs rather than waiting for catastrophic failure, which damages pulleys and bearings.