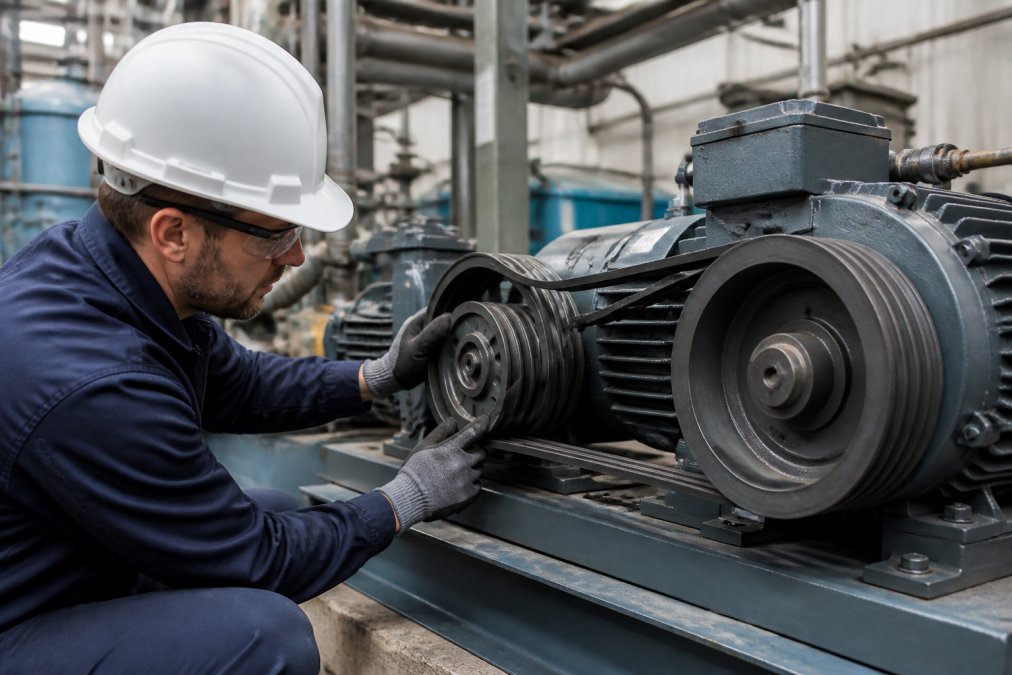
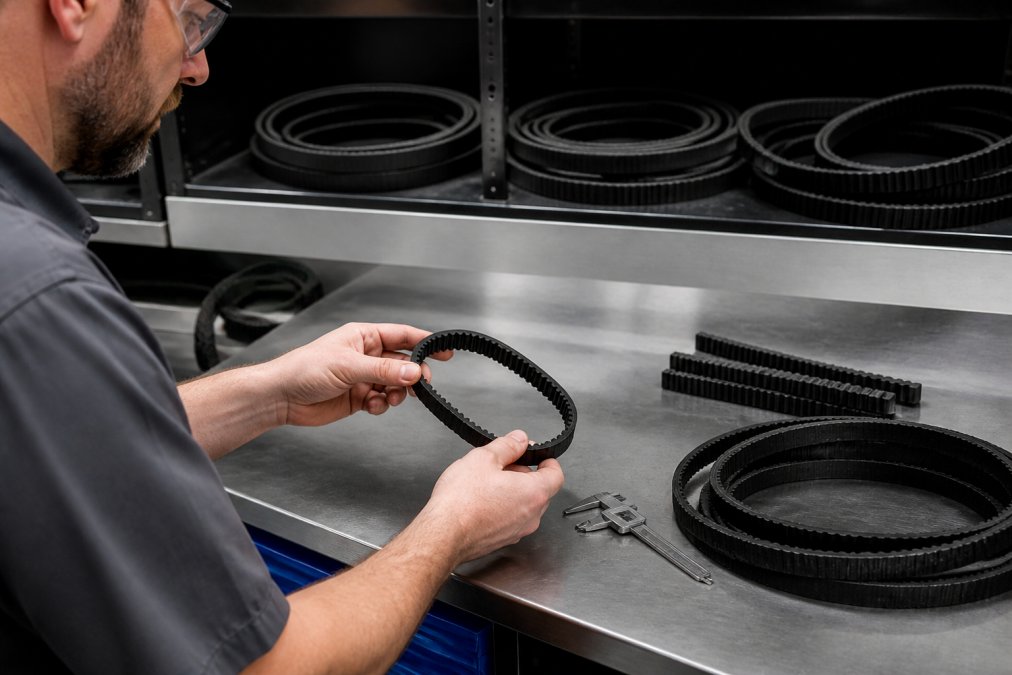
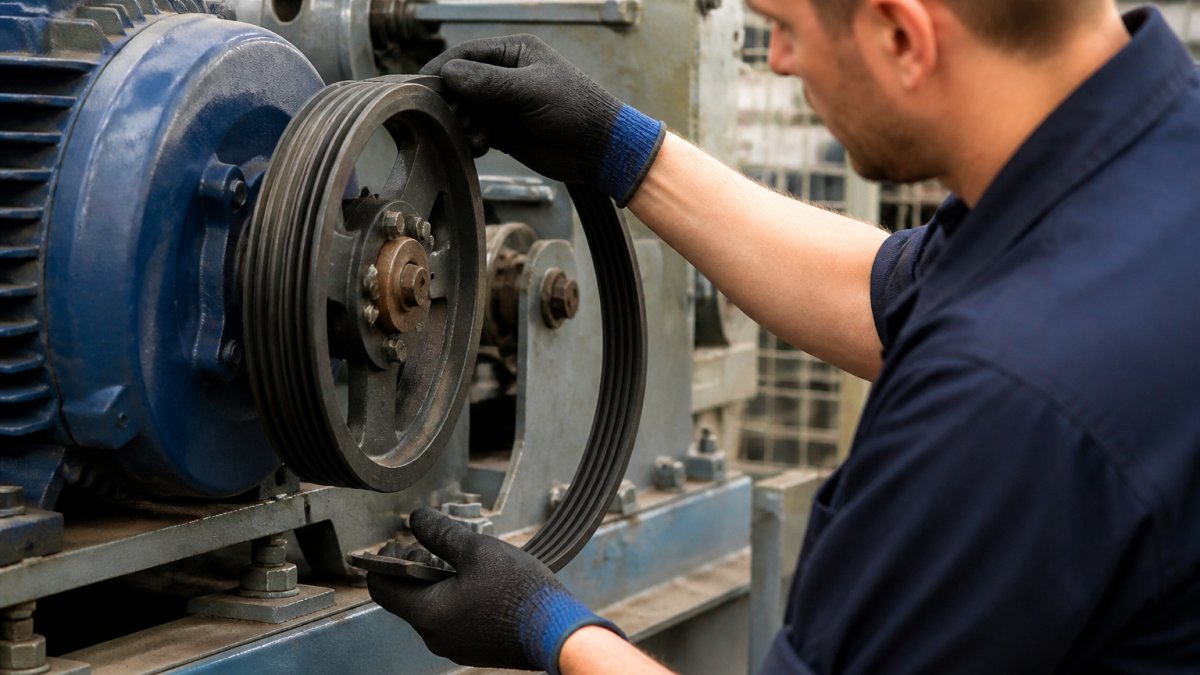
 ultimate-guide
Industrial Belt Replacement Frequency Guide
Table of Contents
- How Long Do V-Belts Last: Service Life by Type and Conditions
- Factors Affecting Industrial Belt Replacement Frequency
- Industrial V-Belt Inspection Checklist and Schedule
- Industrial Belt Maintenance Schedule: Preventive Approach
- V-Belt Replacement Guidelines: Preparation and Safety
- Condition-Based Replacement Criteria and Downtime Planning
- Matched Belt Replacement and System Compatibility
- Frequently Asked Questions
Last Updated: October 18, 2026
How Long Do V-Belts Last: Service Life by Type and Conditions
The service life of an industrial belt replacement depends on belt type, operating environment, and maintenance practices. Most industrial V-belts run 3 to 5 years under normal conditions, though load, speed, temperature, and contamination shift that timeline dramatically.
Classic V-Belts
Classic V-belts remain the workhorse of industrial power transmission, typically lasting 3 to 5 years in standard applications with moderate loads and consistent speeds.
Stable conditions extend service life, while frequent starts and stops, variable loads, or extreme temperatures compress it. Many classic V-belts fail prematurely not from age but from neglect, misalignment, inadequate tension, or contamination.
V-Belt Nation stocks a comprehensive range of classic V-belts in standard sections (A, B, C, D, E) to match your machinery specifications.
Wedge Belts
Wedge belts typically deliver 4 to 6 years under comparable conditions. The steeper wedge angle increases sheave contact area, allowing higher torque transmission in a more compact footprint.
Wedge belts excel in high-speed applications where classic belts would slip or overheat. Their durability advantage erodes if tension drifts or the sheave glazes from contamination, which can shorten belt life to 2 years or less.
Cogged and Specialty Belts
Cogged V-belts add cogs (teeth) on the inner surface, reducing bending stress and heat buildup, and often achieve 5 to 7 years in demanding environments. The design allows tighter bends around smaller sheaves, ideal for compact machinery or high-speed drives.
Specialty belts, banded, ribbed, and variable-speed, serve niche applications. Banded belts link multiple V-belts for increased load capacity; ribbed belts handle light-duty transmission. Service life varies from 8 years to 2 to 3 years under extreme conditions.
Factors Affecting Industrial Belt Replacement Frequency
The same belt model installed in different machinery may fail at vastly different intervals. Identifying which factors stress your belts most helps predict replacement timing.
Operating Speed and Load
Belt speed and load magnitude are primary drivers of wear rate. A belt at 1,000 rpm under light load experiences far less stress than one at 3,600 rpm under heavy load.
Variable loads compound the problem: machinery cycling between idle and full load creates shock stresses that steady-state calculations don't capture, hastening fatigue failure.
Overloading a belt, running it beyond its rated torque capacity, collapses the service-life estimate dramatically.
Temperature and Environmental Contamination
Extreme temperatures accelerate rubber degradation. Heat above 140°F softens belt material and reduces sheave grip; cold below 32°F stiffens rubber and increases brittleness. Most industrial belts perform optimally between 40°F and 120°F.
Contamination shortens belt life dramatically.
Chemical exposure, solvents, coolants, or cleaning agents, can dissolve rubber compounds. Verify that your belt material resists them. Standard EPDM rubber resists many industrial chemicals, but specialty compounds may be required for aggressive environments.
Alignment and Tension Issues
Misalignment is one of the most common causes of premature belt failure. When sheaves aren't parallel or centered on the same plane, belts track off-center, causing edge wear and accelerated cracking.
Improper tension creates a cascade of problems. Under-tensioned belts slip, generating heat and glazing the surface; over-tensioned belts overload bearings and wear belt fibers.
A belt running on a worn or glazed sheave wears faster than one on a clean, properly profiled sheave.
Industrial V-Belt Inspection Checklist and Schedule
Proactive inspection catches wear before failure, allowing planned replacement rather than emergency downtime.
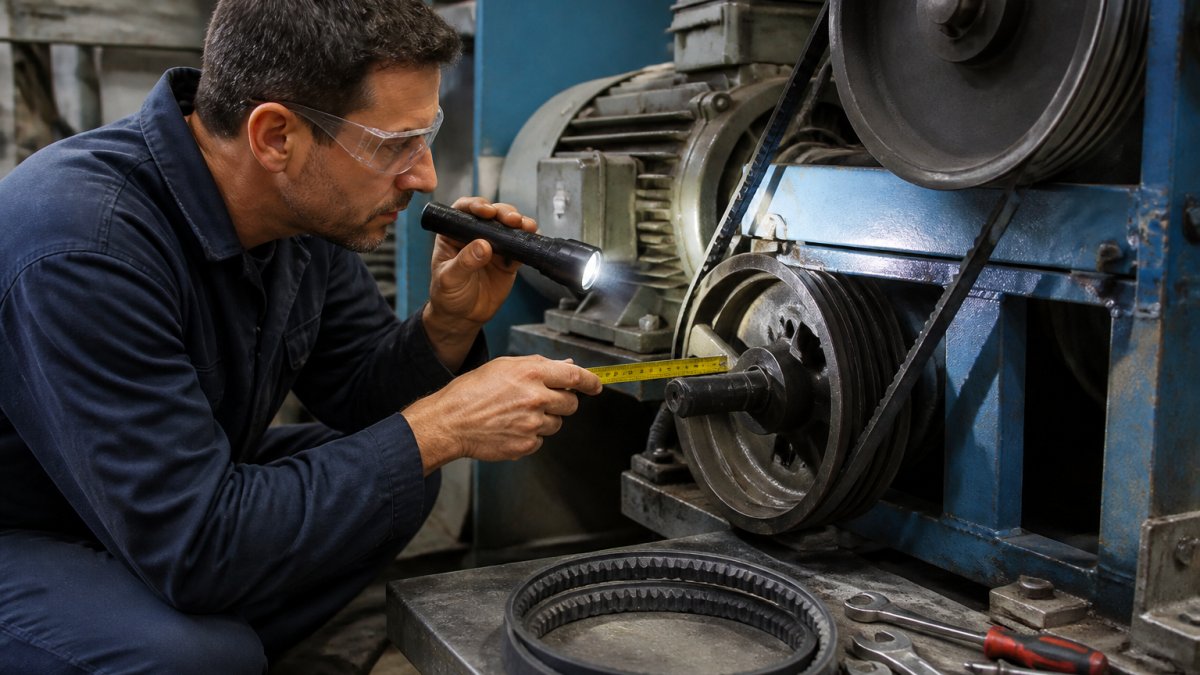
Visual Wear Signs: Cracking, Fraying, and Glazing
Examine the belt surface for visible damage. Small surface cracks may not require immediate replacement, but deep cracks extending into the belt body signal imminent failure. Fraying, unraveling edges, typically from misalignment, and glazing, a shiny hardened surface indicating heat damage or slip, also warrant replacement.
Check the belt underside and sidewalls as well; inner surface wear or sidewall damage often indicates misalignment or foreign object contact. Cracks wider than 1/16 inch or longer than 1 inch warrant replacement planning.
Tension and Tracking Assessment
Press the belt midway between two sheaves with moderate finger pressure; it should deflect about 1/2 inch for a 3-foot span. More movement means tension is too low, resistance too high.
Observe belt tracking during operation. The belt should run centered on each sheave without drifting toward either edge; drift indicates misalignment. Mark the belt at a fixed point and check whether it returns to the same position after one revolution.
Recommended Inspection Frequency
Inspect belts monthly in critical applications where downtime is costly, quarterly in moderate-use machinery, and semi-annually in light-duty applications. After any maintenance work, tensioning, alignment correction, or sheave replacement, inspect belts within one week to verify the adjustment took effect.
Document inspection findings in a maintenance log, dates, observations, measurements, and corrective actions. This record helps predict replacement timing and identifies recurring problems that may signal design or installation issues.
Industrial Belt Maintenance Schedule: Preventive Approach
A structured maintenance schedule prevents surprises and extends belt life, balancing inspection frequency against operational reality.
Monthly and Quarterly Inspections
Monthly inspections focus on tension and visible damage: check tension with a gauge or deflection method, retension if needed, and scan for new cracks, fraying, or glazing. This quick check takes 10 to 15 minutes per belt system.
Quarterly inspections are more thorough: measure sheave alignment with a straightedge or laser tool, check for oil or coolant contamination, and inspect sheave surfaces for wear, scoring, or glazing. If contamination is present, clean the area and identify the source to prevent recurrence.
Annual System Assessment
Once yearly, conduct a comprehensive system assessment: all quarterly checks plus bearing condition (listen for noise, feel for vibration), sheave wear measurement, and belt routing verification. Measure belt length to detect stretch, a significantly lengthened belt is nearing the end of its service life.
Review the past year's operating conditions, unusual loads, temperature extremes, or premature failures, and use this information to adjust inspection frequency or plan preventive replacement.
V-Belt Replacement Guidelines: Preparation and Safety
Replacing an industrial belt requires careful planning and strict safety protocols. Improper replacement introduces hazards and may damage the new belt or surrounding machinery.
Safe Shutdown and Lockout Procedures
Before beginning replacement work, shut down the machinery completely. Follow your facility's lockout/tagout (LOTO) procedures: attach a lockout device to the main power switch, post a warning tag, and verify that all rotating parts have stopped and the machinery is de-energized.
Wait at least five minutes after shutdown for residual motion to cease and hot components to cool. Verify that sheaves are not rotating by attempting to turn them by hand (with proper caution).
Belt Removal and Installation Steps
-
Loosen the tension. Locate the motor or idler adjustment and move it to reduce belt tension. Most systems include an adjustment bolt or slot that allows the driven component to move closer to or farther from the driver.
-
Remove the old belt. Slide the belt off both sheaves. Inspect the sheaves for wear, scoring, or glazing before installing the new belt. Clean the sheave surfaces with a dry cloth to remove dust or residue.
-
Position the new belt. Align the new belt on both sheaves, starting with the smaller sheave if the belt must be threaded around obstacles. Ensure the belt sits fully in the sheave grooves and is not twisted.
-
Adjust tension. Move the motor or idler to increase tension until the belt deflects approximately 1/2 inch under moderate finger pressure at the midpoint between sheaves. Use a belt tension gauge for precision.
-
Check alignment and tracking. Verify that both sheaves are parallel and centered. Run the machinery briefly at low speed to observe tracking. The belt should run centered on each sheave without drifting.
-
Retension after initial run. After 24 to 48 hours of operation, inspect and retension the belt. New belts often settle slightly as fibers compress; this is normal. Retensioning ensures optimal performance.
Belt Tensioning and Retensioning
Correct tension is critical to belt longevity. Under-tensioned belts slip, generating heat and glazing; over-tensioned belts overload bearings and accelerate fiber fatigue.
A belt tension gauge provides the most accurate measurement, reading the force required to deflect the belt a fixed distance. Compare your measurement to the manufacturer's specification for your belt size and application.
Without a tension gauge, use the deflection method: press the belt midway between sheaves with moderate finger pressure, a 3-foot span should deflect about 1/2 inch.
Retension belts at regular intervals.
Condition-Based Replacement Criteria and Downtime Planning
Not all belts reach their theoretical service-life limit. Establishing clear replacement criteria prevents unexpected failures and allows planned downtime.
When Immediate Replacement Is Required
Replace a belt immediately if any of these conditions exist: visible cracks wider than 1/16 inch or longer than 1 inch; significant fraying or edge damage; persistent slipping despite retensioning; or glazing that cannot be cleaned.
If a belt fails during operation, inspect the sheaves and surrounding machinery before installing a replacement. Determine what caused the failure, misalignment, overload, contamination, or design limitation, and correct the root cause, or the new belt will simply fail prematurely too.
Cost and Downtime Considerations
Plan belt replacement during scheduled maintenance windows rather than responding to failures. Planned replacement typically costs 30 to 50 percent less than emergency replacement due to reduced labor and no production loss.
Many facilities maintain spare belts in inventory, allowing rapid replacement if a belt fails unexpectedly. V-Belt Nation offers extensive inventory of standard and specialty belts, with free ground shipping on orders over $175.
Document replacement costs and downtime duration to justify investment in preventive maintenance, better environmental controls, or alignment improvements.
Matched Belt Replacement and System Compatibility
When replacing a single belt in a multi-belt system, consider whether matched replacement is necessary. Some systems require all belts to be replaced together to maintain load balance.
Matched sets are manufactured to similar lengths and stiffness.
If your machinery uses multiple belts, review the manufacturer's guidance on replacement strategy. Some systems allow individual belt replacement; others require matched sets.
Industrial belt replacement isn't a one-size-fits-all decision.
Frequently Asked Questions
How often should industrial belts be replaced?
Replacement frequency depends on belt type, operating conditions, and maintenance. Classic V-belts and wedge belts have varying service lives under normal conditions. High-speed, high-load, or contaminated environments reduce service life significantly. Implement monthly visual inspections and quarterly tension checks. Replace belts showing visible cracking, fraying, glazing, or slipping, do not wait for complete failure.
What are the signs that an industrial belt needs replacement?
Watch for cracking, fraying, or a glazed (shiny, worn) surface. Slipping, squealing, or unusual vibration signals tension loss or wear. Misalignment causes edge wear; check sheave and pulley alignment during inspection. If a belt shows any combination of these signs, plan replacement immediately to prevent unexpected downtime and damage to connected components.
How long do V-belts last under different operating conditions?
Service life varies widely. Standard V-belts in light-duty, clean, room-temperature environments can last for several years, while continuous high-speed operation or heavy load significantly reduces life. High temperature, oil, dust, or moisture contamination accelerates degradation. Cogged and specialty belts often offer extended durability compared to classic belts. Document operating hours and conditions to predict replacement timing accurately.
What factors affect industrial belt replacement frequency?
Operating speed, load, temperature, and contamination are primary drivers. Parallel or angular misalignment between sheaves accelerates wear. Poor tension (too loose or too tight) shortens life. Lubrication contamination and UV exposure degrade belt material. Environmental factors like moisture and corrosive chemicals matter significantly. Regular maintenance, proper alignment, and correct tensioning can extend service life by 30 to 50 percent.
Should matched V-belts be replaced as a set?
Yes. Matched belts are manufactured to work together with consistent tension and load distribution. Replacing only one belt in a matched set creates tension imbalance, leading to uneven wear, slipping, and premature failure of the new belt. Replace all belts in a drive system simultaneously, even if only one shows visible wear, to maintain system performance and reliability.
How do I create an industrial belt maintenance schedule?
Start with monthly visual inspections for obvious wear, cracking, or misalignment. Perform quarterly tension measurements using a tension gauge. Conduct annual system assessments that include sheave alignment, belt compatibility, and operating-condition review. Document all findings and adjust inspection frequency based on belt type, operating speed, load, and environmental factors. High-stress applications may require monthly tension checks.