 how-to
How to Inspect Industrial Belts for Cracks
Table of Contents
- Why Regular Inspection of Industrial Belts Matters
- What You'll Need Before You Start
- Step-by-Step: How to Inspect Industrial Belts for Cracks
- V-Belt Cracking Causes and Root-Cause Investigation
- Creating an Industrial Belt Inspection Checklist
- How to Inspect a Conveyor Belt Specifically
- How Often to Inspect Industrial Belts
- Common Mistakes to Avoid During Belt Inspection
- Frequently Asked Questions
Last Updated: October 7, 2026
Why Regular Inspection of Industrial Belts Matters
Industrial belts power the machinery that keeps your operations running. When they fail, production stops. Downtime costs money fast.
The best way to prevent failure is regular inspection. Catching problems early saves equipment and prevents unexpected shutdowns. Maintenance teams across manufacturing, agriculture, and HVAC industries who inspect regularly spend far less on emergency replacements and repairs.
Here's what most maintenance managers get wrong: they wait for a belt to slip or squeal before they check it. By then, damage is already advanced. The real strategy is to inspect before problems start.
What You'll Need Before You Start
Before you begin how to inspect industrial belts for cracks, gather the right tools. You don't need much, but having everything ready makes the process faster and safer.
Essential inspection tools:
- Flashlight or work light (LED works best)
- Ruler or measuring tape
- Magnifying glass (optional but helpful for small cracks)
- Pressure gauge for belt tension checks
- Work gloves and safety glasses
- Notebook or inspection checklist
Safety equipment:
- Lockout/tagout device for the machinery
- Hard hat if working in an industrial environment
- Steel-toed boots
- Hearing protection if machinery is running nearby
Make sure your workspace is clean and well-lit. Poor lighting is the main reason cracks get missed during inspection. If you're working on a conveyor belt or other equipment, ensure power is completely shut off and locked before you touch anything.
Step-by-Step: How to Inspect Industrial Belts for Cracks
Step 1: Power Down and Safety First
This is non-negotiable. Never inspect a belt on running equipment.
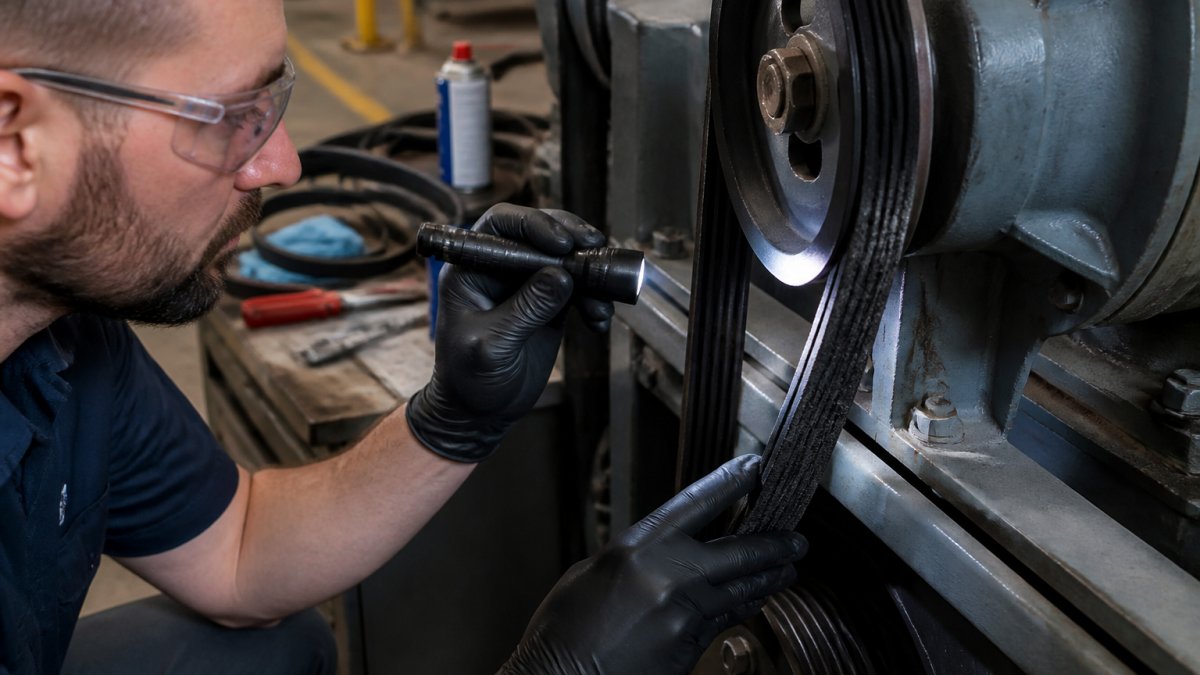
Lock out the machinery using your facility's lockout/tagout procedure. Verify the equipment is de-energized. Wait a few minutes for any residual motion to stop completely. Rotating belts can catch clothing, hair, or fingers in seconds. One accident isn't worth the time saved by skipping this step.
Check that no one else will restart the equipment while you're working. Post a sign if your facility requires it. Put on your safety glasses and gloves.
Step 2: Visual Inspection for Cracks and Visible Damage
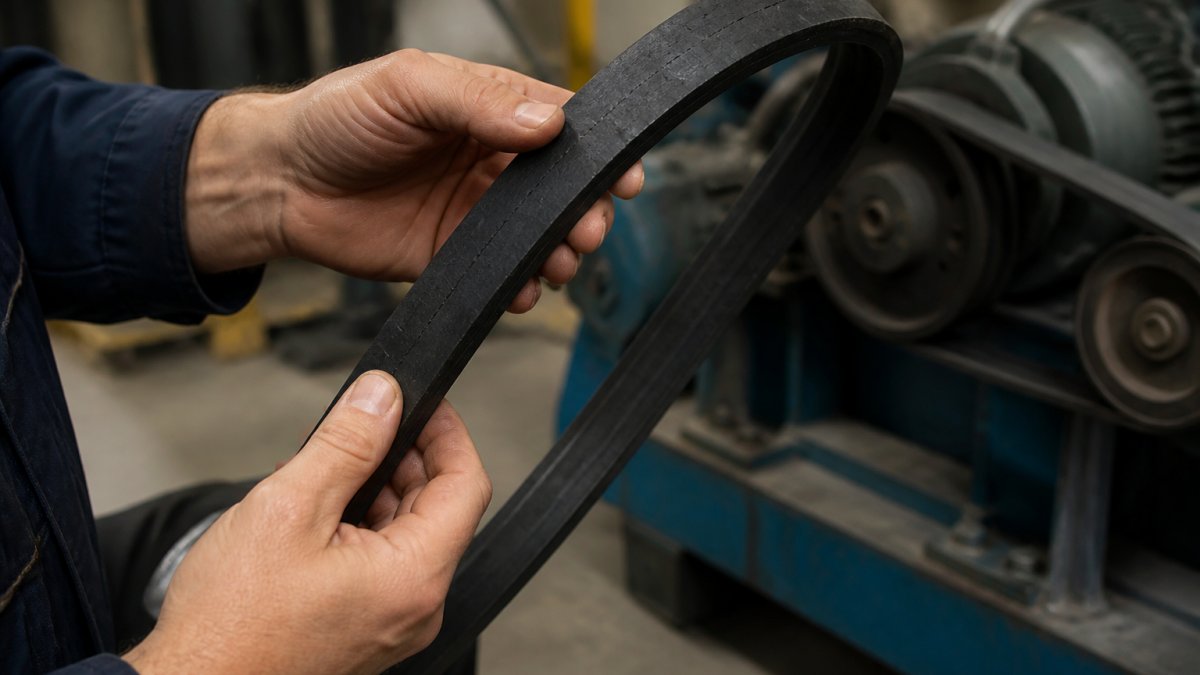
This is where you find most problems. Look for cracks, fraying, cuts, bulges, and soft spots.
What to look for:
- Cracks running along the belt length or across the width
- Fraying at the belt edges
- Cuts or tears in the rubber
- Bulges or soft spots that feel spongy
- Glazing (a shiny, hardened surface)
- Debris or contamination stuck to the belt
Use your flashlight to examine the entire belt surface. Rotate the belt by hand slowly while you inspect. Check both the top and bottom surfaces.
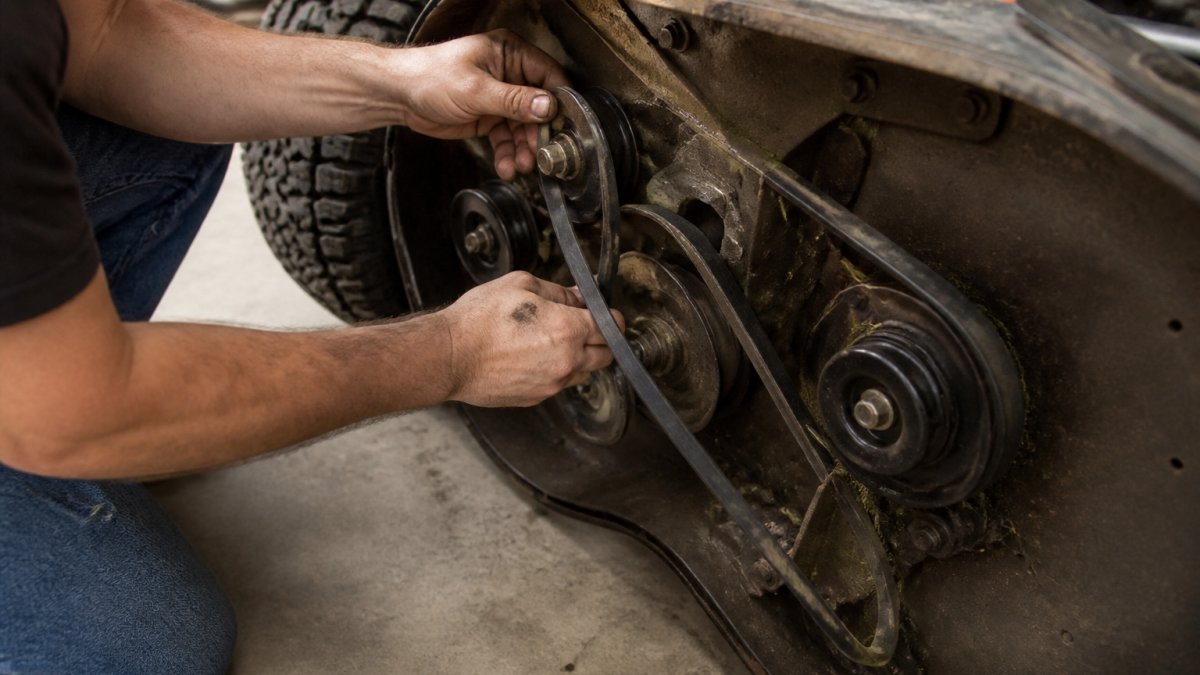
Pay special attention to the areas where the belt meets the pulleys. Cracks often start at stress points. Look at the belt's inner surfaces too, these wear faster and show deterioration first.
Step 3: Check for Common Belt Wear Symptoms
Belt wear shows itself in specific ways. Learn to recognize them.
Common wear patterns:
- Glazing: The belt surface becomes shiny and hardened. This reduces grip and causes slipping.
- Fraying: The belt edges separate and fray. This indicates age and material breakdown.
- Tearing: Small tears that grow over time. These become cracks if ignored.
- Soft spots: Areas that feel spongy or compressed. These indicate internal damage.
- Uneven wear: One side of the belt wears faster than the other. This points to pulley misalignment.
Feel the belt with your gloved hand. A healthy belt feels firm and slightly flexible. A worn belt feels hard, cracked, or spongy. If the belt has been running hot, it will feel dry and brittle.
Contamination also accelerates wear. Look for oil, grease, dirt, or debris on the belt surface. These speed up deterioration and cause slipping. If you see contamination, clean the belt and investigate the source.
Step 4: Assess Belt Tension
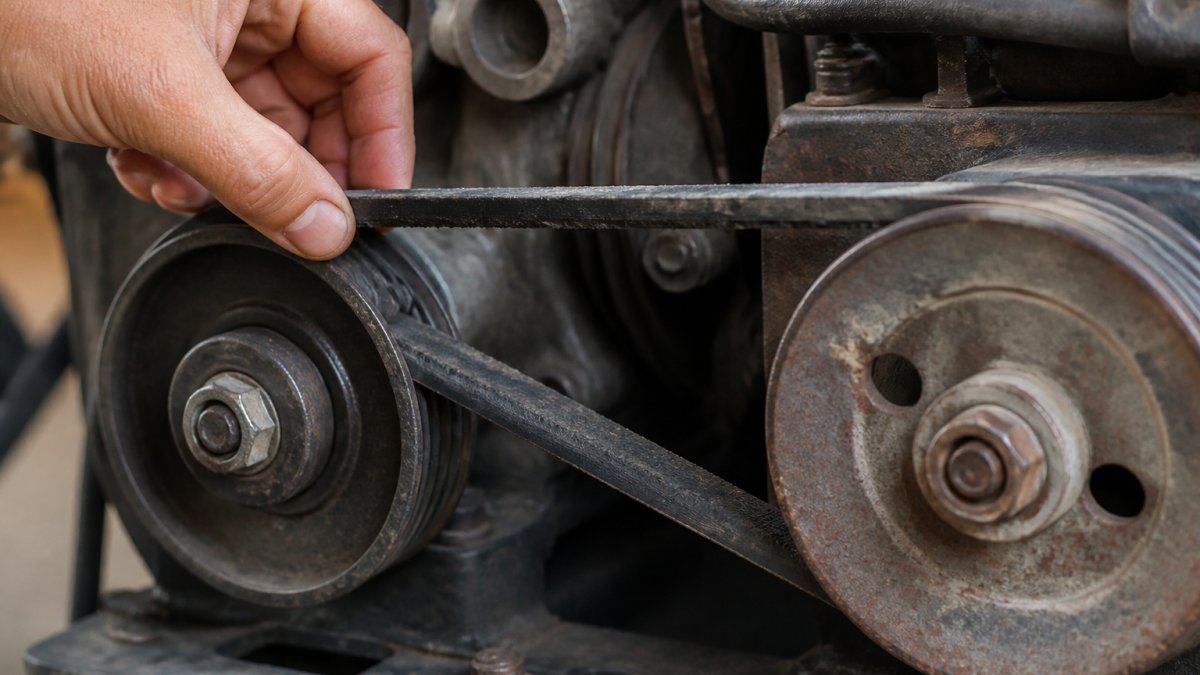
Incorrect tension causes premature failure and slipping. Check tension using your pressure gauge or the deflection method.
Deflection method (simple and effective):
- Apply moderate thumb pressure to the belt midway between pulleys
- The belt should deflect about 1/2 inch per foot of span
- For a 3-foot span, aim for roughly 1.5 inches of deflection
- Too tight: the belt strains and cracks prematurely
- Too loose: the belt slips and wears unevenly
Using a pressure gauge: Follow your equipment manufacturer's specifications. Most V-belts require 40-60 pounds of pressure at the midpoint between pulleys. Check your machinery manual for exact figures.
Tension changes as belts age and wear. A belt that was properly tensioned six months ago may be too loose now. Regular tension checks prevent slipping and extend belt life.
Step 5: Inspect Pulleys, Idlers, and Tensioners
The belt is only as good as the components it runs on. Damaged pulleys and misaligned idlers destroy even new belts.
Check the pulleys:
- Look for cracks or chips in the pulley grooves
- Verify the pulley diameter matches your belt specification
- Examine pulley alignment, use a straightedge across the sheaves
Inspect idlers and tensioners:
- Spin idlers by hand, they should rotate freely and smoothly
- Listen for grinding or squealing, which indicates bearing wear
- Check that tensioners move freely and hold position
- Look for rust or corrosion on metal components
Pulley alignment matters. Misaligned pulleys cause the belt to track off center. This creates uneven wear and accelerates cracking. Use a straightedge or laser alignment tool to verify pulleys are parallel.
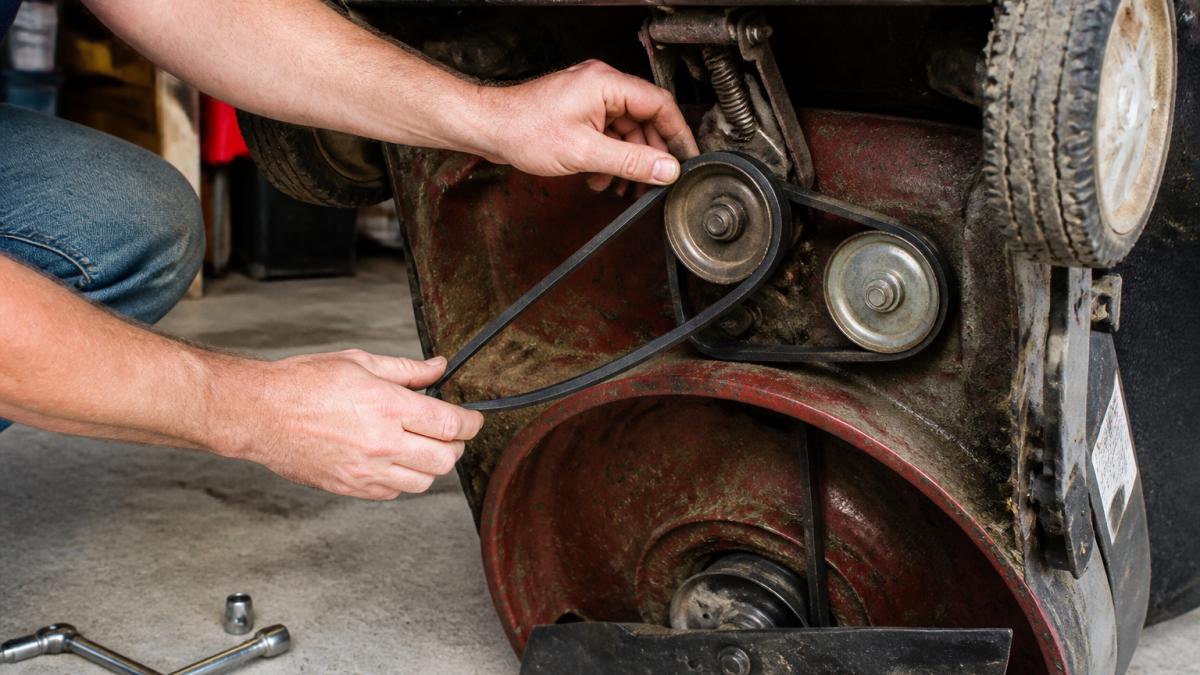
If you find damaged pulleys or idlers, replace them before installing a new belt. A new belt on worn components will fail quickly.
V-Belt Cracking Causes and Root-Cause Investigation
Understanding why cracks form helps you prevent them.
Heat and operating conditions: High temperatures harden belt rubber and cause cracking.
Contamination and debris: Oil, grease, and dirt soften the belt rubber and accelerate deterioration.
Pulley problems: Misaligned or damaged pulleys create stress points where cracks start.
Overloading: Belts rated for specific loads fail when overloaded.
Age and material breakdown: All belts eventually wear out. Rubber degrades over time, especially in harsh conditions.
Incorrect tension: Both too-tight and too-loose tension cause cracking. Tight belts strain and split.
When you find cracks, investigate the cause. Don't just replace the belt and move on.
Creating an Industrial Belt Inspection Checklist
A written checklist ensures you don't miss anything. Use this as your template.
| Inspection Item | Check | Frequency | Notes |
|---|---|---|---|
| Visual cracks | Look for length-wise and cross cracks | Monthly | Document location and size |
| Fraying and tearing | Check belt edges and surfaces | Monthly | Note if edges are separating |
| Glazing | Feel for shiny, hardened areas | Monthly | Indicates age and reduced grip |
| Soft spots | Press belt surface for spongy areas | Monthly | Signals internal damage |
| Belt tension | Measure deflection or use gauge | Monthly | Adjust if out of spec |
| Pulley condition | Inspect grooves for damage | Quarterly | Replace if cracked or worn |
| Pulley alignment | Use straightedge to verify | Quarterly | Correct misalignment immediately |
| Contamination | Check for oil, grease, dirt | Monthly | Clean and identify source |
| Idler rotation | Spin idlers by hand | Quarterly | Should move freely and smoothly |
| Tensioner function | Verify movement and hold | Quarterly | Replace if stuck or loose |
| Operating temperature | Check if equipment runs hot | Ongoing | Note any unusual heat |
| Load verification | Confirm belt matches equipment specs | Annually | Verify horsepower rating |
Print this checklist and keep it with your maintenance logs. Record findings each time you inspect. Over time, you'll see patterns that predict failure.
How to Inspect a Conveyor Belt Specifically
Conveyor belts have unique wear patterns. They run continuously and carry heavy loads, so inspection methods differ slightly from V-belts on machinery.
Conveyor belt inspection steps:
-
Stop the conveyor completely. Lock it out and verify no movement is possible.
-
Walk the full length of the belt. Inspect the top and bottom surfaces. Conveyor belts wear unevenly based on load distribution.
-
Look for tracking issues. The belt should track straight down the center of the rollers. Drift to one side indicates misalignment.
-
Check for buildup and contamination. Conveyor belts accumulate material. Clean off debris and look for embedded objects.
-
Inspect splice joints. If your belt is spliced, examine the joint carefully. Splices are stress points where cracks often start.
-
Test belt tension. Conveyor belts need proper tension to track straight. Use your pressure gauge or deflection method.
-
Examine rollers and pulleys. Worn rollers cause uneven belt wear. Replace damaged rollers before they destroy the belt.
Conveyor belts typically need inspection every two to four weeks if running continuously. More frequent inspection catches problems earlier and prevents costly downtime.
How Often to Inspect Industrial Belts
Inspection frequency depends on operating conditions and belt age.
General guidelines:
- New equipment: Inspect monthly for the first three months
- Normal operating conditions: Inspect monthly
- Heavy-duty or continuous operation: Inspect every two weeks
- High-temperature environments: Inspect every two weeks
- Older belts (3+ years): Inspect every two weeks
- After belt replacement: Inspect after 24 hours of operation, then resume regular schedule
If you find problems during inspection, increase frequency. A belt showing early wear should be checked every week until you understand the root cause.
Document every inspection. This creates a maintenance history that shows when to plan replacements. Planned maintenance costs far less than emergency repairs.
Common Mistakes to Avoid During Belt Inspection
Most inspection failures come from skipping steps or misinterpreting what you see.
Mistake 1: Inspecting a running belt. Never do this. Lockout/tagout is mandatory.
Mistake 2: Missing cracks because of poor lighting. Dim light hides small cracks.
Mistake 5: Skipping pulley inspection. A damaged pulley destroys a new belt quickly.
Mistake 6: Assuming tension is correct. Tension drifts over time. Check it every month.
Mistake 7: Not investigating root causes. If a belt cracked, something caused it.
Mistake 9: Ignoring contamination. Oil and dirt on the belt accelerate wear.
Frequently Asked Questions
How do you inspect an industrial belt for cracks?
Start by powering down the equipment and ensuring it cannot restart. Visually examine the entire belt surface under good lighting, looking for visible cracks, fraying, cuts, or discoloration. Run your fingers gently along the belt (with equipment off) to feel for surface irregularities. Check the belt tension using a tension gauge or deflection method. Inspect the pulleys and idlers for wear or misalignment, which often causes belt cracking. Document findings with photos for your records.
What are common V-belt cracking causes?
V-belt cracking results from heat exposure, contamination from oil or debris, pulley misalignment, excessive tension, undersized pulleys, and overloading. Glazing (a shiny, hardened surface) occurs when belts slip repeatedly, making them brittle. Operating conditions, temperature extremes, moisture, and harsh chemicals, accelerate deterioration. Improper installation or worn pulleys that don't grip the belt correctly also trigger premature failure. Identifying the root cause prevents the replacement belt from failing the same way.
How often should industrial belts be inspected?
Inspect industrial belts monthly under normal operating conditions, or weekly in high-demand environments with 24/7 operation. Check after any equipment shutdown or maintenance work. Conveyor belts in heavy-duty applications warrant weekly visual checks. HVAC systems benefit from seasonal inspections before peak heating or cooling periods. Keep a maintenance log to track wear patterns and predict replacement timing. More frequent inspection catches deterioration early, reducing unexpected equipment shutdown.
Can a cracked industrial belt be repaired, or should it be replaced?
Small surface cracks (under 0.5 inches) may be temporarily sealed with vulcanizing tape as an emergency measure, but replacement is the proper solution. Deep cracks, multiple cracks, or damage affecting more than 25% of the belt surface require immediate replacement. Fraying, bulges, soft spots, and tearing always demand replacement, attempting repair risks catastrophic failure and equipment damage. Preventive replacement of a deteriorating belt costs far less than unplanned downtime from a belt breaking mid-operation.
Inspecting industrial belts for cracks takes 15 to 20 minutes per machine. Done monthly, this prevents emergency shutdowns and keeps equipment running reliably. V-Belt Nation stocks a comprehensive selection of replacement V-belts, conveyor belts, and power transmission components for every application. When inspection shows it's time to replace, we deliver the right belt fast with free ground shipping on orders over $175. Shop Now and keep your machinery moving.