 how-to
How to Safely Remove a Seized V-Belt From a Motor
Table of Contents
- Diagnosing Whether Your V-Belt Is Seized
- Safety First: Lockout and Preparation Before Removal
- How to Release Tension on a V-Belt Before Removal
- V-Belt Removal Tools You'll Need
- Step-by-Step: Removing a Seized V-Belt Safely
- How to Replace a V-Belt After Safe Removal
- V-Belt Pulley Cleaning and Inspection After Removal
- Common Mistakes to Avoid When Removing a Seized Belt
- Frequently Asked Questions
Last Updated: October 12, 2026
Diagnosing Whether Your V-Belt Is Seized
Understanding how to safely remove a seized v-belt from a motor starts with recognizing that a seized V-belt won't rotate freely on the pulleys. It's stuck in place, often due to age, moisture, heat damage, or debris buildup. The key is determining whether the belt itself is the problem or if the motor or pulley has seized instead, that distinction changes your entire approach.
Signs of a seized belt versus a seized motor or pulley
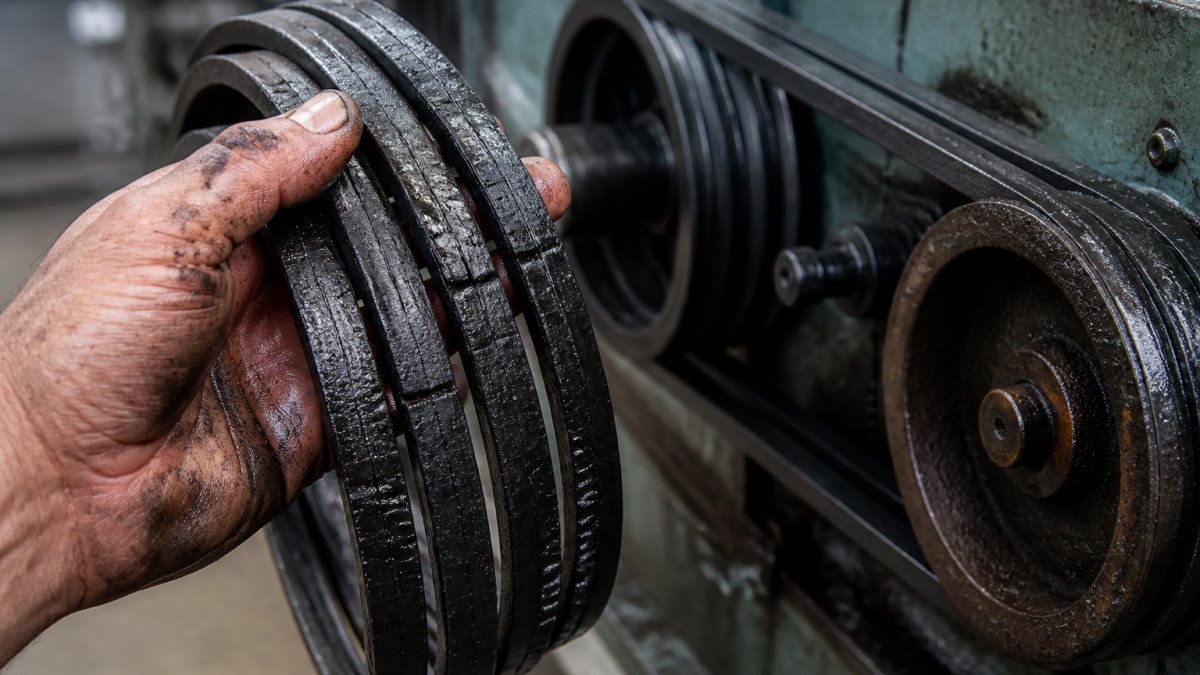
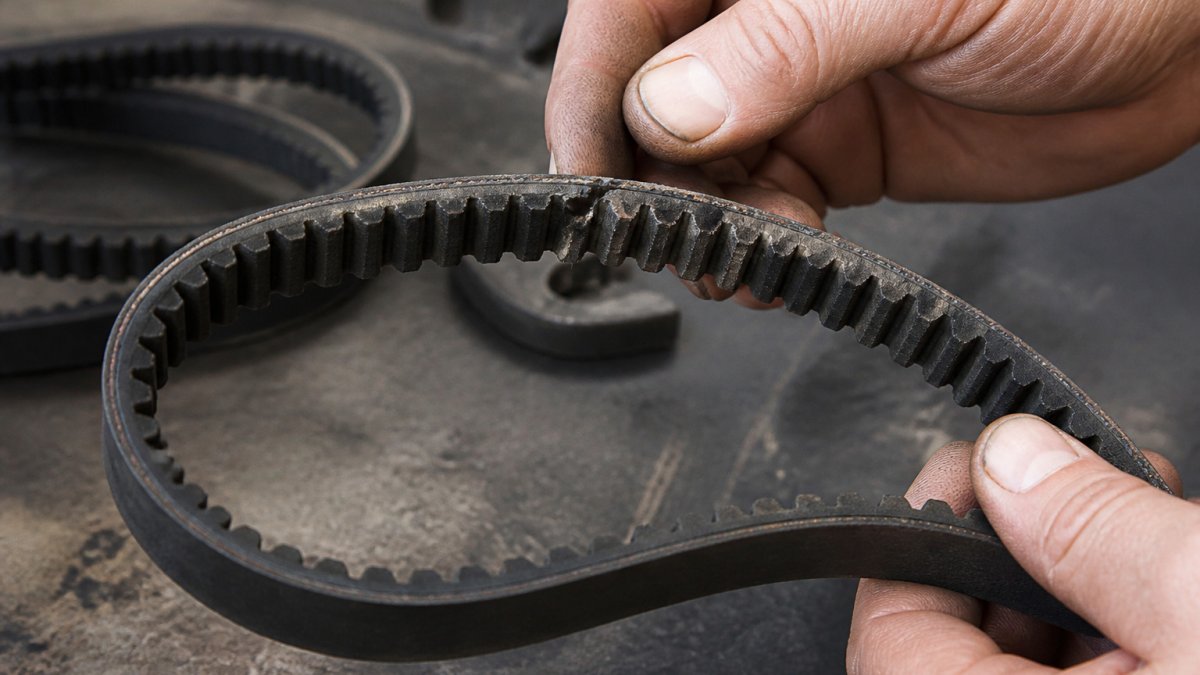
A seized V-belt will show visible cracking, hardening, or glazing on its surface. The belt may feel brittle when you press it.
A seized motor means the motor shaft won't turn at all, even when you apply gentle pressure to the pulley. The resistance feels solid, not like friction.
The distinction matters because a seized belt is fixable with penetrating oil and patience. A seized motor or pulley bearing usually means replacement, not just belt removal.
Inspecting the belt and pulleys for damage
Before you start removing anything, look at what you're working with. A seized V-belt often shows these signs:
- Cracking or splitting along the belt's length
- Hardened rubber that's lost its flexibility
- Glazed or shiny surface from heat and friction
- Chunks missing from the belt edges
- Discoloration (brown or black instead of the original color)
Check the pulleys too. Look for rust, corrosion, or deep grooves worn into the metal. A badly worn pulley groove can trap a belt and make it feel seized when it's actually just stuck in place from wear.
Spin the pulleys by hand (motor unplugged). They should rotate smoothly. If they're stiff or grinding, that's your real problem, not the belt.
Safety First: Lockout and Preparation Before Removal
Never work on a motor while power is available. A motor that suddenly starts can catch your hand, clothing, or hair. Lockout and tagout procedures protect you.
Electrical and mechanical lockout procedures
Start by switching off power at the main breaker.
Flip the breaker to OFF. Lock it in place if your breaker box has a lockout hasp.
Check that power is truly off using a non-contact voltage tester on the motor terminals.
Next, release mechanical energy. If the motor has a flywheel or heavy rotating component, it may still have momentum.
Some industrial motors have a mechanical disconnect or clutch. Engage it if present. This prevents accidental rotation.
Identifying belt routing and taking reference photos
Before you touch anything, document the belt path. Take clear photos of the entire belt run from multiple angles.
Note the belt's routing direction. Does it twist? Does it cross itself?
Look for any labels on the motor or pulleys that show belt routing. Write these down.
Check if there are any guides, guards, or spacers around the belt. These keep the belt aligned.
Take a photo of the tensioner location and its current position. This helps you reinstall the replacement belt at the correct tension.
How to Release Tension on a V-Belt Before Removal
A tight belt won't come off. You must release the tension first. This step prevents you from forcing the belt and damaging the pulleys or your hands.
Locating the tensioner or adjuster bolt
Most motors have a tensioner bolt or an adjuster bolt. The tensioner is usually a spring-loaded arm that keeps constant pressure on the belt.
Look for a bolt on the motor mounting bracket or on a separate tensioning arm.
If the motor is bolted to a base, the adjustment may be on the base itself.
Check the equipment manual if available. It will show exactly where the adjustment point is.
Loosening mounting bolts and backing off the tensioner
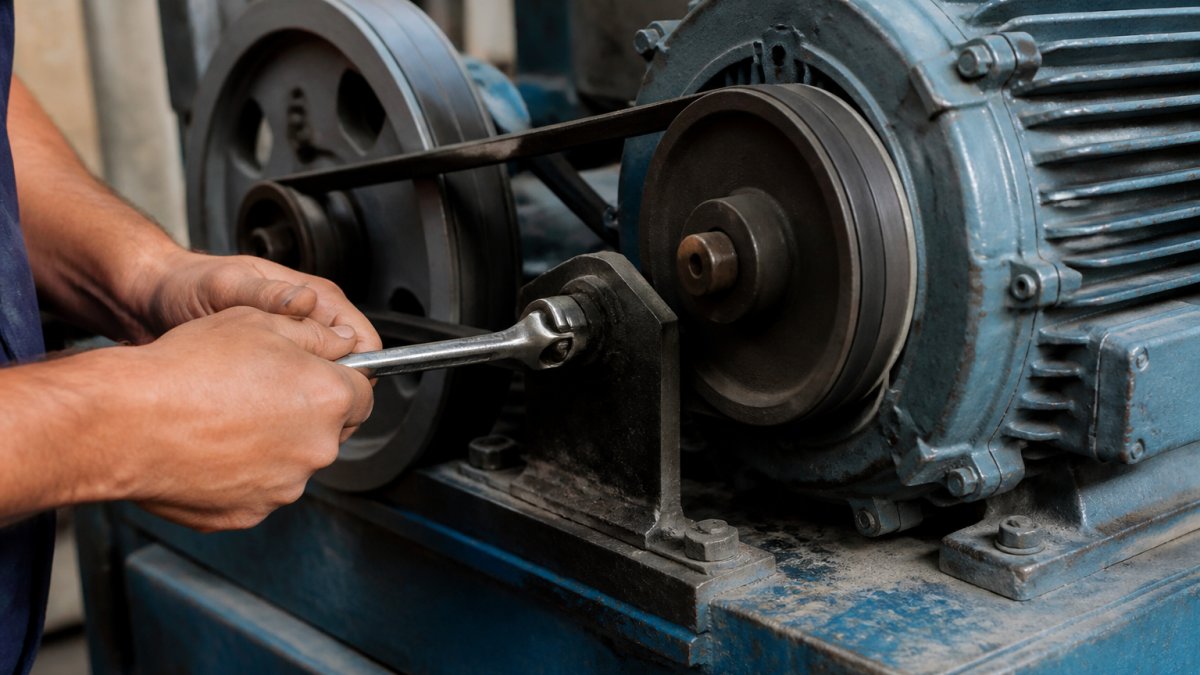
Once you find the tensioner or adjuster bolt, loosen it by one-quarter turn using a wrench.
If it's a tensioner arm, loosen the bolt and the arm should pivot.
Rotate the motor shaft by hand. The belt should move freely now without resistance.
Don't remove any bolts yet. You just need enough slack to work with the belt.
V-Belt Removal Tools You'll Need
You don't need many tools to remove a seized V-belt safely. Most are basic hand tools you probably have.
Essential hand tools and safety equipment
Wrench set, You need wrenches to loosen the tensioner and mounting bolts.
Socket set, For bolts that are easier to reach with a socket.
Screwdriver set, For any guard bolts or fasteners holding covers in place.
Safety glasses, Wear them every time. Rust, dust, and small parts can fly.
Flashlight, You'll be working in tight spaces. A headlamp is even better.
Penetrating oil, This is critical for a seized belt.
Optional tools for freeing a stuck belt
If the belt is really stuck, these tools help:
Rubber mallet, Tap the belt gently to loosen it. Never use a metal hammer, it damages the belt and pulley.
Belt removal tool, A specialized tool that hooks under the belt and helps pry it off. Many shops have one.
Heat gun, Warm the belt slightly to soften old rubber. Use low heat and keep it moving. Never overheat.
Pry bar, For gentle use only. Place a rag under it to protect the pulley.
Step-by-Step: Removing a Seized V-Belt Safely
Now comes the actual removal, the core of how to safely remove a seized v-belt from a motor. Take your time. Forcing a seized belt damages equipment and risks injury.
Applying penetrating oil and waiting
Spray penetrating oil generously on the seized belt. Focus on where the belt meets the pulley grooves. Let the oil soak for at least 15 minutes.
The oil penetrates the gap between the belt and the pulley. It breaks the bond that's holding the belt in place.
Don't skip this step. Patience with oil saves you from forcing the belt and breaking it into pieces.
Gently working the belt free without forcing it
After the oil has soaked, try to move the belt by hand.
You'll feel resistance. Keep gentle pressure and work the belt back and forth in small motions.
If the belt starts to move, apply more oil and continue. Work slowly.
Rotate the motor shaft by hand a few times. This helps distribute the oil around the pulley groove.
Never use a hammer or heavy pry bar. You'll crack the belt or damage the pulley.
Removing the belt from all pulleys
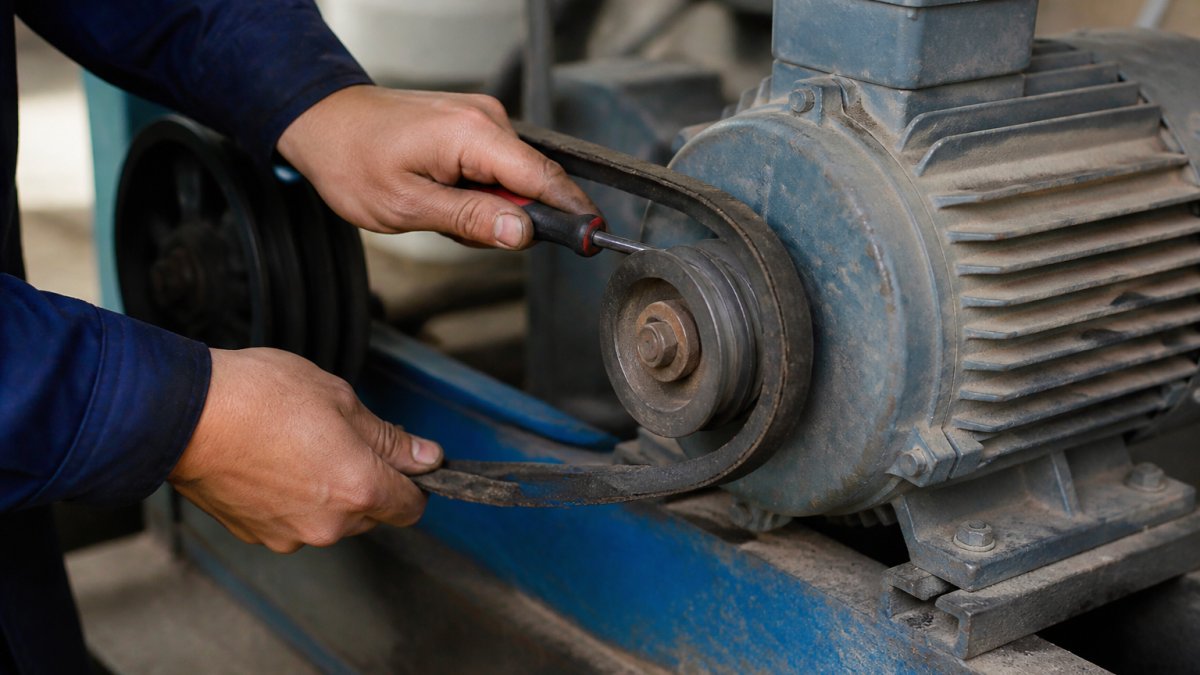
Once the belt moves freely, you can slip it off. Start at the pulley that's easiest to access.
Work the belt up and out of the groove.
Move to the next pulley and repeat. Some belts wrap around three or four pulleys, so take your time.
If the belt is cracked or damaged, it may break into pieces as you remove it.
Once the belt is completely off, wipe away excess oil with a clean rag.
How to Replace a V-Belt After Safe Removal
With the old belt out, you can install the new one. Get the right replacement belt first, check the belt type, length, and section size.
Installing the new belt with correct routing
Lay the new belt on a clean surface. Don't drag it on the floor or lay it in dirt.
Check your reference photos from earlier. Match the belt routing exactly.
Start at the pulley that's easiest to access. Fit the belt into the groove.
Move to the next pulley. Fit the belt in and make sure it's centered in the groove.
Work around all pulleys until the belt is fully installed.
Adjusting tension and securing all bolts
Tighten the tensioner or adjuster bolt gradually. Don't crank it down hard.
Check belt tension by pressing on the belt midway between two pulleys.
Once tension is set, tighten all mounting bolts firmly. Use a wrench and apply steady pressure. Don't overtighten.
Rotate the motor shaft by hand several times. The belt should move smoothly without binding.
Turn the power back on and run the motor briefly. Listen for noise.
V-Belt Pulley Cleaning and Inspection After Removal
Now that the belt is off, clean the pulleys. Debris and buildup are often the reason a belt seized in the first place.
Cleaning pulley grooves and checking for wear
Use a wire brush to clean the pulley grooves. Remove rust, dirt, and old rubber residue.
Wipe the grooves with a clean rag. Get into the groove bottoms where debris hides.
Look at the groove shape. It should be smooth with no sharp edges.
Run your finger along the groove. You shouldn't feel any rough spots or burrs.
Check the pulley alignment. Pulleys should be parallel to each other.
Identifying root causes of belt seizure
A belt doesn't seize randomly. Find that cause or the new belt will seize too.
Moisture or rust, If the pulley is rusty, moisture got in.
Misalignment, If the pulleys aren't parallel, the belt wears unevenly and can seize.
Overheating, If the belt is darkened or hardened, the motor ran too hot.
Debris, If you found dirt in the grooves, improve the seal around the motor.
Wrong belt tension, If the old belt was too tight, it stressed the bearings.
Fixing the root cause prevents future seizure and extends belt life.
Common Mistakes to Avoid When Removing a Seized Belt
Learning from others' mistakes saves time and frustration.
Skipping the lockout step, Never work on a live motor.
Forcing the belt, A forced belt breaks into pieces and leaves debris inside the machine.
Removing bolts completely, You only need to loosen the tensioner enough to release pressure.
Not taking reference photos, You'll forget how the belt routed. Take photos before you start.
Installing the wrong belt size, Check the belt length, width, and section.
Over-tightening the new belt, Tight belts wear out bearings faster.
Frequently Asked Questions
How do you get a seized V-belt off a motor pulley without damaging it?
Apply penetrating oil around the belt and pulley grooves, then wait 15-30 minutes for it to soak. Gently rock the pulley back and forth by hand to work the oil in. Avoid striking the belt or pulley with a hammer. If the belt still won't budge, apply more oil and wait longer rather than forcing it. Patience prevents costly damage to the pulley or motor shaft.
What tools do you need to remove a stuck V-belt?
Essential V-belt removal tools include an adjustable wrench or socket set to loosen mounting bolts, a screwdriver for adjuster bolts, penetrating oil like WD-40 or PB Blaster, and work gloves for grip and protection. Optional tools for stubborn belts include a rubber mallet (never a metal hammer) to gently tap the pulley, a pry bar for controlled leverage, and a wire brush to clean pulley grooves afterward. Always wear safety glasses.
Why won't my tensioner pulley loosen?
Tensioner bolts often seize from rust, corrosion, or years of vibration. Apply penetrating oil to the bolt and surrounding area, then wait 15-20 minutes. Tap the wrench gently with a rubber mallet to break the corrosion bond, then try again. If it still resists, apply more oil and wait longer. Never force a stuck bolt, forcing can strip threads or snap the bolt, creating a bigger problem.
What should you inspect after removing a seized V-belt?
After removing a seized belt, inspect the pulleys for cracks, flat spots, or excessive wear in the grooves. Check the motor shaft and pulley bore for damage. Clean all pulley grooves with a wire brush to remove old belt residue and debris. Examine the tensioner for proper movement and wear. These inspections reveal why the belt seized, contamination, misalignment, or worn components, and prevent the new belt from seizing again.
At V-Belt Nation, we stock a complete range of V-belts and replacement components to keep your equipment running. Whether you need classic V-belts, wedge belts, or specialized cogged belts, we have what you need with reliable on-time delivery and competitive pricing. When you're ready to replace a seized belt, we can help you find the exact size and type for your motor. Shop Now and get free ground shipping on orders over $175.