 how-to
5 Ways Oil Contamination Destroys Belt Life
Last Updated: October 25, 2026
Quick Summary
Oil contamination belt life suffers dramatically when engine oil contacts rubber compounds and bonding systems, with belts losing up to 50% of structural strength before visible damage appears. Oil acts as a solvent that softens rubber, weakens adhesive bonds, and accelerates degradation when combined with heat and friction.
- A belt that should last 3-5 years might fail in 3-5 months under heavy oil exposure
- Early warning signs include slight squealing, tacky belt feel, and visible oil residue on the surface
- Timing belts fail suddenly with no warning when contaminated, potentially causing catastrophic engine damage
- Light oil contamination can be cleaned if the belt is relatively new and the oil source is fixed
- Regular monthly inspection catches oil contamination before it ruins the belt
Table of Contents
- How Oil Contamination Damages Belt Materials
- Oil-Contaminated Belt Symptoms and Visible Damage
- Reduced Service Life and Premature Belt Failure
- How to Inspect a V-Belt for Oil Damage
- Cleanup Versus Replacement: Making the Right Decision
- V-Belt Replacement Signs and When to Act
- Preventing Belt Contamination and Extending Service Life
- Finding the Right Replacement Belts for Your Application
- Frequently Asked Questions
How Oil Contamination Damages Belt Materials
Oil contamination belt life suffers dramatically when engine oil contacts rubber compounds and bonding systems.
Oil acts as a solvent on rubber. It penetrates the belt's outer layer and softens the material from within.
Bonding systems fail under oil exposure. V-belts rely on adhesive layers that bond the rubber to fabric and cord reinforcement.
Heat accelerates the damage. A contaminated belt running hot degrades faster than one running cool.
Different belt materials respond differently to oil exposure. Natural rubber softens quickly. Synthetic compounds resist better but still degrade.
The damage is often invisible at first.
Oil-Contaminated Belt Symptoms and Visible Damage
Oil-contaminated belt symptoms start subtle and escalate quickly. Catching these warning signs early prevents unexpected downtime on your equipment.
Early warning signs:
- Slight squealing or chirping sounds during startup
- Belt feels tacky or sticky when you touch it
- Visible oil residue on the belt surface
- Discoloration or darkening of the rubber
- Slight slipping during high-load operation
Advanced damage indicators:
- Loud squealing that won't stop
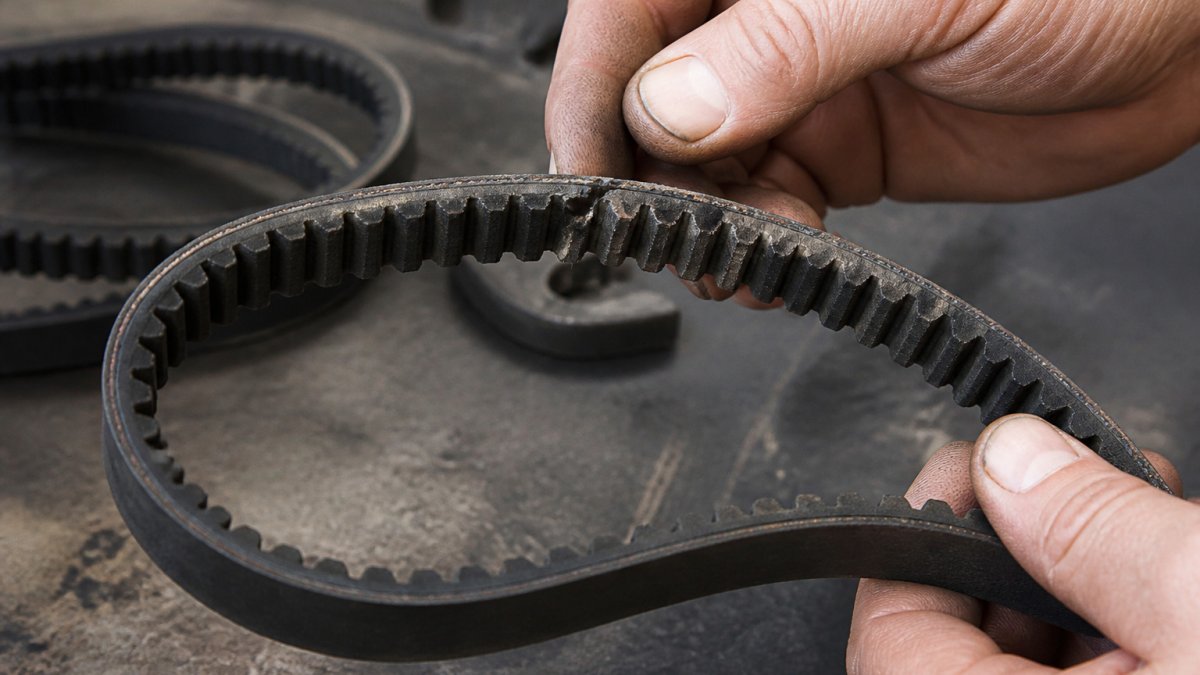
- Visible cracking or checking across the belt width
- Swelling of the belt, making it thicker than normal
- Glazing or a shiny, hardened appearance
- Belt slipping consistently, even when properly tensioned
Cracking appears as small lines running across the belt's surface.
Swelling indicates deep oil penetration. The rubber absorbs oil and expands.
Softening changes the belt's feel completely. A healthy belt is firm and slightly flexible.
Glazing creates a slick, shiny surface. The rubber hardens and loses grip.
You can explore premature belt failure causes in depth to understand how oil damage leads to early failure.
Oil contamination produces distinct warning signs that progress from subtle to severe.
| Damage Stage | Symptoms | Appearance |
|---|---|---|
| Early | Slight squealing, tacky feel, visible oil residue | Discoloration or darkening |
| Advanced | Loud squealing, consistent slipping | Cracking, swelling, glazing |
| Cracking | Loss of flexibility, brittle material | Lines running across belt width |
| Swelling | Poor pulley fit, slipping or binding | Belt thicker than normal |
| Softening | Mushy or rubbery feel | Dents easily, doesn't spring back |
| Glazing | Loss of grip, poor performance | Slick, shiny, hardened surface |
Reduced Service Life and Premature Belt Failure
Oil contamination belt life shortens dramatically. A belt that should last 3-5 years might fail in 3-5 months under heavy oil exposure.
The rate of degradation depends on several factors:
- Oil type: Engine oil causes faster damage than hydraulic oil
- Exposure duration: Continuous contact degrades belts faster than occasional drips
- Temperature: Hot environments accelerate chemical breakdown
- Belt material: Synthetic compounds resist longer than natural rubber
- Belt type: Timing belts fail faster than V-belts under oil exposure
V-Belts and Serpentine Belts
V-belts and serpentine belts face similar oil contamination challenges. Both rely on friction between the belt and pulley to transmit power. Oil eliminates that friction.
A V-belt contaminated with oil loses grip immediately. The angled sides of the belt depend on tight contact with the V-groove pulley. Oil creates a slippery barrier.
Serpentine belts run multiple pulleys with tight wrapping. Oil on a serpentine belt causes slipping across all pulleys simultaneously.
Both belt types show visible damage within days of heavy oil exposure. The rubber softens, cracks form, and swelling begins.
Timing Belts and Wet-Belt Systems
Timing belts operate in sealed environments under precise tension. Oil contamination creates different failure modes than accessory belts.
Timing belts use teeth to grip sprockets with exact timing. Oil on the teeth causes slipping. The engine loses synchronization between crankshaft and camshaft.
Wet-belt systems are designed to operate in oil. Cooling system belts and some transmission belts run submerged in fluid. These belts use special oil-resistant materials.
The bonding systems in timing belts are more sensitive than V-belt adhesives. When engine oil contacts these bonds, separation happens quickly.
How to Inspect a V-Belt for Oil Damage
Regular inspection catches oil contamination before it ruins your belt. You can perform a basic inspection in 10-15 minutes with no special tools.
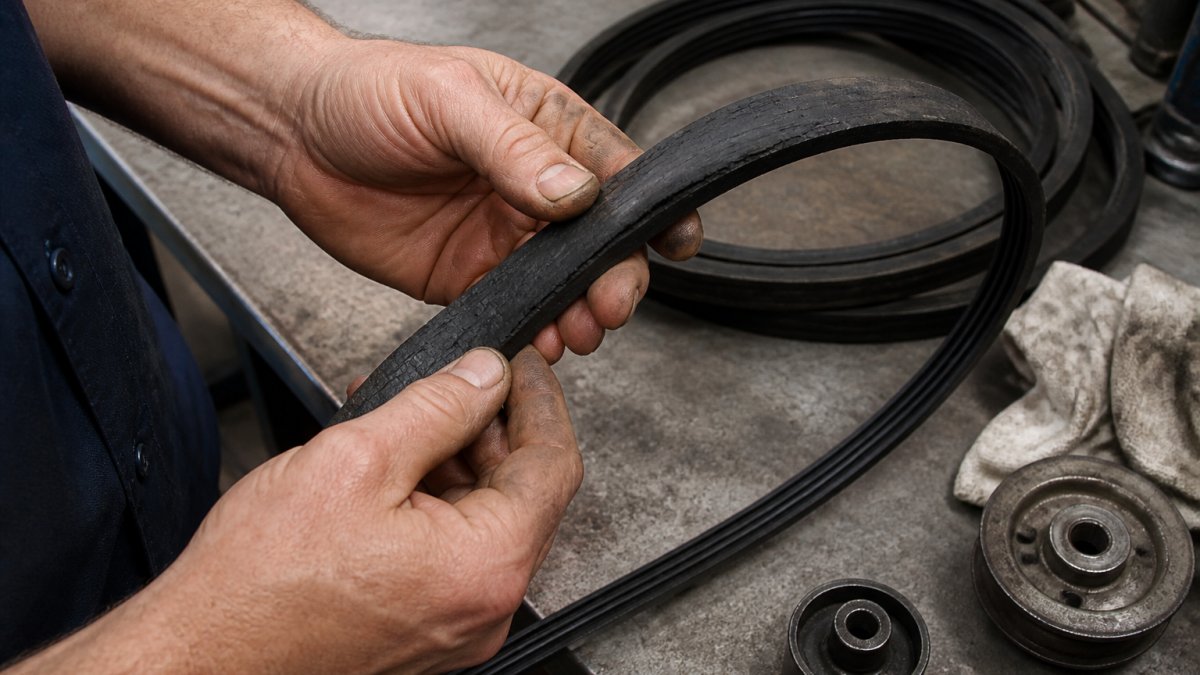
What you'll need:
- Clean cloth or paper towel
- Good lighting (flashlight if needed)
- Your eyes and hands
Inspection steps:
-
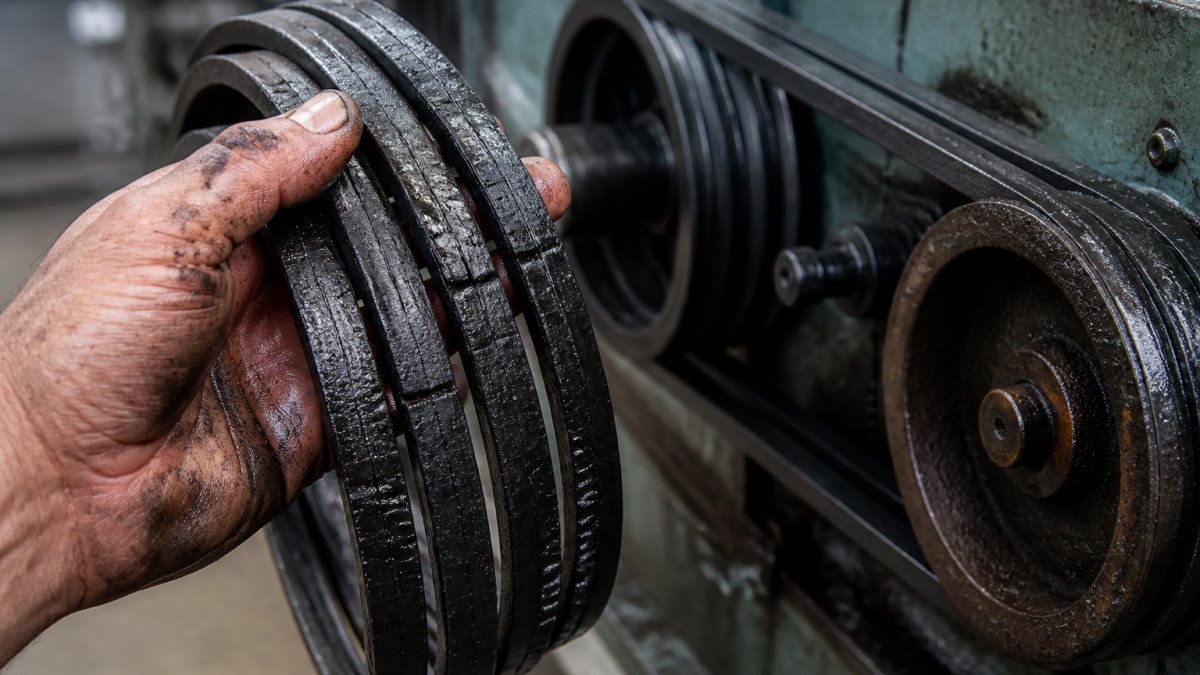
Look for visible oil. Wipe the belt surface with a clean cloth. If oil transfers to the cloth, contamination is present. Check where the belt contacts pulleys, oil pools in these areas.
-
Feel the belt texture. A healthy belt is firm and slightly waxy. A contaminated belt feels tacky, sticky, or mushy. Run your finger along the belt surface. Oily belts leave residue on your fingertip.
-
Check for swelling. Compare the belt width to an uncontaminated belt if you have one. Measure the belt thickness. A swollen belt is visibly thicker. It may not fit properly in the pulley groove.
-
Examine for cracking. Look at the belt's sides and bottom surface. Small cracks running across or lengthwise indicate oil penetration. Cracks spread quickly, so early detection matters.
-
Inspect the pulley area. Oil often collects around pulleys and tensioners. Check for wet spots, drips, or residue. This tells you whether the oil source is ongoing or was a one-time spill.
-
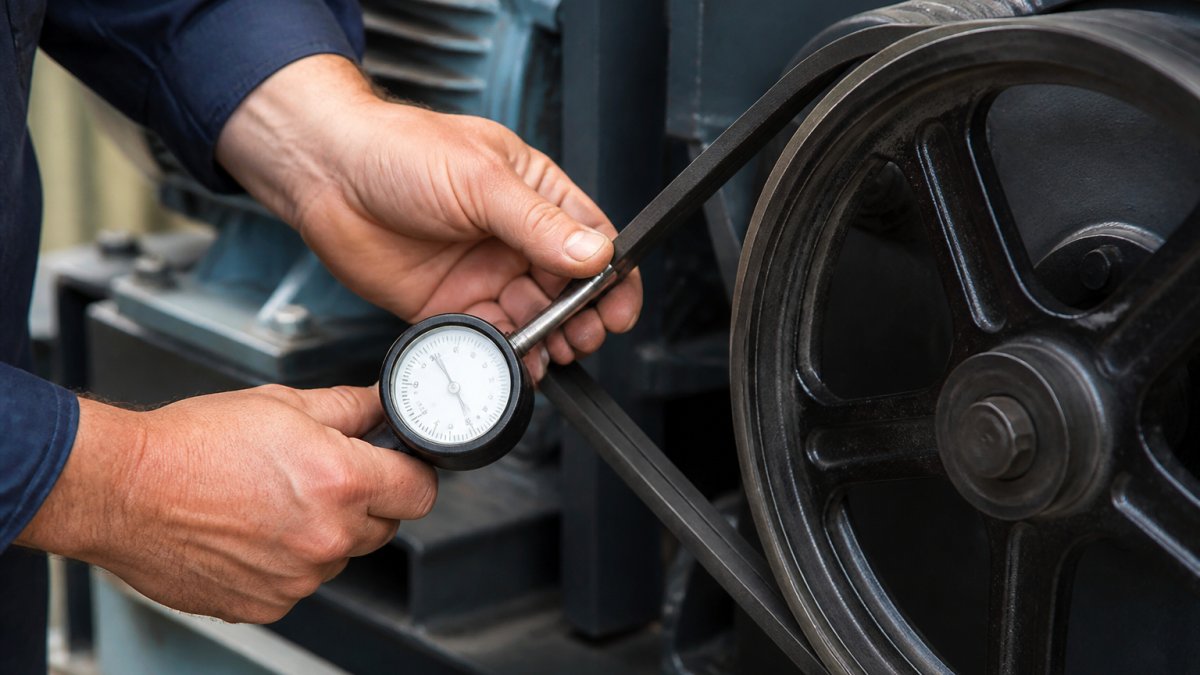
Check belt tension. Press the belt midway between pulleys with your thumb. It should deflect about half an inch. If it's too loose or too tight, adjust tension. A contaminated belt may slip even at proper tension.
You can review detailed inspection techniques for industrial belts to learn more advanced inspection methods.
Cleanup Versus Replacement: Making the Right Decision
Deciding whether to clean or replace an oil-contaminated belt depends on the contamination level and belt condition.
Clean the belt if:
- Contamination is light (minor oil residue, no visible damage)
- The belt is relatively new with good remaining life
- The oil source has been identified and fixed
- No swelling, cracking, or glazing is visible
Replace the belt if:
- Visible cracking or swelling is present
- The belt feels mushy or lacks firmness
- Oil contamination is heavy or widespread
- The belt is already near the end of its service life
- Glazing or hardening is visible
Cleaning a lightly contaminated belt involves degreasing with a suitable solvent. Use a cloth to wipe away oil residue. Let the belt air dry completely before reinstalling.
Replacement is the safer choice for most contamination scenarios. A new belt costs less than the downtime caused by a failed belt.
Consider the belt's age and remaining life. A belt with 2+ years of expected service life might be worth cleaning.
V-Belt Replacement Signs and When to Act
Knowing when to replace a V-belt prevents unexpected equipment failures. Several clear signs indicate replacement is necessary.
You can explore a comprehensive guide to replacing V-belt drive systems for detailed replacement procedures and timing considerations.
Replace immediately if:
- The belt is cracked, swollen, or glazed
- Heavy oil contamination is visible
- The belt slips consistently despite proper tension
- The belt makes loud squealing or chirping sounds
- The belt is visibly worn thin or frayed
Schedule replacement soon if:
- Light oil residue is present but no damage is visible
- The belt is over 3 years old
- The belt shows minor cracking or checking
- Tension requires frequent adjustment
- The belt has visible wear but no damage
Don't wait for a belt to fail completely. A broken belt leaves you stranded. Plan replacement during scheduled maintenance windows when possible. Keep replacement belts on hand for critical equipment.
The cost of a replacement belt is minimal compared to production losses from equipment downtime. A belt that costs fifty to a few hundred dollars can prevent thousands of dollars in lost productivity.
Preventing Belt Contamination and Extending Service Life
Preventing oil contamination is far easier than dealing with the aftermath. Maintenance practices that reduce contamination also extend belt life significantly.
Identify and fix oil leaks promptly:
- Check engine gaskets, seals, and drain plugs regularly
- Look for oil drips under equipment during operation
- Address small leaks before they worsen
- Replace worn gaskets and seals as part of routine maintenance
Improve equipment ventilation:
- Ensure belt areas get adequate airflow
- Remove dust and debris that trap oil vapors
- Clean air filters regularly to prevent pressure buildup
- Proper ventilation reduces oil mist accumulation
Use correct oil types:
- Engine oil belongs in the engine, not on belts
- Use the oil weight specified by equipment manufacturers
- Don't overfill reservoirs, excess oil finds its way onto belts
- Drain old oil completely during oil changes
Maintain proper belt tension:
- Check tension monthly on critical equipment
- Loose belts slip and wear faster
- Tight belts stress pulleys and bearings
- Proper tension reduces heat and extends belt life
Monitor temperature:
- High temperatures accelerate oil breakdown and belt degradation
- Ensure cooling systems work properly
- Clean radiators and cooling fins
- Reduce ambient temperature around belt drives if possible
Implement preventive maintenance schedules:
- Inspect belts monthly on critical equipment
- Replace belts before they fail, not after
- Keep detailed maintenance logs
- Track belt replacement intervals to predict future needs
Regular inspection and maintenance catch problems early. A belt showing light oil residue can be cleaned and monitored. A belt showing heavy contamination can be replaced before it fails. This proactive approach saves money and prevents downtime.
Finding the Right Replacement Belts for Your Application
Selecting the correct replacement belt ensures reliable performance and proper fit. Wrong belt selection causes slipping, noise, and premature failure.
You can learn how to choose the right V-belt material to understand material options and their specific applications.
Key specifications to match:
- Belt type: V-belt, serpentine, timing belt, or specialty belt
- Belt section: A, B, C, D, E for V-belts; different sizes for other types
- Length: Measured in inches or millimeters depending on the belt type
- Material: Rubber compound, synthetic, or specialty materials
- Application: Automotive, industrial, agricultural, HVAC, or specialty use
Measure your current belt or consult equipment documentation for exact specifications.
At V-Belt Nation, we offer an extensive selection of V-belt types, including classic and wedge belts, cogged belts, banded belts, and lawn and garden options.
Quality matters when replacing belts.
Consider ordering replacement belts before you need them. Keeping spare belts on hand prevents emergency purchases and rushed installations.
Oil contamination damages belts through chemical breakdown, loss of friction, and structural degradation. V-Belt Nation offers a selection of V-belts and power transmission solutions. Contact our team for help finding a belt for your equipment.
Frequently Asked Questions
What happens when oil gets on a V-belt?
Oil penetrates the rubber compound of a V-belt, softening and swelling the material. This weakens the bond between the rubber and the reinforcing fibers, reducing friction and causing slipping. Over time, the belt loses its structural integrity and fails prematurely. Timing belts are especially vulnerable because oil degrades the adhesive systems that hold the teeth in place.
How can you tell if oil has damaged a belt?
Look for visible swelling, cracking, glazing, or a shiny residue on the belt surface. Oil-contaminated belts often feel sticky or tacky to the touch. You may also notice increased squealing or slipping before the belt fails completely. Sidewall wear accelerates, and the belt may appear discolored compared to a clean one. Timing belts may show tooth degradation or separation.
Can an oil-contaminated belt be cleaned and reused?
Minor surface oil can sometimes be wiped away with a clean cloth, but once oil has penetrated the rubber compound, cleaning won't restore the belt's performance. The material has already softened and lost adhesion. Reusing a contaminated belt risks sudden failure and machinery downtime. Replacement is the safer and more cost-effective choice, especially for critical applications like timing belts or serpentine belts in cooling systems.
How do you prevent oil contamination in a belt drive?
Fix oil leaks at their source: replace worn valve cover gaskets, tighten pulley bolts, and inspect tensioners regularly. Keep the belt area clean and dry. Use drip pans under engines during maintenance. Store replacement belts indoors away from oil and solvents. For HVAC and industrial systems, establish a preventive maintenance schedule that includes belt inspection every 6-12 months and immediate repair of any leaks near the belt drive.