 how-to
Pulley Alignment for Beginners: A Step-by-Step Guide
Table of Contents
- Why Pulley Alignment Matters for Your Equipment
- Identifying the Pulley Type and Application
- Signs of Pulley Misalignment You Should Know
- What You'll Need: Tools and Preparation
- Step 1: Locate Alignment Marks and Reference Surfaces
- Step 2: Check Pulley Position Before Adjustment
- Step 3: Measure Horizontal and Vertical Alignment
- Step 4: Adjust and Verify Alignment Tolerances
- Frequently Asked Questions
Last Updated: October 10, 2026
Why Pulley Alignment Matters for Your Equipment
Proper pulley alignment prevents costly machinery downtime and extends belt life. Misaligned pulleys cause belts to slip, wear unevenly, and fail prematurely. At V-Belt Nation, we help maintenance teams avoid these problems by understanding alignment from the ground up.
Misaligned pulleys cause the belt to sit improperly, experience uneven tension, and degrade faster due to increased friction and heat buildup.
The good news: alignment is fixable. You don't need expensive equipment or years of experience. This guide walks you through the entire process, step by step.
Identifying the Pulley Type and Application
Identify your pulley type first, different systems require different alignment approaches.
How to Identify Your Pulley System
Start by answering these three questions:
1. Is this a timing system or a belt-drive system?
Timing belt systems have teeth that mesh into grooves (common on engines). They require precise alignment to prevent tooth skip and engine misfires. V-belt systems have smooth belts in V-grooves (found on alternators, water pumps, industrial machinery). They tolerate slightly more misalignment but still need proper alignment for longevity.
2. What is the belt driving?
Engine timing systems require the tightest tolerances. Engine accessories tolerate moderate misalignment. Industrial machinery tolerance depends on speed and load, high-speed equipment needs tighter alignment.
3. Can you access the pulleys safely?
On an engine, you may need to remove covers, belts, or other components. On industrial equipment, you may need to lock out power and follow a maintenance procedure. If you cannot safely access the pulleys or cannot disconnect power, stop here and consult a qualified technician or the equipment manual.
Pulley Type Details
Timing Belt Pulleys have teeth that must engage fully across the belt width. Misalignment over 0.005 inches causes tooth skip or slippage. Alignment marks on pulleys and engine block verify correct position.
V-Belt Pulleys use grooves and tolerate up to 0.010 inches of misalignment. They rely on straightedge or laser measurements rather than alignment marks.
Crank and Camshaft Pulleys: The crankshaft pulley drives main rotation; the camshaft pulley controls valve timing. Both must align in the same plane for the belt to track straight. Timing marks show correct rotational position, consult your engine manual for exact locations.
When to Stop and Call a Professional
Do not attempt alignment yourself if: you cannot safely disconnect power, pulleys are damaged or severely worn, the shaft is bent or bearing is loose, you're unsure of your system type, the manual requires specialized tools, or clearance is less than 1/4 inch. These situations require professional service.
Signs of Pulley Misalignment You Should Know
Misalignment shows itself in predictable ways. Catching these signs early saves you time and money.
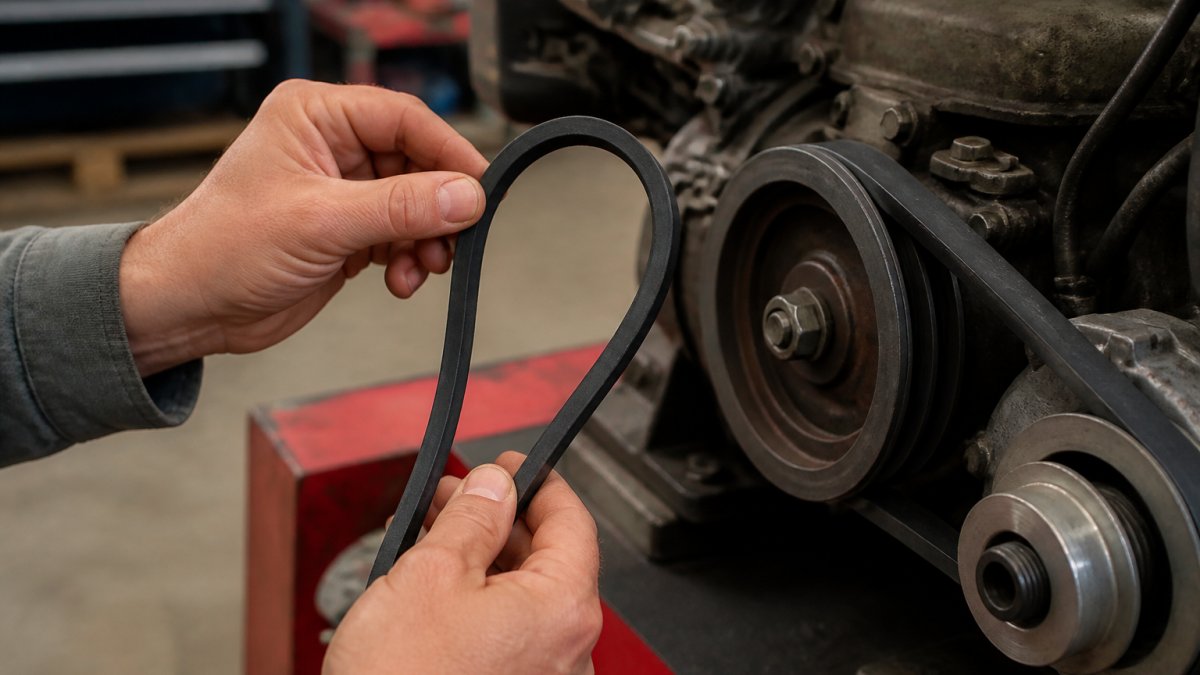
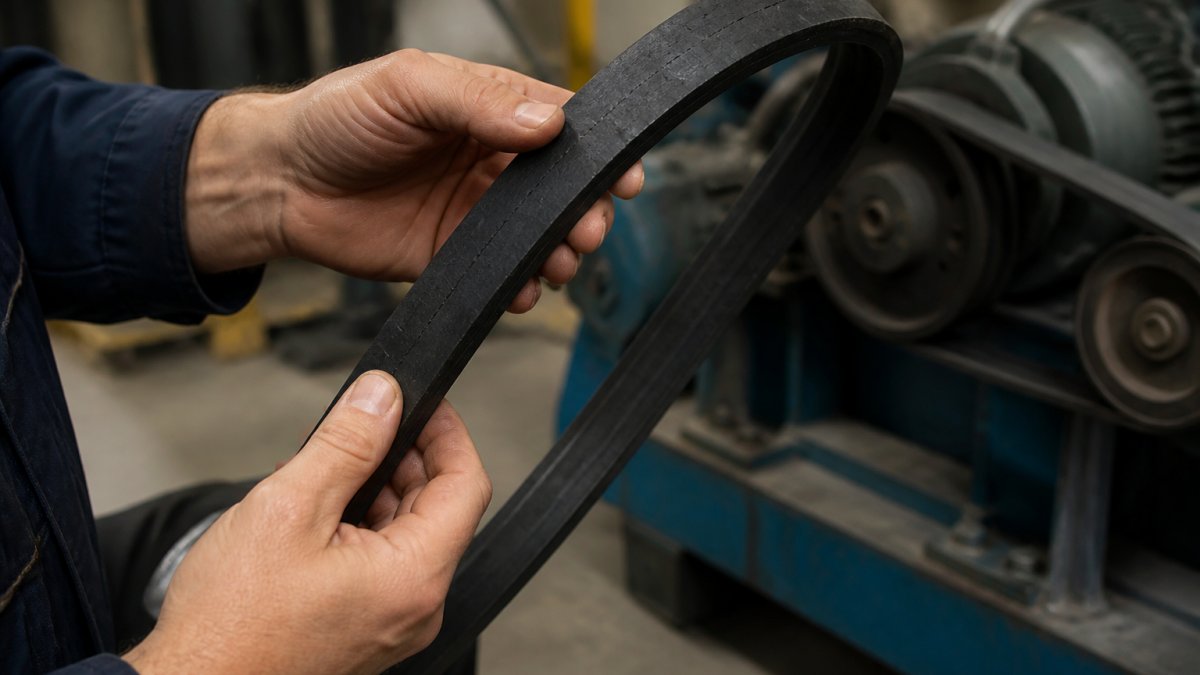
Watch for uneven belt wear (one edge worn more), squealing or chirping noise, belt slippage under load, and premature failure. These signs indicate misalignment and require correction.
What You'll Need: Tools and Preparation
Proper tools and preparation make alignment easier, more accurate, and safer. You don't need a full shop, just a few essentials and a clear safety plan.
V-Belt Pulley Alignment Tools Explained
A straightedge (a flat metal bar, $15-$50) reveals gaps between pulley faces when placed across them. Check multiple locations. A laser alignment tool ($100-$500) is faster and more precise, giving measurements in thousandths of an inch, but requires clear line of sight.
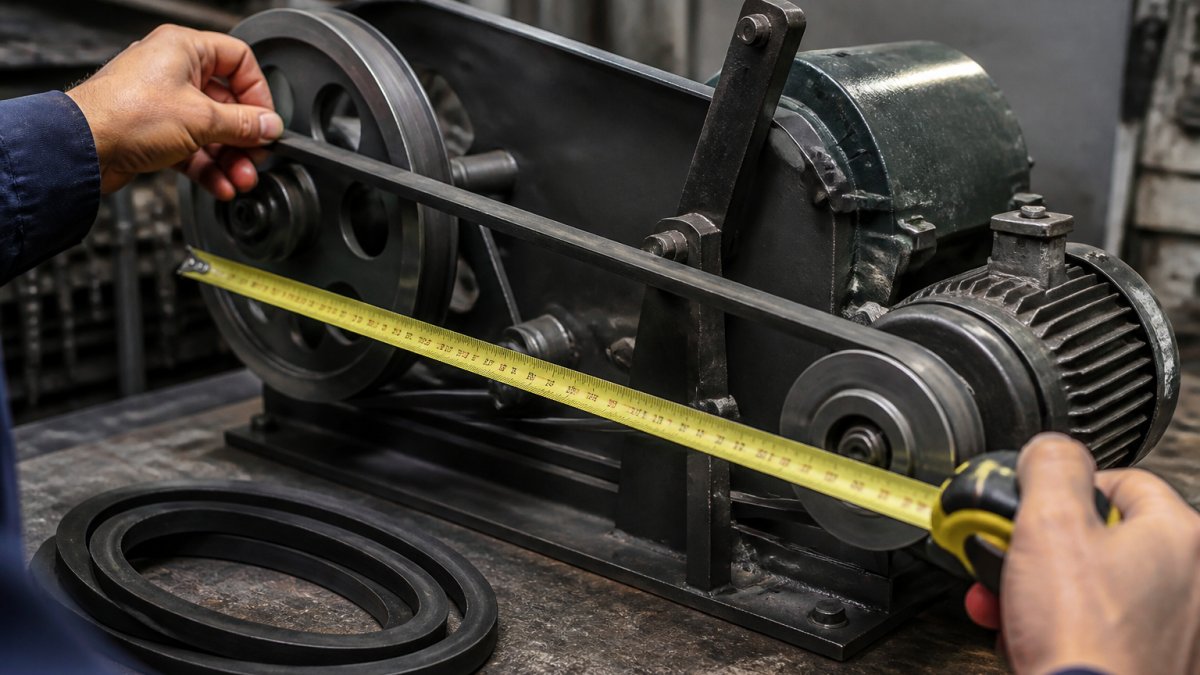
A holding tool (breaker bar or pulley holder, $10-$100) keeps the pulley still during adjustment. Feeler gauges ($10-$30) measure gaps precisely. A soft mallet ($10-$20) taps the pulley into position. Shims ($5-$20) adjust vertical position. A standard measuring tape tracks horizontal offset.
Safety Precautions and Equipment Isolation
Step 1: Disconnect Power Completely
Turn off and lock the motor switch. Remove spark plug wires (gasoline) or disable the fuel pump (diesel).
Step 2: Secure the Equipment
Place equipment on a stable, level surface. Engage parking brakes, use wheel chocks, or block wheels with wooden blocks to prevent movement.
Step 3: Identify and Mark Pinch Points
Trace the belt path and mark pinch points (belt-pulley, belt-guard, pulley-shaft, pulley-bracket) with tape. Never reach into these areas while others are nearby.
Step 4: Wear Proper Personal Protective Equipment
Wear safety glasses, work gloves, closed-toe shoes, and hearing protection. Avoid loose sleeves or jewelry that could catch on the pulley.
Step 5: Remove or Secure the Belt (If Necessary)
If you need to remove the belt for alignment work, support it so it doesn't fall and trap your fingers.
If you're working with the belt in place, keep your hands clear of the belt path at all times. Never reach across or under the belt.
Step 6: Have a Clear Workspace
Remove tools, rags, and other objects from the work area. A cluttered workspace increases the risk of accidents. Keep your workspace well-lit so you can see what you're doing.
Step 7: Never Rotate the Shaft Alone
If you need someone else to rotate the shaft while you observe alignment, establish clear hand signals before you start. Use "stop" and "go" signals.
Step 8: Test the Equipment Under Light Load First
After alignment, start the equipment and let it run at low speed or light load for 2-3 minutes. Listen for unusual noise and feel for vibration.
Step 1: Locate Alignment Marks and Reference Surfaces
Pulleys often have marks stamped or painted on them. These marks show the correct rotational position.
Timing marks appear on timing belt pulleys. They align with marks on the engine block or mounting bracket. These marks ensure the belt sits in the right position relative to the engine cycle.
Reference surfaces are flat areas on the pulley face or shaft. You use these as your measuring baseline. On many pulleys, the face of the pulley itself is the reference surface.
Look for painted lines, dots, or grooves. Manufacturer documentation shows where these marks should be. If marks are worn off, you can create new ones with paint or a marker.
The reference surface must be clean and visible. Wipe away dirt and grease so you can see it clearly. Use a clean cloth and mild degreaser if needed.
Step 2: Check Pulley Position Before Adjustment
Before measuring, rotate the shaft by hand to position the pulleys for inspection. Turn it clockwise or counterclockwise until the timing marks align with the engine block marks.
Use your holding tool to keep the pulley from spinning as you work. A breaker bar on the pulley bolt works well. Some equipment has a specific holding point, check your manual.
Look at both pulleys. Are they in the same vertical plane? Does one sit higher or lower than the other? Does one stick out more than the other along the shaft?
These observations tell you which direction to adjust. If the driven pulley sits lower, you'll need to raise it. If it's offset to the side, you'll move it laterally.
Document the current position. Take a photo or make notes. This gives you a baseline to measure against.
Step 3: Measure Horizontal and Vertical Alignment
Alignment has two components: horizontal (side-to-side) and vertical (up-and-down). You measure both to get the full picture.
Using a Straightedge for Pulley Alignment
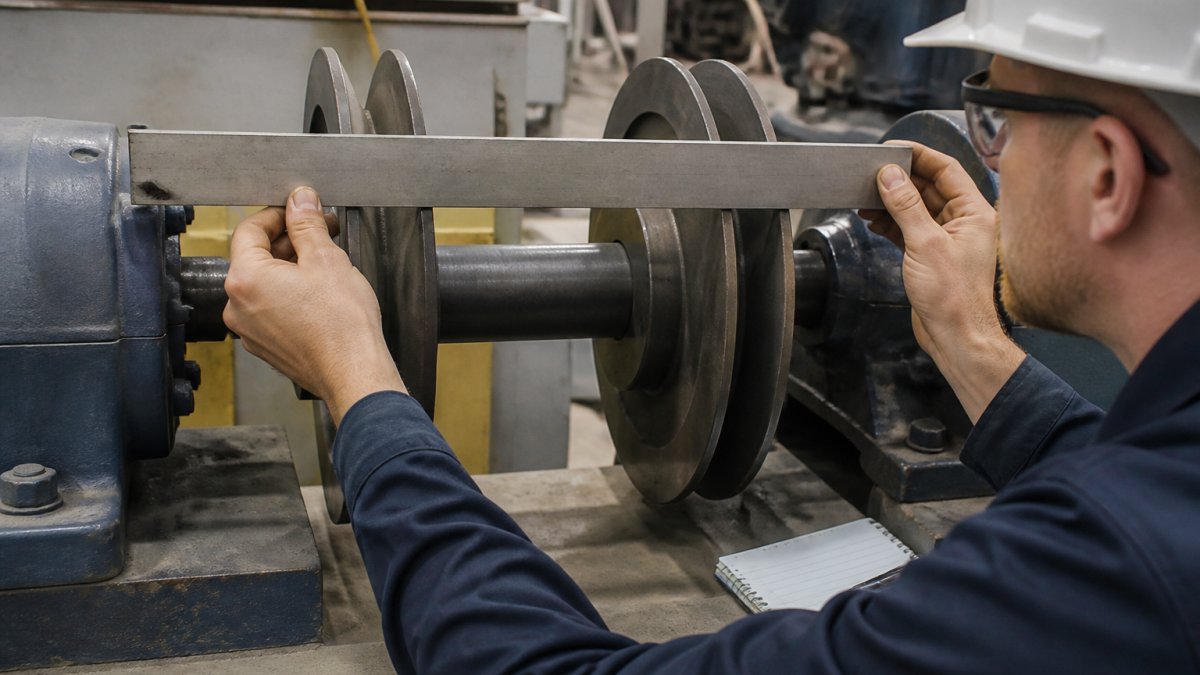
Place the straightedge across both pulley faces. The straightedge should touch both faces evenly.
Look for gaps between the straightedge and each pulley face. A gap means the pulleys aren't parallel. Use feeler gauges to measure the gap size. A gap of 0.010 inches or less is acceptable for most applications. Larger gaps need correction.
Move the straightedge up, down, left, and right on the pulleys. Check multiple points. This tells you if the misalignment is uniform or varies across the pulley face.
For horizontal alignment, measure the distance from the pulley center to a fixed reference point on the equipment. Do this for both pulleys. The distance should be the same. If one pulley is offset, the distances will differ.
Record all measurements. This helps you know how much to adjust.
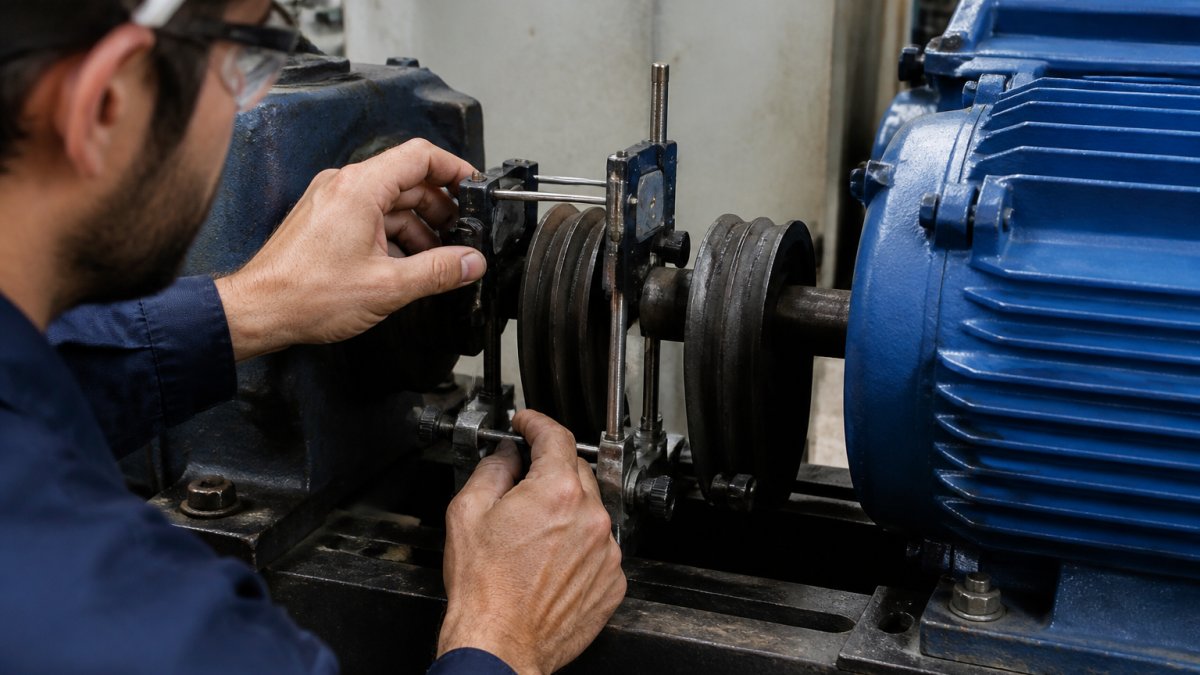
Using a Laser Alignment Tool
Mount the laser unit on one pulley. Aim it at the other pulley. The laser beam should hit the same spot on both pulleys if they're aligned.
If the beam hits off-center on the second pulley, note the direction and distance. This tells you exactly which way to move the pulley.
Laser tools give readings in thousandths of an inch. They're more precise than straightedges. Use them if you need high accuracy or work on critical equipment.
Follow the tool's instructions for setup and measurement. Different tools have different procedures.
Step 4: Adjust and Verify Alignment Tolerances
Once you know where the misalignment is, you adjust the pulley position. Most pulleys mount on a keyed shaft or with set screws.
Tap the pulley gently with a soft mallet to shift it in the direction needed. Make small moves. Check alignment frequently. Large moves overshoot the target.
For vertical adjustment, you may need to add or remove shims under the mounting bracket. Shims are thin metal plates. Adding one raises the pulley. Removing one lowers it.
After each adjustment, re-measure with your straightedge or laser tool. Keep adjusting until the gap is within tolerance.
Alignment tolerances vary by application. For most V-belt systems, a 0.010-inch gap is acceptable. Timing belt systems need tighter tolerances, often 0.005 inches or less. Check your equipment manual for the specific requirement.
Once aligned, tighten the mounting bolts firmly. Hold the pulley in position while you tighten. This prevents it from shifting back.
Rotate the shaft by hand one more time. Watch the belt as it travels. It should track straight without drifting side to side. If it still drifts, loosen and adjust again.
Test the equipment under light load. Listen for noise and feel for vibration. Proper alignment is quiet and smooth. If you still hear squealing or feel vibration, the alignment may need fine-tuning.
| Measurement Type | Acceptable Tolerance | How to Check |
|---|---|---|
| Horizontal offset | 0.010" or less | Straightedge across pulley faces |
| Vertical offset | 0.010" or less | Straightedge across pulley faces |
| Belt tracking | Centered on pulley | Visual inspection during rotation |
| Gap between straightedge and pulley | 0.010" or less | Feeler gauges |
Pulley alignment is a skill that improves with practice. V-Belt Nation carries the high-quality replacement belts you'll need after alignment work. Shop our full selection of V-belt options, and our team is ready to help you find exactly what your equipment needs for reliable, long-lasting performance. ISO standards for power transmission belt alignment provide detailed specifications for industrial applications.
Frequently Asked Questions
How do you align pulleys step by step?
Start by identifying your pulley type and locating alignment marks on the shaft. Use a straightedge or laser alignment tool to measure horizontal and vertical alignment against reference surfaces. Rotate the shaft clockwise to verify pulley face alignment, then adjust the pulley position as needed. Finally, check belt tension and routing before running the equipment. This process ensures proper belt tracking and reduces wear and vibration.
What tools do you need to check pulley alignment?
A straightedge, measuring tape, and a holding tool to secure the shaft are essential basics. For precision work, a laser alignment tool provides accurate horizontal and vertical measurements. You may also need feeler gauges to measure offset between pulley faces. Depending on your pulley type, a timing mark indicator or crank pulley holder can help verify shaft position.
How can you tell if pulleys are misaligned?
Misaligned pulleys typically cause belt squealing, accelerated belt wear on one edge, vibration during operation, or premature idler pulley failure. You may notice the belt tracking to one side of the pulley groove or hear grinding noise from the belt drive. Visual inspection often reveals uneven wear patterns on the belt teeth or V-belt surface. If you observe any of these signs, stop the equipment and measure alignment using a straightedge or laser tool before continuing operation.
What causes V-belt pulley misalignment?
Common causes include improper shaft installation, wear on bearing surfaces that allows shaft movement, or incorrect pulley mounting during replacement. Vibration from unbalanced equipment can gradually shift pulley position over time. Environmental factors like thermal expansion, corrosion, or impact damage to the shaft can also throw alignment off. Regular inspection and prompt adjustment prevent cascading damage to the belt, idler pulley, and bearings.