 how-to
Why Your Riding Mower Belt Keeps Falling Off: Diagnosis & Fix
Table of Contents
- Why Your Riding Mower Belt Keeps Falling Off
- Understanding Deck Belt vs. Drive Belt Problems
- How to Measure a Lawn Mower Belt for Replacement
- Mower Belt Pulley Alignment and Bearing Inspection
- Riding Mower Belt Tension Adjustment and Spring Checks
- Inspecting Lawn Mower Belt Routing Diagram and Installation
- When to Replace Parts and When to Call a Professional
- Conclusion
- Frequently Asked Questions
Last Updated: October 19, 2026
Why Your Riding Mower Belt Keeps Falling Off
A riding mower belt falling off happens when pulleys are misaligned, bearings wear out, or the belt itself stretches and weakens.
Belt problems frustrate homeowners and maintenance teams alike: the belt slips, pops off, or jumps during use, and reinstalling it often brings the same failure back within days.
You can diagnose most belt problems yourself without special tools, but first identify which belt is slipping, since riding mowers have two separate belt systems.
Understanding Deck Belt vs. Drive Belt Problems
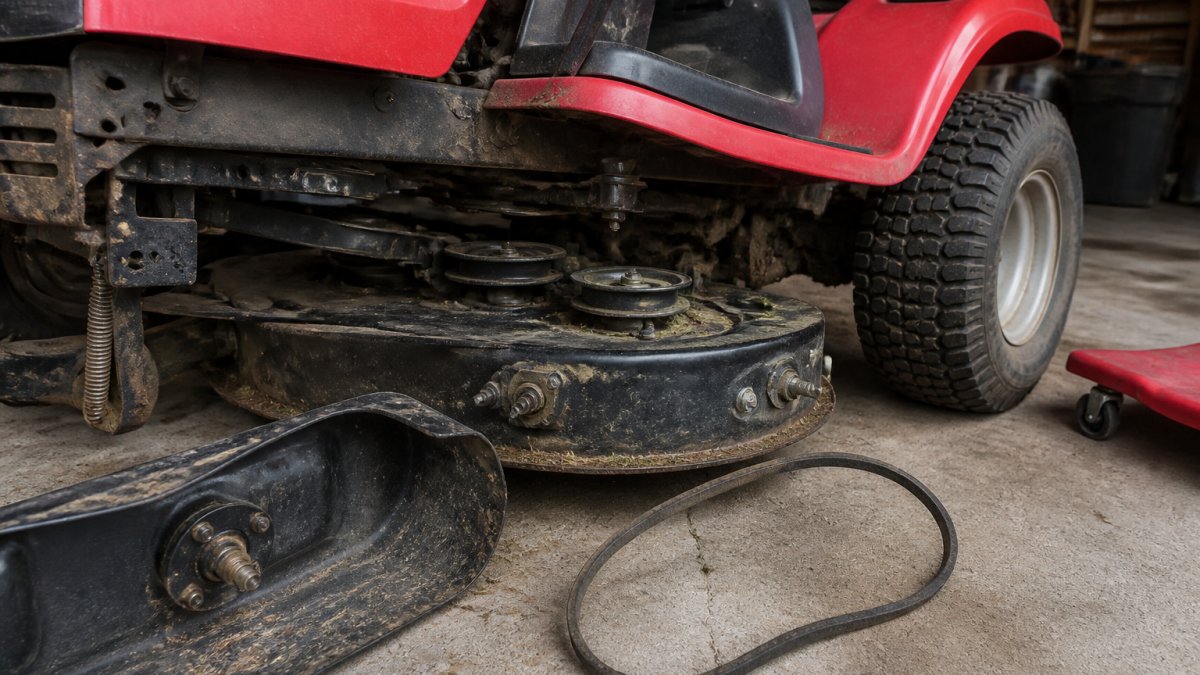
Riding mowers have two distinct belt systems. The deck belt drives the mower blades.
The deck belt is shorter and faster, spinning the blade spindles.
The drive belt (or transmission belt) is longer and slower, connecting the engine to the transmission.
Identifying which belt is slipping tells you where to focus.
Both belts fail from the same root causes: pulley misalignment, worn bearings, weak tension springs, debris buildup, and stretched or damaged belts.
How to Measure a Lawn Mower Belt for Replacement
Measuring your belt correctly prevents ordering the wrong size, which won't track straight and will fall off repeatedly.
Mower belts are sized by length (inches around the inside of the loop) and width (cross-section thickness); your manual lists both for your model.
To measure your belt:
- Remove the old belt from the mower
- Lay it flat on a measuring surface
- Measure the inside circumference with a cloth measuring tape (not a rigid ruler)
If the old belt is stretched, your measurement may exceed the original spec.
V-Belt Nation carries lawn and garden belts in standard sizes for most riding mower brands; the correct model number from your manual ensures the right fit.
Mower Belt Pulley Alignment and Bearing Inspection
Misaligned pulleys are the leading cause of a riding mower belt falling off.
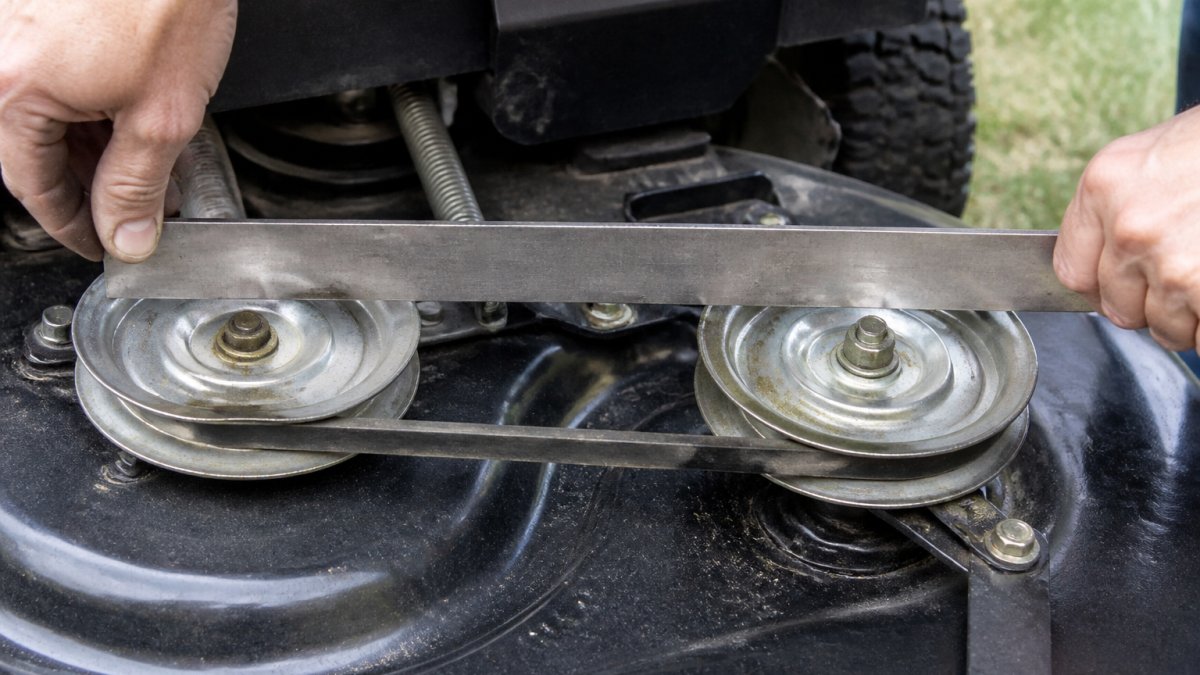
Check pulley alignment this way:
- Park the mower on level ground
- Remove the belt
- Use a long straightedge (a metal ruler or level works)
Worn pulley bearings cause another common problem: play lets the pulley wobble, throwing the belt off track.
Test for bearing wear:
- Spin each pulley by hand
- Feel for grinding, roughness, or noise
- Grab the pulley and try to move it side to side
Bent pulleys also cause slippage by creating an uneven running surface, so the belt bounces over the high spot.
Check for bent pulleys:
- Rotate the pulley slowly by hand
- Watch the belt path as it spins
- A bent pulley causes the belt to move up and down
Worn, bent, or seized pulleys must be replaced. These parts are inexpensive compared to the downtime a failing belt causes.
Riding Mower Belt Tension Adjustment and Spring Checks
Belt tension separates a belt that tracks true from one that walks off the pulley. Too loose and it slips, flaps, and jumps the groove; too tight and you overload the idler bearing, spindle bearings, and belt cords. Most riding mowers use a spring-loaded idler to hold tension automatically, but a worn spring, sticky idler arm, or missing spacer can defeat that system.
How the tensioner system works
The idler pulley rides on a pivoting arm that a tension spring pulls so the idler presses the belt into the pulley grooves; as the belt stretches, the arm swings to take up slack. Two failure modes matter:
- Spring fatigue or breakage. The spring loses tension or snaps, so the idler no longer presses hard enough. The belt runs loose and jumps off, especially when you engage the blades.
- Arm binding. The pivot seizes from rust, packed grass, or a missing washer. The spring pulls, but the arm can't move, so tension stays wrong even with a good spring.
Check the spring and arm
- With the engine off and key removed, locate the idler arm and spring. On most decks it's on the top surface near the center or discharge side; on drive belts it's usually near the transmission or under the seat pan.
- Look at the spring. A broken spring shows an obvious gap or a loosely coiled hook. A fatigued spring looks intact but has stretched coils or a hook that has opened up.
- Pull the idler arm gently by hand against spring pressure. It should resist firmly and return smoothly when you release it. If it moves easily or feels gritty, the spring is weak or the pivot is binding.
- Check the pivot for rust, packed clippings, and missing washers or bushings. Clean and lubricate the pivot per your manual, then recheck resistance.
A common pattern: the belt stays on at low throttle but jumps when you engage the blades at full throttle. That points to marginal tension, often a tired spring or binding arm, because engagement shock loads the belt before the idler takes up slack.
Measure belt deflection where the manual allows
Some mower designs let you set tension manually with an adjustable idler mount. Your manual gives the spec, commonly belt deflection at the midpoint of the longest span, often about 1/2 inch under light thumb pressure, but use your manual's number.
To measure:
- Route the belt correctly and seat it fully in every groove.
- Find the longest straight run between two pulleys.
- Press the belt at the midpoint with your thumb and estimate or measure the movement against a straightedge.
Automatic vs. manual tensioners
Most modern riding mowers use automatic spring tensioners with no adjustment nut; don't shim or bend the arm, replace the spring or idler assembly. Manual tensioners appear on older machines and some drive-belt setups and need periodic adjustment; follow the manual's procedure and torque values.
Symptom-to-tensioner quick map
- Belt jumps off at blade engagement: weak spring, binding idler arm, or glazed belt.
- Belt slips under load but stays on: low tension or a polished idler pulley face.
- Belt squeals constantly: over-tight belt or a seized idler bearing.
A weak spring or binding idler is one of the fastest fixes on the machine: replacement springs and idler assemblies are common service parts most homeowners can swap in 15 to 30 minutes.
Inspecting Lawn Mower Belt Routing Diagram and Installation
Your owner's manual includes a lawn mower belt routing diagram showing exactly how the belt wraps around each pulley. Follow it precisely during reinstallation.
Before reinstalling the belt:
- Clean all pulleys and the belt path
- Remove grass clippings, dirt, and debris
- Wipe pulleys with a dry cloth
Belt guides are small metal tabs that keep the belt centered on the pulley; missing or bent guides let the belt wander.
Install the belt in this order:
- Start at the largest pulley (usually the engine pulley)
- Route the belt around each pulley following the diagram exactly
- Work toward the smallest pulleys last
After installation, spin the pulleys by hand to confirm the belt tracks straight without drifting toward either edge.
When to Replace Parts and When to Call a Professional
Most belt-off problems are homeowner-fixable, but some failures hide damage that makes belt replacement pointless until the underlying part is repaired. Use this section to judge difficulty, gather tools, and recognize when continuing is unsafe or uneconomical.
Tools that cover most belt and pulley jobs
- Safety glasses and work gloves
- Socket set (3/8-inch drive covers most deck and idler bolts)
- Combination wrenches
A pulley puller, bearing press, or spindle rebuild tools are beyond most home kits. If the job needs those, that is your signal to stop.
DIY difficulty ratings
- Easy (under 30 minutes): cleaning debris from the belt path, replacing a tensioner spring, replacing bent belt guides, reinstalling a correctly routed belt.
- Moderate (30 to 90 minutes): replacing a deck belt, adjusting a manual tensioner, minor pulley alignment shifts, replacing an idler pulley assembly.
- Advanced (professional territory): replacing a spindle with a seized bearing, replacing the engine or transmission pulley, straightening or welding deck components, diagnosing electrical PTO clutch faults.
Signs of hidden damage that end DIY work
Stop and get qualified service if you find any of these:
- Spindle shaft play or wobble. Grab the blade spindle shaft (blades removed, engine off, key out) and try to move it side to side. Visible movement means a worn spindle bearing or bent shaft. A new belt will not fix it.
- Cracked or bent deck shell. Cracks near spindle mounts or idler brackets change pulley geometry. Welding or straightening a deck is not a homeowner job.
- Bent engine or transmission pulley. These are often pressed or keyed onto shafts and can require engine or transmission removal.
When professional service makes financial sense
A shop with pulley alignment tools, bearing testers, and model-specific service information can often find a misalignment or seized bearing in minutes. If two belts have already failed, a professional diagnosis usually costs less than a third belt plus downtime. Ask the shop to check pulley alignment, idler pivot condition, spindle bearing play, and belt routing against the model-specific diagram before replacing parts.
Verify parts by model number, not by sight
Before ordering, write down the mower's model and serial number from the tag under the seat or on the frame, then use the owner's manual or a model-specific parts diagram to confirm belt dimensions, routing, and pulley part numbers. Layouts differ between models and production years, so a belt that looks right on the shelf can be the wrong length or cross-section.
Conclusion
A riding mower belt that keeps falling off points to pulley misalignment, worn bearings, a weak tensioner spring, bent guides, or a stretched belt.
At V-Belt Nation, we stock replacement belts for most riding mower brands, along with detailed guidance on sizing and installation. Our team can help you find the exact belt your mower needs and answer questions about routing or compatibility.
Frequently Asked Questions
Why does my riding mower belt keep falling off during operation?
A riding mower belt falls off due to misaligned pulleys, worn idler pulleys, weak tensioner springs, incorrect belt routing, or debris buildup in the belt path. Start by stopping the engine, removing the deck belt, and inspecting each pulley for wobble, cracks, or bearing play. Rotate pulleys by hand, they should spin freely without grinding. Check the tensioner spring for cracks or loss of tension. If pulleys move or the spring is weak, those parts need replacement. Belt slipping and jumping off often occur together, so address the root cause rather than just reinstalling the belt.
How do I know if my mower belt is routed correctly?
Consult your mower's owner manual or the belt routing diagram on the mower deck itself, most models have a sticker showing the correct path. The belt must sit fully in each pulley groove without twisting. Trace the path from the engine pulley through all idlers and guide wheels to the blade drive pulley. The belt should not cross itself or skip any pulleys. If guides or guards are bent or missing, the belt can wander off track. After reinstalling, engage the blade at full throttle and watch for smooth operation. Any wobbling or lateral movement means routing or alignment is still wrong.
Can a stretched or worn belt cause a riding mower belt to fall off?
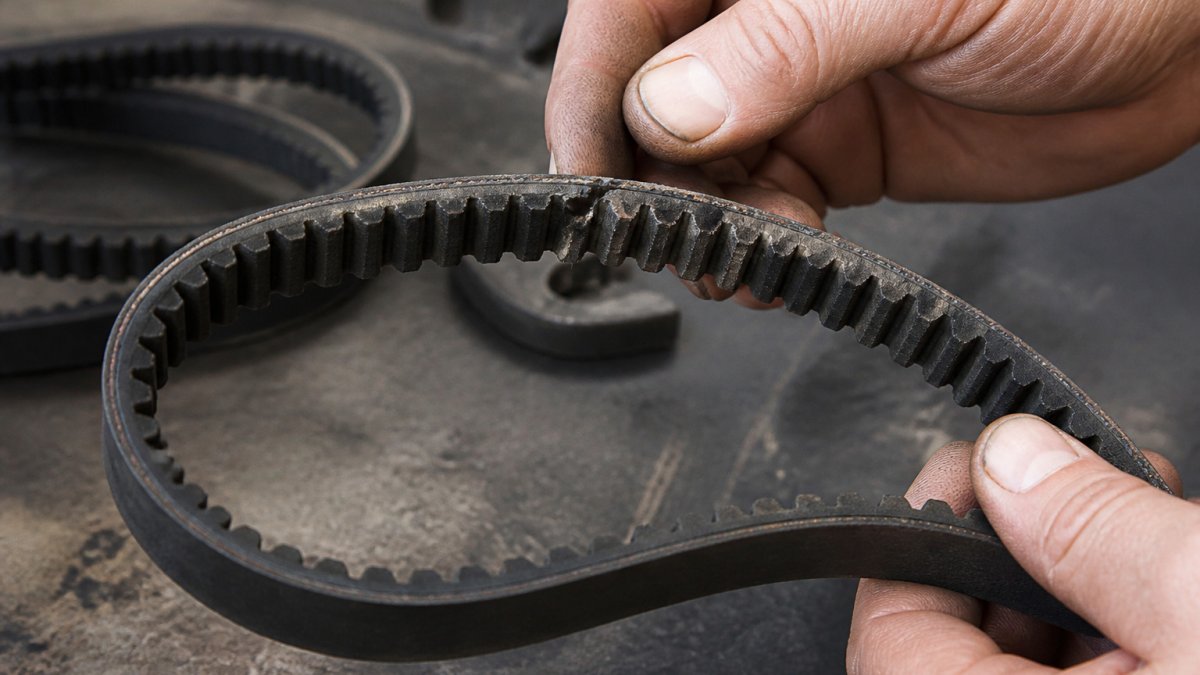
Yes. A stretched belt loses contact with pulley grooves, causing slipping and eventual jumping off. Worn belts also develop cracks and thin spots, reducing their grip. Check belt condition by looking for fraying edges, cracks, glazing, or visible wear patterns. If the belt is visibly damaged or doesn't grip when you try to rotate a pulley by hand, replacement is necessary. A worn belt combined with weak tensioner spring tension creates the perfect conditions for repeated belt failure. Always replace both the belt and any worn idler pulleys at the same time to prevent recurrence.
How do I measure a lawn mower belt for replacement?
Remove the old belt and measure its length by laying it flat and measuring the inside circumference from one end to the other. Note the belt width and profile type (usually A, B, or C section for lawn mowers). Check your mower's manual for the exact belt part number, which includes length and profile. If the manual isn't available, measure the distance around the pulley path when the tensioner is in neutral position. Bring these measurements to V-Belt Nation, our support team can match your mower model to the correct replacement belt and verify it fits your specific deck configuration.