 how-to
Replacing Tractor Drive Belts: Step by Step Guide
Table of Contents
- Before You Start: Tools and Safety Checks for Replacing Tractor Drive Belts
- How to Measure a Tractor Drive Belt Before You Order
- Reading a Tractor Drive Belt Routing Diagram
- Removing the Old Belt: Releasing Tension Safely
- Installing the New Belt Step by Step
- Riding Mower Drive Belt Replacement Tools Worth Having on Hand
- When Your Tractor Drive Belt Keeps Slipping Off: Causes and Fixes
- Conclusion
- Frequently Asked Questions
Last Updated: October 20, 2026
Before You Start: Tools and Safety Checks for Replacing Tractor Drive Belts
A step by step guide to replacing tractor drive belts starts with one rule: kill the power before you touch anything. Most mangled fingers and pinched hands happen in the first five minutes, not the last.
Here's what to gather before you start:
- Socket set with the sizes your deck and pulley bolts use
- Belt tension gauge or a spring scale
- Work gloves that let you grip without slipping
- Flashlight or work light for the shadowed pulley areas
- Pen and paper to sketch the old belt's path
- Blocks or wheel chocks to stop the tractor rolling
Then run these safety checks:
- Park on flat ground and set the parking brake.
- Pull the key and disconnect the battery ground cable.
- Let the engine and exhaust cool completely.
- Engage the deck lock or lower the deck to the ground.
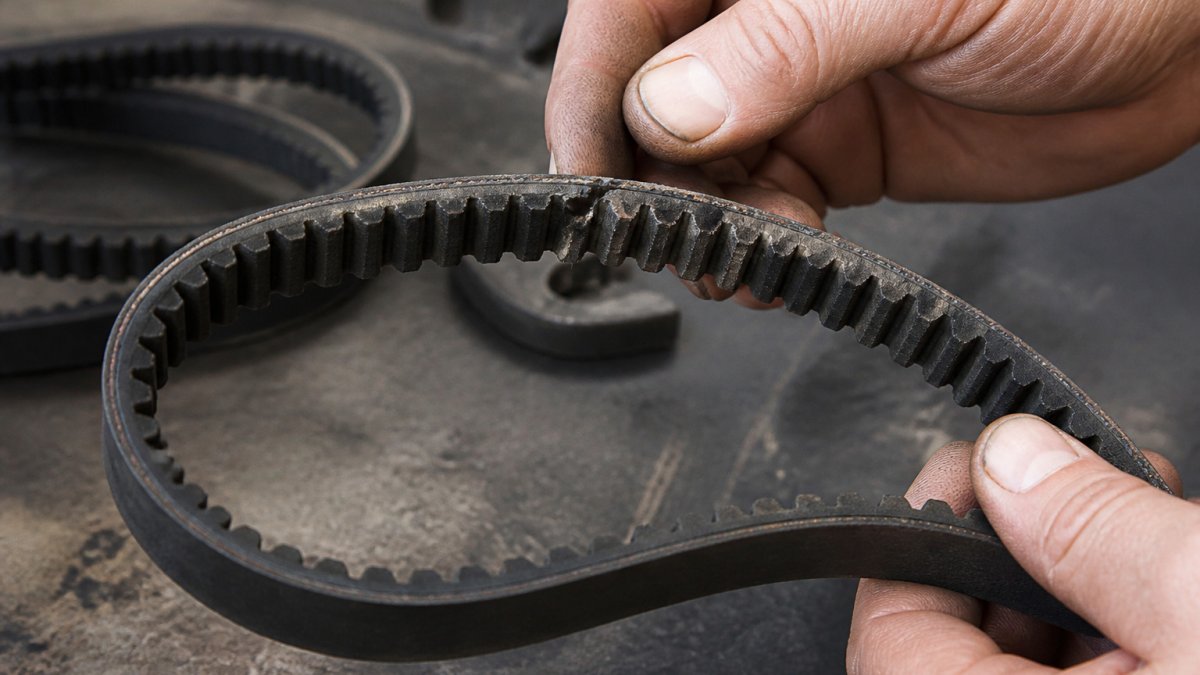
A tractor drive belt is the flexible loop that transfers power from the engine pulley to the deck or drive pulleys. If it's cracked, glazed, or stretched, replace it. Don't wait for it to snap mid-job.
How to Measure a Tractor Drive Belt Before You Order
Measure the old belt before you order, not after. The fastest method is to cut the worn belt and lay it flat, then measure its length. If the belt is still usable, wrap a cloth tape around its outside edge instead.
You need three numbers:
- Outside length in inches, measured around the belt's outer edge
- Top width across the flat upper face
- Section profile, such as A, B, or 4L, which tells you the belt's cross-section family
Write all three down. A belt that's the right length but the wrong width will slip or ride the pulley wrong.
If the belt is too damaged to measure, check the owner's manual or the deck's parts sticker. Most tractors list the belt size right on the machine.
Order by all three numbers, not just length. A "close enough" belt is the number one reason a fresh belt starts squealing within a week.
Reading a Tractor Drive Belt Routing Diagram
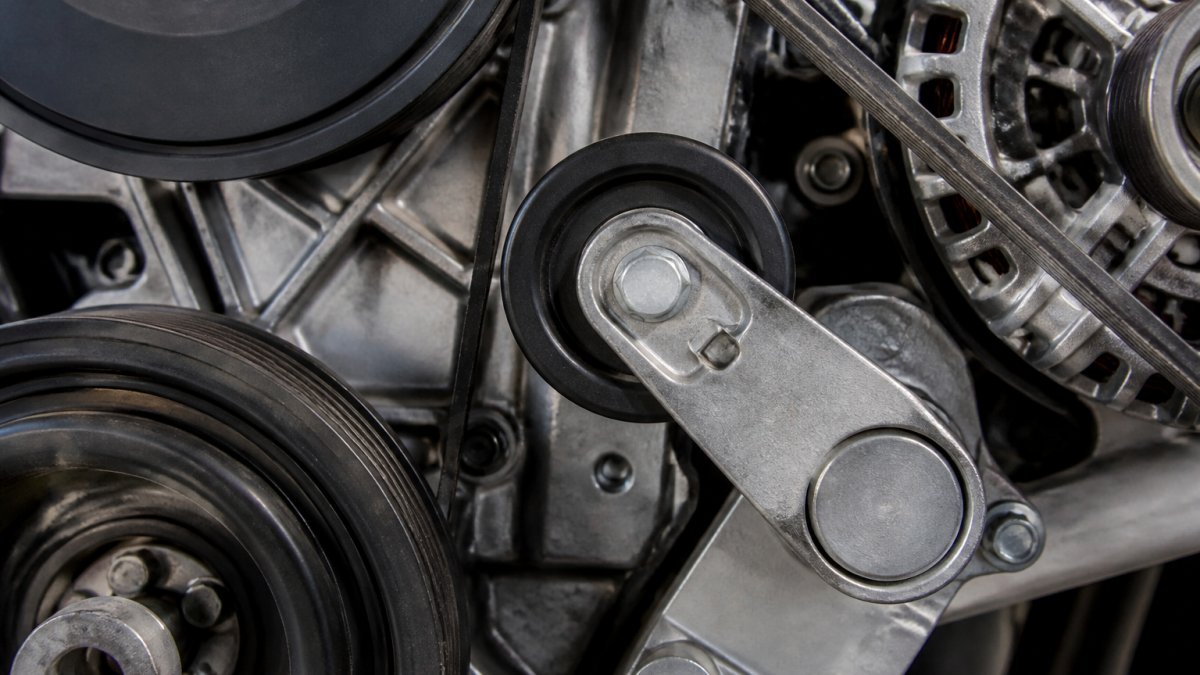
A tractor drive belt routing diagram is a simple map that shows how the belt wraps around each pulley. Read it before you pull the old belt, because once it's off, you're working from memory.
Here's how to use one:
- Find the engine or drive pulley first. That's your starting point.
- Follow the belt line around each idler and tensioner pulley in order.
- Note which side of each pulley the belt rides on. Flat-back idlers take the smooth side.
- Check for any twist or crossover where the belt changes direction.
Most manuals print the diagram on the same page as the belt specs. If yours is missing, take a photo of the old belt still installed. That photo becomes your diagram.
Sketch the path on paper with arrows. Number each pulley. When you install the new belt, you follow the numbers in order.
Removing the Old Belt: Releasing Tension Safely
Release tension before you pull anything. On most tractors, a spring-loaded idler or a tensioner bolt holds the belt tight. Find that tensioner first.
Follow this order:
- Locate the tensioner pulley or tension bolt.
- Fit the correct socket and turn slowly to relieve spring pressure.
- Slip the belt off the smallest pulley first, usually the engine pulley.
- Walk the belt off the remaining pulleys by hand.
- Inspect the pulleys for rust, burrs, or wobble while the belt is off.
Watch your knuckles. Springs store a lot of energy, and a slipped wrench can snap back hard.
While the belt is off, spin each pulley by hand. Any grinding, wobble, or roughness means a bearing is failing. A new belt on a bad pulley will fail fast.
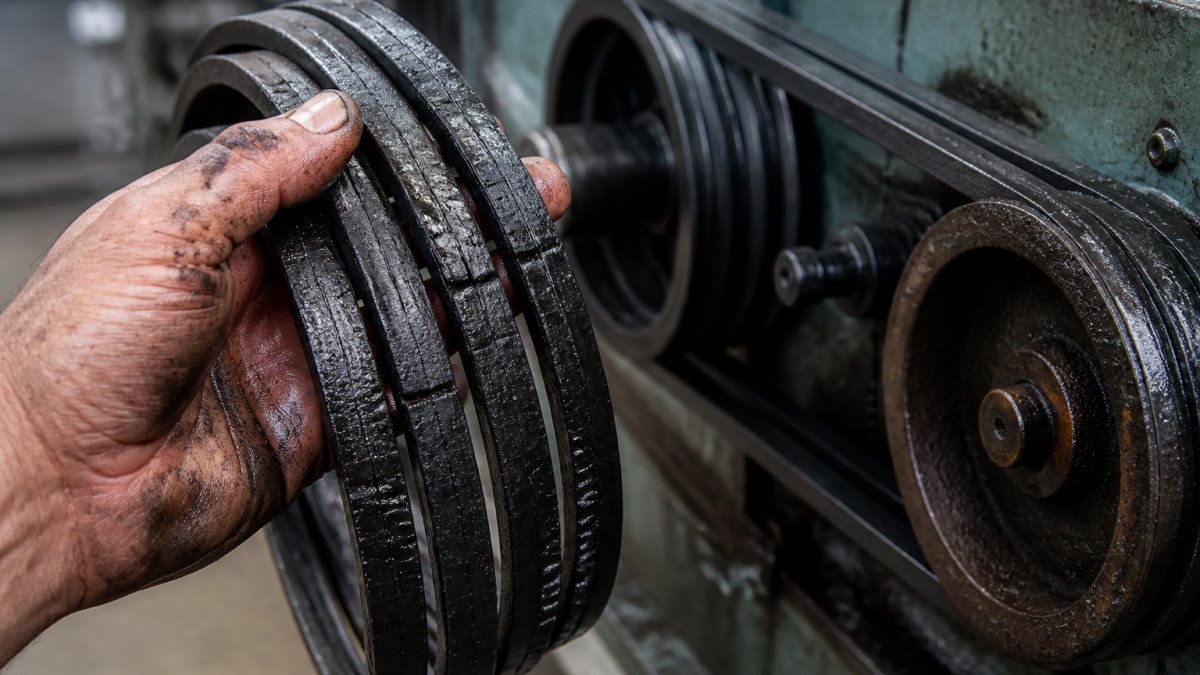
Lay the old belt out and compare it to your measurements. If it's noticeably longer than spec, it stretched. If it's cracked or glazed, it overheated. Both tell you something about why it failed.
Installing the New Belt Step by Step
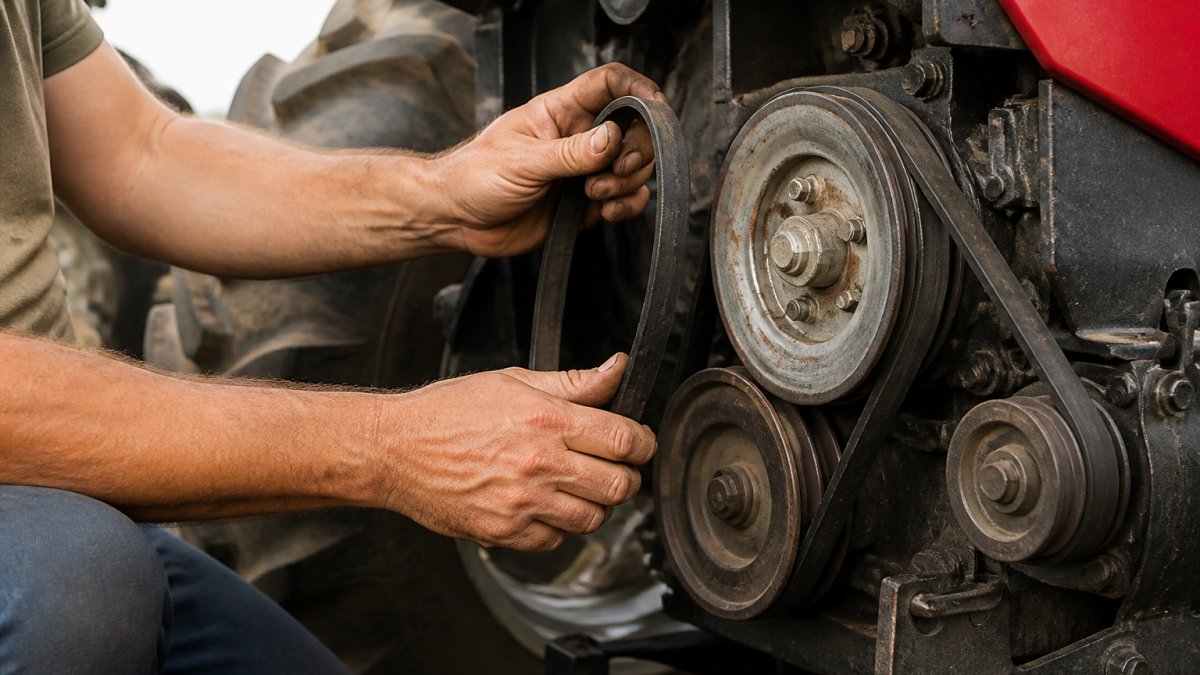
Route the new belt exactly as your diagram shows, then tension it to spec. Work the belt over the largest pulley last so you have slack to maneuver.
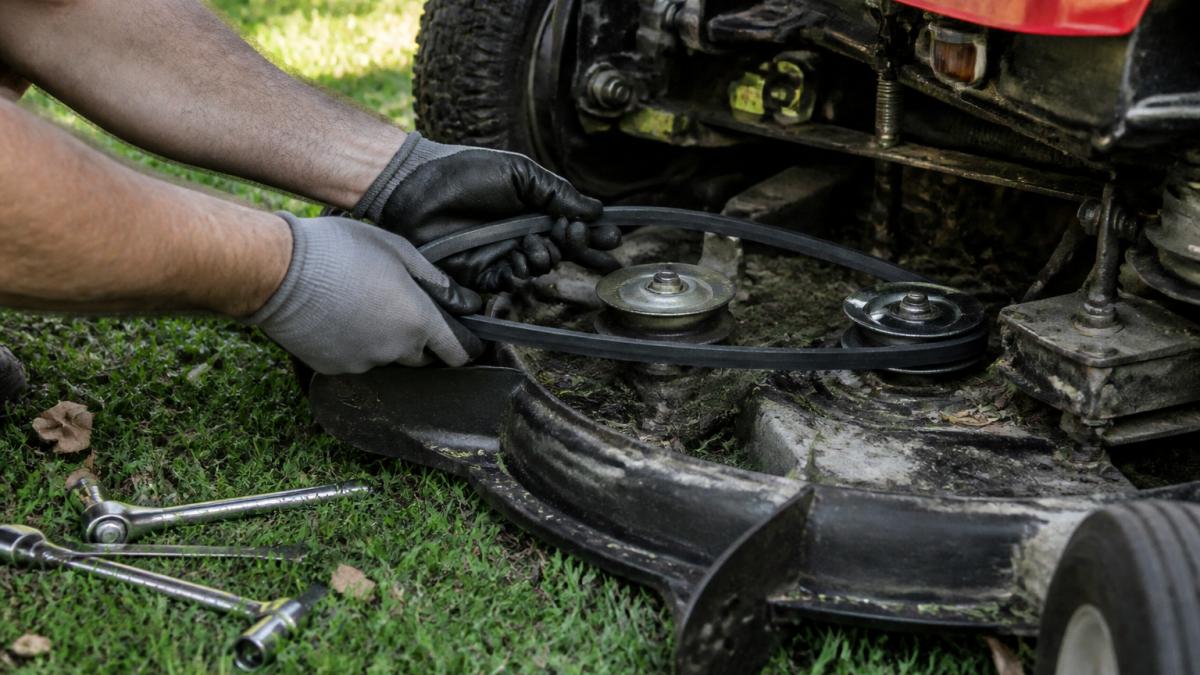
Here's the sequence:
- Loop the belt around the engine pulley first, following your numbered sketch.
- Work it around each idler and tensioner in order.
- Seat the belt fully into every pulley groove by hand.
- Apply tension with the tensioner or tension bolt.
- Check tension with a gauge. Most decks want a firm deflection of about half an inch at the belt's midpoint.
- Rotate the engine by hand two full turns and recheck the routing.
The belt should sit deep in each groove, not riding on top. If it rides high, the width is wrong.
Reconnect the battery, start the engine at idle, and watch the belt run for a minute. It should track smooth with no flap or squeal. Shut down and recheck tension after the first use, since new belts seat and loosen slightly.
Riding Mower Drive Belt Replacement Tools Worth Having on Hand
The right riding mower drive belt replacement tools turn a two-hour fight into a twenty-minute job. You don't need a full shop, but a few items earn their keep.
Worth keeping in the toolbox:
- Belt tension gauge for accurate deflection checks
- Long-handled pry bar for nudging stubborn idlers
- Spring hook tool to stretch tensioner springs safely
- Mirror on a stick to see behind the deck
- Cordless impact driver for faster bolt removal
- Shop vacuum to clear grass clippings before you start
Skip the screwdriver-as-pry-bar trick. It bends tips and slips into belts.
Keep a spare belt on the shelf if you run your mower hard. Belts fail at the worst time, usually mid-season.
When you're sourcing replacements, V-Belt Nation stocks lawn and garden belts alongside industrial V-belts, so you can match the exact section and length without guessing. Free ground shipping applies on U.S. orders over $175, and our team can help you confirm a size.
When Your Tractor Drive Belt Keeps Slipping Off: Causes and Fixes
A tractor drive belt keeps slipping off for a handful of repeat reasons, and almost all of them trace back to alignment, tension, or a worn pulley. Diagnose before you buy another belt.
| Problem | Likely Cause | Fix |
|---|---|---|
| Belt jumps off under load | Loose tension | Retension to spec |
| Squeals at startup | Glazed or wrong width | Replace with correct section |
| Rides high in groove | Belt too wide | Match top width to pulley |
| Wanders to one side | Misaligned pulley | Straighten or shim pulley |
| Frays on one edge | Worn idler bearing | Replace the idler |
| Stretches fast | Wrong belt type | Use the OEM-spec profile |
Check alignment first. Lay a straightedge across two pulleys and look for gaps. A pulley out of line by even a small amount will walk the belt off.
Then check tension. Too loose and the belt slips and overheats. Too tight and it wears bearings and stretches.
Inspect the pulleys for wear. A worn groove lets the belt bottom out and lose grip. If the groove is shiny and deep, the pulley needs replacing.
Conclusion
A slipping or snapped belt can stall a mower mid-season, and the fix is rarely as hard as it looks. Measure carefully, follow the routing diagram, and tension to spec, and you'll get a clean install the first time.
When you need the right belt for the job, V-Belt Nation carries a full range of lawn and garden and industrial V-belts, with a price match guarantee, free ground shipping on U.S. orders over $175, and a support team that helps you confirm the exact size. Get started with V-Belt Nation and keep your equipment running without the downtime.
Frequently Asked Questions
How do you replace a drive belt on a riding tractor?
Disconnect the spark plug for safety, then release tension on the belt by moving the idler pulley or releasing the deck engagement. Slip the old belt off the pulleys, noting the routing path before removal. Match the old belt to a replacement using its stamped size or a measured length, then route the new tractor drive belt around the pulleys exactly as the old one sat. Reapply tension, reconnect the spark plug, and test at low throttle before mowing.
What tools do you need to replace a tractor drive belt?
Most jobs need a socket set, a wrench set, a pry bar or belt tension tool, work gloves, and a jack or ramps for deck access. A tape measure or belt length gauge helps confirm sizing, and a phone camera is useful for photographing the routing before you remove anything. For deck belts, a deck removal pin or block of wood can hold the deck steady while you work.
Why does a new tractor drive belt keep slipping off?
A new belt that slips off usually points to a routing error, a worn or misaligned pulley, or incorrect tension. Check the routing against the diagram or your pre-removal photo, inspect pulleys for grooves, rust, or wobble, and confirm the idler spring is pulling properly. If the belt is the wrong length or section width, it will not seat correctly no matter how tight you set it, so verify the size before adjusting anything else.
How do you find the correct drive belt for a tractor?
Start with the model and serial number from the tractor's identification plate, then cross-reference the OEM part number. If the old belt is still readable, the stamped size on the back gives you the section and length. When neither is available, measure the belt by running a tape around the pulley path or cutting the old belt and laying it flat. Order from a supplier that stocks fractional and metric sizes so non-standard lengths are not a problem.