 how-to
5 Signs Your V-Belt Is Too Tight and How to Fix It
Last Updated: October 26, 2026
Quick Summary
A V-belt too tight strains bearings, accelerates pulley wear, and can destroy accessory components in weeks instead of years. Check tension using the deflection test at the longest belt span; a properly tensioned belt should deflect about 0.5 to 1 inch under moderate hand pressure, and if it barely moves, it is too tight.
- Squealing, chirping, or unusual noise often signals over-tension, not a loose belt
- Cracks running perpendicular to the belt length indicate over-tension accelerates material fatigue
- Difficulty rotating pulleys by hand suggests bearing load is high from excessive belt tension
- Always measure deflection at the longest straight span between two pulleys at the midpoint
- Adjust tension in small quarter-inch increments and recheck after 24 hours to verify the fix
Table of Contents
- Why V-Belt Tension Matters: The Balance Between Slip and Damage
- How to Check V-Belt Tension Using the Deflection Test
- V-Belt Deflection Measurement: What the Numbers Tell You
- Using a V-Belt Tension Chart to Identify Over-Tension
- 5 Warning Signs Your V-Belt Is Too Tight
- V-Belt Bearing Damage: Long-Term Consequences of Over-Tension
- How to Safely Adjust Your V-Belt Tension
- Manual V-Belts vs. Automatic-Tensioner Serpentine Systems
- Step 1: Locate the Tensioner or Adjustment Bolts
- Step 2: Loosen the Adjustment Bolts Slightly (Manual Systems Only)
- Step 3: Reposition the Tensioner Pulley (Manual Systems Only)
- Step 4: Verify Tension and Recheck After 24 Hours
- What to Do After You Find the Belt Is Too Tight
- Distinguishing Over-Tension from Misalignment and Bearing Failure
- Frequently Asked Questions
Why V-Belt Tension Matters: The Balance Between Slip and Damage
A loose belt slips, so power doesn't transfer cleanly and equipment runs slow or stops.
Tension sits in a narrow window: too loose and machinery underperforms, too tight and you accelerate failure across multiple systems.
This guide walks you through identifying an overtightened V-belt, measuring tension correctly, and adjusting it safely.
How to Check V-Belt Tension Using the Deflection Test
The deflection test is the most practical way to check V-belt tension without specialized equipment, but only if you follow a safe, repeatable sequence and compare results against the correct specification. A universal thumb-press rule is a starting point, not a verdict.
A Safe Diagnostic Sequence for Confirming Over-Tension
- Shut down and secure the equipment. Switch off the engine, remove the key, and disconnect the battery negative cable or lock out the disconnect. Let the belt cool, a warm belt reads differently than a cold one.
- Inspect the belt and routing first. Look for cracks, glazing, frayed edges, missing ribs, or oil contamination, and confirm the belt is seated correctly in every pulley groove per the routing diagram. A misrouted belt can mimic over-tension.
- Identify the tensioning method. Determine whether your system uses manual adjustment (alternator or accessory bracket with slotted bolts) or an automatic spring-loaded tensioner; the check differs for each.
- Locate the longest belt span. Find the longest straight run between two pulleys, deflection is most accurate there; shorter spans give false readings.
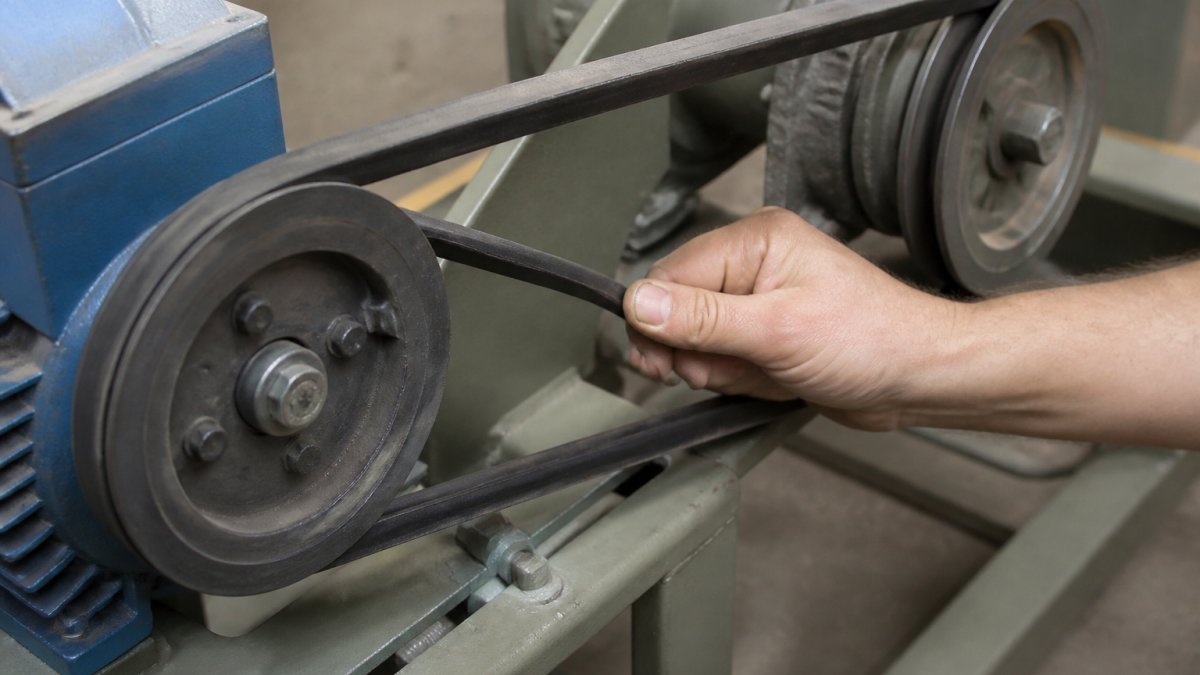
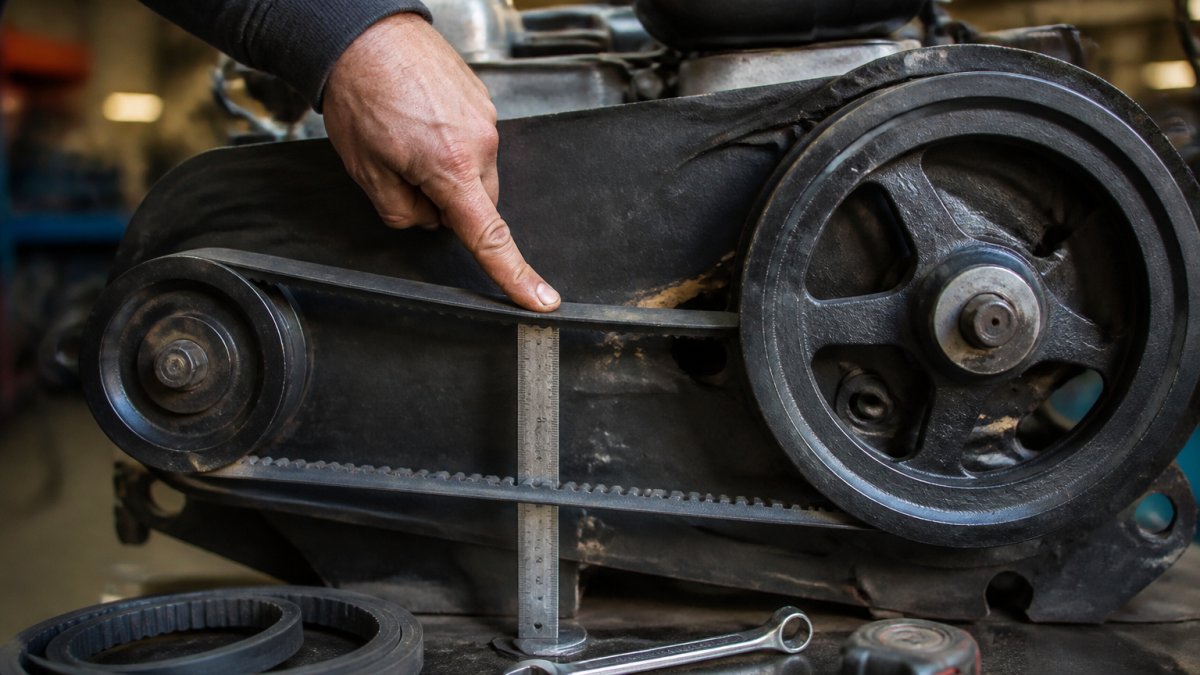
- Measure deflection at the midpoint. Press down firmly with your thumb or a straightedge at the midpoint of the longest span and note the distance the belt moves.
- Compare with the specification, not a universal rule. Look up the deflection or tension spec in the service manual or the belt manufacturer's tension chart for your belt section and span length. Only if no spec is available should you fall back on the general 0.5 to 1 inch range for most industrial V-belts.
- Record the reading. Note the deflection and ambient temperature as your baseline for future checks.
Measuring at the Longest Belt Span
Always measure at the longest straight run between two pulleys, typically the span farthest from the motor or engine, pressing down firmly at the midpoint.
On a manually tensioned V-belt with no published spec, the belt should deflect about 0.5 to 1 inch under moderate hand pressure.
On a system with an automatic tensioner, don't use the thumb-press rule as your primary check.
The Twist Test for Quick Assessment
Grab the belt at the longest span and try to twist it 90 degrees. A properly tensioned V-belt should twist about a quarter turn.
Treat the twist test as a preliminary screen only, it isn't precise enough to confirm over-tension and doesn't apply to serpentine belts with automatic tensioners, where the flat, multi-rib construction makes twisting meaningless.
Using a Belt Tension Gauge or Tensiometer
When the service manual specifies a tension value in pounds or newtons, a belt tension gauge or tensiometer is the only way to verify it accurately. Clip-on spring gauges work well for V-belts; sonic tensiometers are common for serpentine belts because they measure frequency across a known span.
Set the gauge per its instructions, apply it at the midpoint of the longest span, and compare the reading with the specification.
V-Belt Deflection Measurement: What the Numbers Tell You
But deflection specs vary by belt type and application: a narrow V-belt (classical section) has a different tolerance than a wedge belt, and a lawn mower belt differs from an industrial drive belt. Always reference your equipment's specification sheet first.
Using a V-Belt Tension Chart to Identify Over-Tension
Most charts organize by belt type (A, B, C sections) and longest span distance.
The chart gives you a band, not a single number, that band is your safety zone, keeping the belt performing without overloading bearings.
If your deflection falls below the lower end of the range, the belt is too tight. Time to adjust.
5 Warning Signs Your V-Belt Is Too Tight
An overtightened V-belt sends signals before it fails catastrophically. Learning to recognize them saves repair costs.
Squealing, Chirping, or Unusual Noise
Squealing is the most obvious sign. Learn more about what causes squealing and how to fix it.
Chirping, a rapid, repetitive sound, also points to over-tension: the belt is compressed so hard against the pulleys that it can't flex smoothly.
If noise appears suddenly on a belt that was quiet before, tension has likely increased. Check your tensioner position and adjustment bolts.
Premature Belt Wear or Cracking
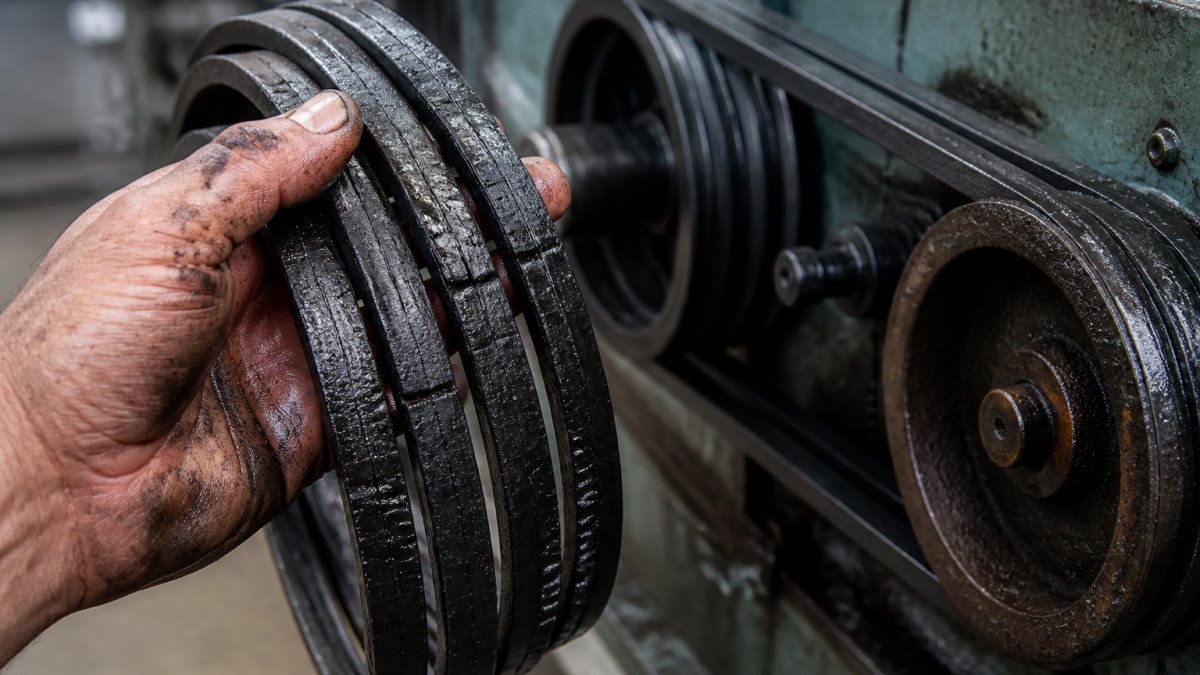
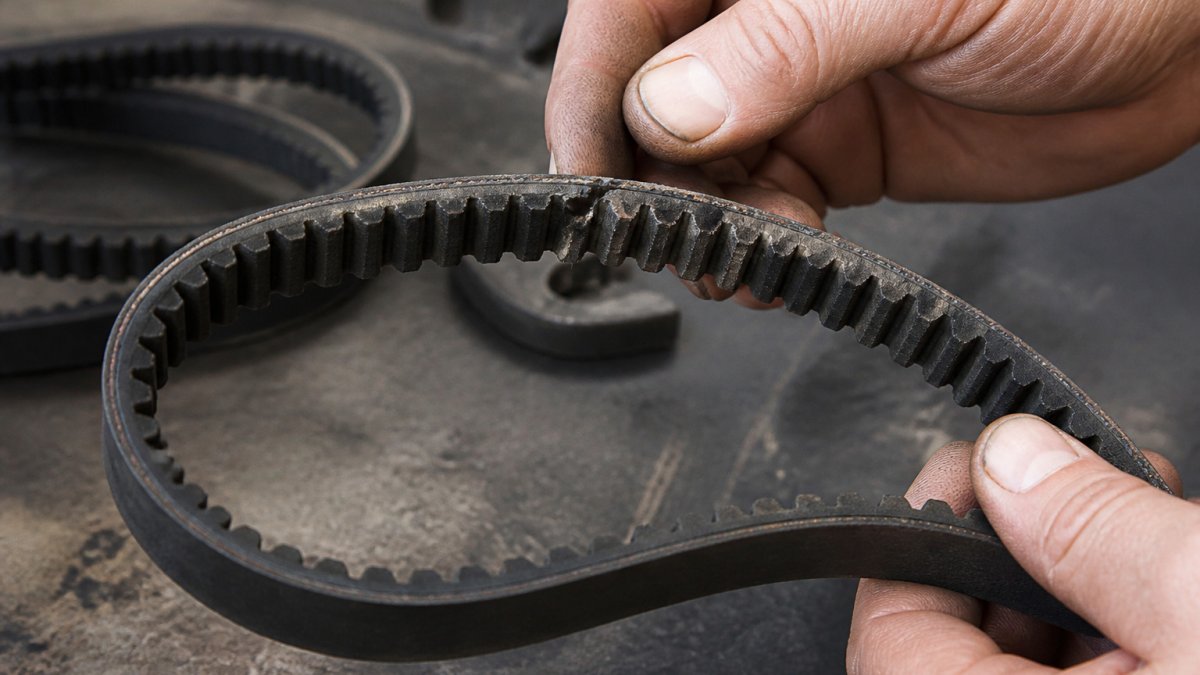
Cracks running across the belt perpendicular to its length are a red flag. Over-tension accelerates this damage.
Excessive tension bends the belt too sharply around pulleys. The material fatigues faster. Cracks spread quickly once they start.
Also watch for unusual wear patterns. If one side of the belt wears faster than the other, misalignment or over-tension could be the cause. Check for pulley alignment first; if pulleys are aligned and wear is still uneven, tension is likely too high.
Tensioner Pulley Wear Marks Beyond Normal Range
The tensioner pulley moves along a track as the belt stretches, and wear marks on that track show where the pulley normally sits.
If the pulley is positioned beyond the normal wear mark range, pushed far to one extreme, tension may be too high. The tensioner is working overtime to maintain excessive tension.
Over time, this wears out the tensioner itself.
Difficulty Rotating Pulleys by Hand
With the engine off, try rotating each pulley by hand. They should turn freely with moderate effort.
If a pulley is hard to turn, requiring significant force, bearing load is high. This usually means belt tension is excessive.
This test works best on pulleys without serpentine systems. On automatic-tensioner systems, hand rotation is harder anyway, so use it as a secondary check only.
Accessory Bearings Running Hot
Feel the bearing housing where the belt connects. It should be warm, not hot.
Excessive tension forces bearings to work harder and generate more heat.
This is a late-stage warning: if bearings are running hot, adjust immediately, since continued operation can damage the bearing permanently.
An overtightened V-belt sends clear signals before it fails catastrophically.
| Warning Sign | What It Indicates | Action |
|---|---|---|
| Squealing or chirping noise | Excessive tension forces belt and pulleys together too hard | Check tensioner position and adjustment bolts |
| Cracks perpendicular to belt length | Over-tension accelerates material fatigue | Replace belt and verify tension |
| Tensioner pulley beyond normal wear marks | Tensioner working overtime to maintain excessive tension | Adjust tension and inspect tensioner |
| Difficulty rotating pulleys by hand | Bearing load is high from excessive belt tension | Loosen belt to proper deflection range |
| Bearing housing too hot to touch | Excessive tension forces bearings to work harder | Adjust immediately to prevent permanent damage |
V-Belt Bearing Damage: Long-Term Consequences of Over-Tension
Over-tension doesn't just wear out belts. It damages the entire drive system.
Bearings are engineered for specific loads, and excessive belt tension exceeds those limits: races wear faster, lubrication breaks down under the extra pressure, and eventually the bearing seizes or fails catastrophically.
Alternator, water pump, and idler bearings all suffer from over-tension.
How to Safely Adjust Your V-Belt Tension
Adjusting V-belt tension requires care, and the procedure differs between a manually tensioned V-belt and an automatic-tensioner serpentine system. Rushing the job or using the wrong technique can make things worse.
Manual V-Belts vs. Automatic-Tensioner Serpentine Systems
- Manually tensioned V-belts are common on older vehicles, industrial drives, lawn and garden equipment, and many HVAC blowers. Tension is set by sliding the alternator, water pump, or idler along slotted brackets and locking it down, so the deflection test and tension chart are your primary tools.
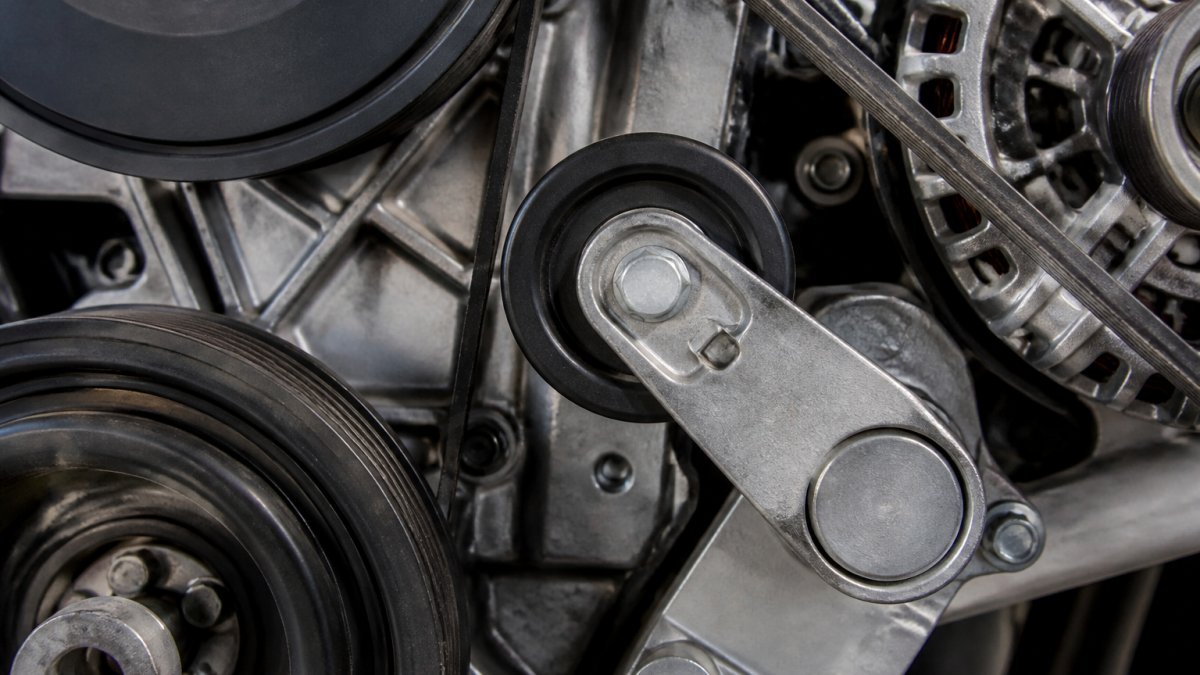
- Automatic-tensioner serpentine systems are common on modern vehicles and many packaged units. A spring-loaded tensioner maintains tension automatically, with no adjustment bolt to turn in most cases; your job is to inspect the tensioner indicator, belt condition, and pulley alignment, not to force the tensioner to a different position.
Adjusting an automatic tensioner as if it were a manual V-belt can damage the spring mechanism or install the belt incorrectly. When in doubt, consult the service manual.
Step 1: Locate the Tensioner or Adjustment Bolts
On a manual system, find the component that slides, usually the alternator, water pump, or a dedicated idler, and identify the lock bolt and adjustment bolt.
On an automatic system, locate the tensioner pulley and its indicator marks. Some have a square drive hole for a breaker bar to relieve tension during belt removal, but that is for service, not for setting tension.
Step 2: Loosen the Adjustment Bolts Slightly (Manual Systems Only)
Never completely remove adjustment bolts, loosen them just enough to let the component move. Usually two bolts hold the tensioning component; loosen both slightly so it slides with moderate hand pressure, not falling loose and not stuck.
Step 3: Reposition the Tensioner Pulley (Manual Systems Only)
Slide the tensioner component to reduce tension, moving slowly and checking deflection after each adjustment. Stop when deflection falls in the proper range for your belt type and span.
Don't over-correct, it's easier to tighten slightly than to loosen if you go too far. Make quarter-inch adjustments and retest each time.
Step 4: Verify Tension and Recheck After 24 Hours
Once deflection is in range, tighten the adjustment bolts firmly and check that everything is secure. Run the equipment for a few minutes, listen for squealing or unusual noise, and feel bearings to confirm they aren't running hot.
What to Do After You Find the Belt Is Too Tight
Finding over-tension is only half the job. What you do next determines whether the fix lasts.
- If the belt is in good condition and correctly sized: loosen to the specified deflection or tension, recheck after 24 hours, and inspect the tensioner indicator again after a week.
- If the belt is stretched, glazed, cracked, or has missing ribs: replace it, a stretched belt won't hold tension, and no adjustment fixes a worn belt. Match the replacement to the size and section printed on the old belt or listed in the service manual.
- If the belt is the wrong size for the drive: replace it with the correct size. An undersized belt must be overtightened to stop slipping, often the root cause of over-tension in the first place.
If you need replacement V-belts after adjusting tension, V-Belt Nation offers a comprehensive selection of industrial V-belts and drive solutions, including classic and wedge belts, cogged, banded, and lawn and garden options. Free ground shipping is available on U.S. orders over $175, and a Price Match Guarantee is offered. Shop Now.
Distinguishing Over-Tension from Misalignment and Bearing Failure
Symptoms of over-tension overlap with other problems. Getting the diagnosis right prevents wasted adjustments.
Squealing can mean over-tension, but it can also signal misalignment or a failing bearing.
Hot bearings suggest over-tension, but they can also indicate bearing failure, lack of lubrication, or misalignment.
Premature belt wear points to over-tension, but belt damage can also come from other causes.
Frequently Asked Questions
How tight should a V-belt be?
Consult your equipment's V-belt tension chart or the manufacturer's specifications for your exact model.
What are the signs of an overtightened V-belt?
Consult your equipment's V-belt tension chart for its specified tension.
Can a V-belt that is too tight damage bearings?
Yes. Excessive V-belt tension increases load on the crankshaft pulley, alternator, water pump, and other accessory bearings. Over time, this accelerates bearing wear, reduces bearing lifespan, and can cause complete bearing failure. V-belt bearing damage is costly to repair and is one of the most serious consequences of chronic over-tension. Regular deflection checks prevent this damage.
How much deflection should a V-belt have?
Always refer to your equipment's manual or V-belt tension chart for the exact specification.