 how-to
How to Tension a V-Belt: A Beginner's Step-by-Step Guide
Last Updated: October 30, 2026
Quick Summary
V-belt tensioning means setting a belt to the manufacturer's specified tension, most often by measuring deflection at the midpoint of the belt span. Lock out the machine, measure the span, push at the midpoint, and compare the deflection or gauge reading to the manufacturer's target. Correct tension keeps the belt from slipping while protecting bearings and extending belt life.
- Lock out the machine and confirm it cannot start before any work.
- Check pulley alignment with a straightedge before adjusting tension.
- Use the manufacturer's tension specification, not guesswork, as your target.
- Recheck tension after 24 to 48 hours because new belts stretch and settle.
- Do not crank tension higher to stop a squeal, since that causes early bearing failure.
Table of Contents
- What Proper V-Belt Tension Does and Why It Matters
- What You Need Before You Start
- How to Check V-Belt Tension Using Deflection
- Using a V-Belt Tension Gauge Correctly
- Checking and Correcting V-Belt Sheave Alignment
- Step-by-Step: Adjusting Tension and Seating the Belt
- Troubleshooting Tension Problems After Adjustment
- Scheduling Your Next Tension Check
- Frequently Asked Questions
What Proper V-Belt Tension Does and Why It Matters
Correct v-belt tensioning is the difference between a drive that runs for years and one that slips, squeals, and burns out in weeks. Proper tension is the single most important adjustment you can make to a v-belt drive. Too loose and the belt slips on the pulley. Too tight and it strains the bearings and shortens belt life.
The same tension problems come up again and again on plant floors and in backyard equipment. Most of them trace back to a belt that was never set to the right tension in the first place.
Here is what correct tension does for you:
- Transfers power without slipping. The belt grips the sheave walls and moves the load.
- Protects bearings. Excess tension loads shafts and bearings beyond their design limits.
- Extends belt life. Even tension spreads wear evenly along the belt.
- Cuts downtime. Fewer surprise failures means fewer emergency shutdowns.
Watch out: A belt that squeals on startup is often under-tensioned. Do not respond by cranking the tension higher until the squeal stops, because that is how bearings fail early.
What You Need Before You Start
Gather these items before you touch the drive:
- Lockout/tagout (LOTO) equipment and the power source for the machine
- The correct wrenches or sockets for the motor mount or tensioner
- A straightedge, ruler, or tape measure
- A belt tension gauge, if you have one
- The manufacturer's tension specification for your belt type and drive
- Clean rags to wipe the belt and sheave grooves
Confirm the machine is fully locked out and the drive has stopped before you begin. Rotating equipment can start again without warning if the power is not isolated.
How to Check V-Belt Tension Using Deflection
Deflection is the most common way to check v-belt tensioning on a drive. You push on the middle of the belt span and measure how far it moves. The idea is simple: a belt that flexes too much is loose, and one that barely moves is too tight.
Follow these steps:
- Lock out the machine and confirm it cannot start.
- Measure the belt span. This is the distance between the two pulley centers, shaft to shaft.
- Find the midpoint of the belt span on the longest free run.
- Apply force at the midpoint, perpendicular to the belt, using a steady push.
- Measure the deflection, the distance the belt moves from its rest position.
- Compare the reading to the recommended deflection for your belt and span length.
A common rule of thumb is roughly 1/64 inch of deflection per inch of span. For a more in-depth look at how tension is measured and why it matters, see how tension is measured. Always check the belt manufacturer's specification first, since values vary by belt section and drive.
Finding the Recommended Tension Value
The right tension value comes from the belt manufacturer, not from guesswork. Look for:
- The belt part number printed on the belt or its packaging
- The manufacturer's installation guide or tension chart
- The belt section (A, B, C, and so on) and the pulley diameters
- The force needed to deflect the belt, usually listed in pounds
If you cannot find a specification, call the manufacturer or a supplier before you guess. Setting tension wrong is the most common reason new belts fail early.
Using a V-Belt Tension Gauge Correctly
A belt tension gauge measures the force on the belt directly, which is more accurate than eyeballing deflection. Most gauges have a fixed deflection distance and read the force needed to reach it.
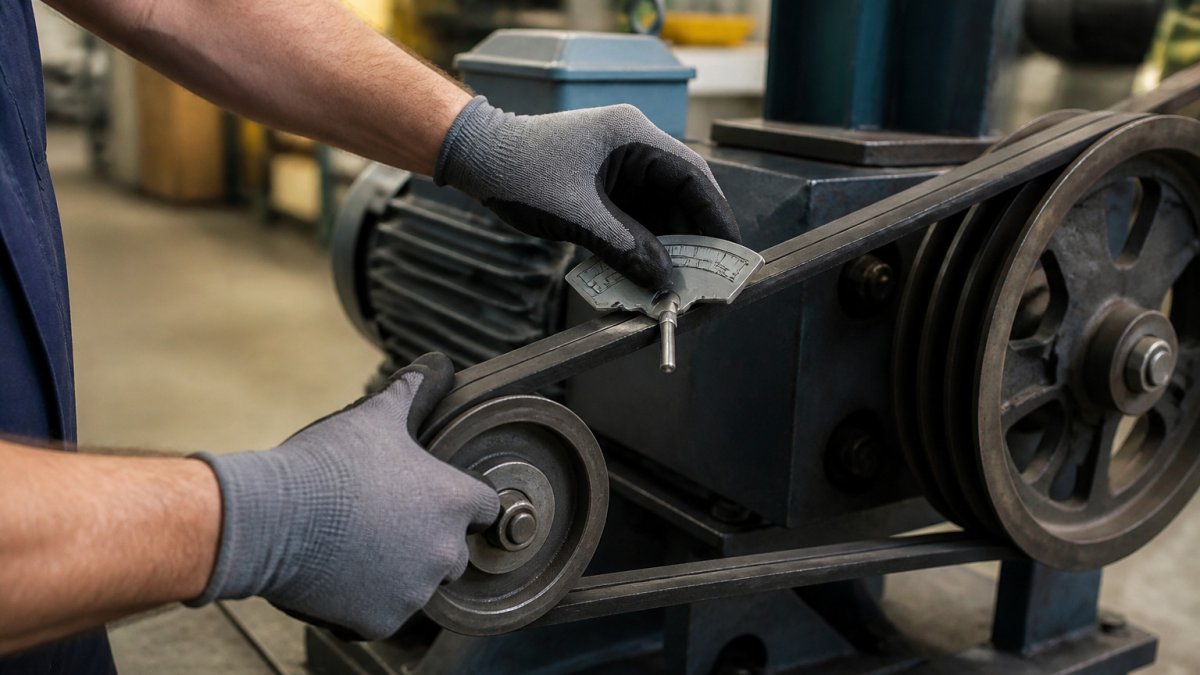
!A maintenance technician in work gloves pressing a belt tension gauge onto the span of a V-belt running between two pulleys on an industrial machine in a well-lit plant floor
To use a gauge:
- Place the gauge on the belt at the midpoint of the span.
- Press the gauge down until it reaches the deflection mark for your span length.
- Read the force value at that point.
- Compare the reading to the manufacturer's target force.
A gauge is only as good as your technique. Keep the gauge square to the belt and press straight down, or the reading will be off.
Watch out: Do not use a gauge on a belt that is hot, wet, or coated in oil. Each of these throws off the reading and can hide a slipping belt.
Checking and Correcting V-Belt Sheave Alignment
Even perfect tension will not save a drive if the pulleys are misaligned. Misalignment makes one side of the belt carry more load than the other and wears the belt edges quickly.
Check alignment with a straightedge laid across the face of both pulleys. Look for two problems:
- Parallel misalignment: the shafts are not parallel, so the pulleys sit offset.
- Angular misalignment: the pulleys are angled relative to each other.
To correct alignment, loosen the motor mount or pulley set screws, shift the pulley or motor until the straightedge touches both faces evenly, then retighten. Recheck tension after any alignment change, because moving the motor changes the belt span.
Step-by-Step: Adjusting Tension and Seating the Belt
Once you know the target tension, follow this sequence:
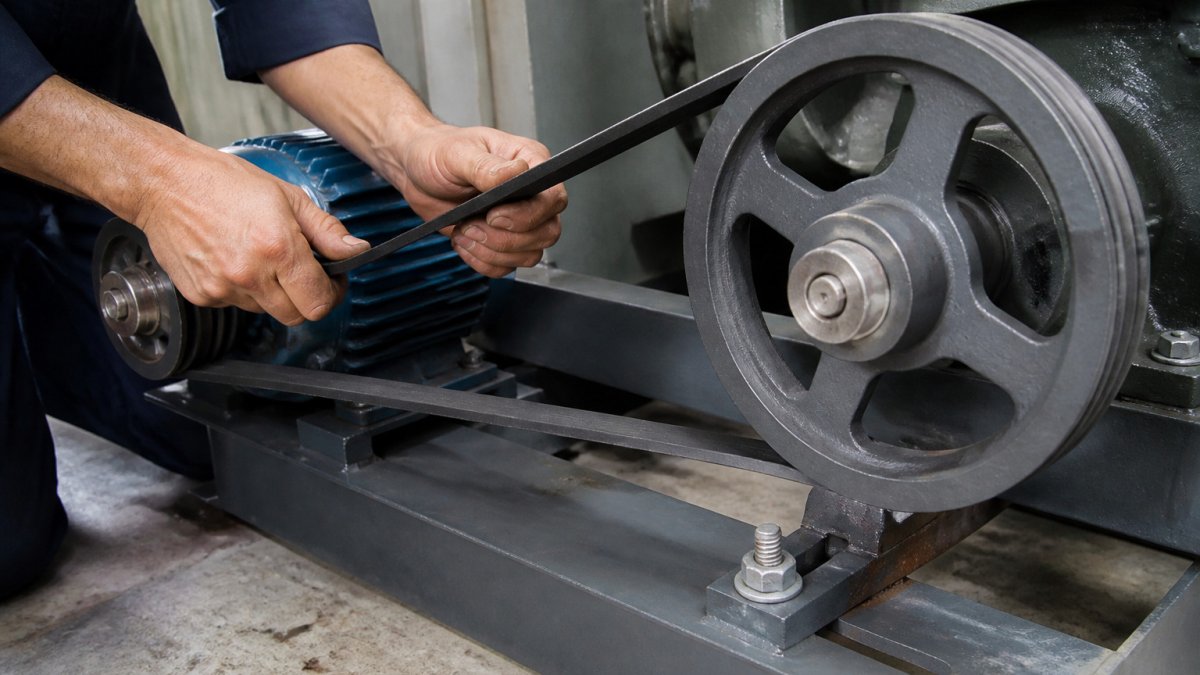
- Loosen the motor mount or tensioner bolts just enough to move the motor.
- Install the new belt by hand. Never pry it on with a tool, which can damage the cords.
- Take up the slack by moving the motor away from the driven shaft until the belt sits snug in the grooves.
- Set the tension to the manufacturer's value using your gauge or deflection method.
- Tighten the mount and recheck tension, since tightening often shifts the motor slightly.
- Run the drive briefly and listen for squealing.
- Recheck tension after 24 to 48 hours of run-in, because new belts stretch and settle.
New belts need a run-in period. Expect tension to drop during the first day or two, then level off.
Troubleshooting Tension Problems After Adjustment
If the belt still misbehaves after adjustment, the symptom usually points to a specific cause. Work through the table below before you touch the tension again. If the belt still slips after adjustment, diagnose the remaining causes of slippage step by step. Repeatedly tightening a belt to stop noise is how bearings fail and how a worn pulley stays hidden. To learn the warning signs of an over-tightened belt and how to fix it, see signs your V-belt is too tight.
| Symptom | Likely cause | First check | Fix |
|---|---|---|---|
| Squeals on startup, then quiets | Tension slightly low, or belt glazed | Deflection reading vs. target | Retension to spec; clean or replace a glazed belt |
| Squeals continuously under load | Tension too low, or grooves worn | Groove wear with a sheave gauge | Retension; replace worn sheaves |
| Belt rides up or out of the groove | Misalignment or wrong belt size | Straightedge across pulley faces | Realign; confirm belt section matches sheave |
| Vibration or shudder | Misalignment, worn belt, or loose mount | Mount bolts and pulley runout | Tighten mount; realign; replace belt |
| Belt and pulleys run hot | Over-tension or slipping | Gauge reading and belt condition | Correct tension; replace a slipping belt |
| Premature bearing wear | Over-tension | Gauge reading vs. target | Reduce to spec; inspect bearings |
| Cracks or frayed edges | Misalignment or worn groove | Straightedge and groove profile | Realign; replace worn sheaves |
| Tension drops quickly after setting | Normal run-in stretch, or a slipping belt | Recheck after 24-48 hours | Retension once; investigate if it keeps dropping |
Reading the Symptoms in Order
Start with the cheapest check. A straightedge across the pulley faces costs nothing and rules out misalignment before you chase tension. If alignment is good, measure deflection or use a gauge and compare to the manufacturer's target. Only then adjust tension.
- Noise that changes with load usually means tension is marginal. The belt grips at light load and slips when torque rises.
- Noise that is constant points to a glazed belt, a worn groove, or a belt that is the wrong section for the sheave.
- Heat is the quiet symptom. A belt that is too tight or slipping both run hot, and heat is what shortens belt life.
When to Stop Adjusting and Replace
If tension is at spec, alignment is true, and the belt still slips or runs hot, the belt or the sheaves are worn out. A belt that has been run loose will have polished, glazed sidewalls that no amount of tension will fix. Replace the belt, check the sheave grooves, and reset tension to the manufacturer's value.
Scheduling Your Next Tension Check
Belts need regular checks, not just a single adjustment. Build a simple schedule:
- After 24 to 48 hours: recheck tension on any new belt.
- Monthly: inspect belts for cracks, glazing, and edge wear.
- Quarterly or per your maintenance plan: recheck tension and alignment.
- After any belt change or motor move: repeat the full check.
Keep a log of each check. Over time it shows how fast a particular drive loses tension, which helps you plan replacements before a failure stops production.
Frequently Asked Questions
How tight should a V-belt be?
A V-belt should be tensioned to the value the belt or drive manufacturer specifies, which is usually a deflection of about 1/64 inch per inch of span length for many standard drives, though exact values vary by belt section and drive. Check the manufacturer's data sheet or the drive's documentation before you start. A belt that is tight enough to transmit power without slipping, but not so tight that it strains bearings, is the goal. If you cannot find a published value, start with the deflection guideline and confirm the belt runs quietly without squealing or slipping under load.
How do you check V-belt tension?
Measure the span between the two pulleys, then press firmly on the middle of the longest span with your thumb or a tension gauge at a right angle to the belt. Record how far the belt deflects and compare it to the recommended deflection for your belt. Check the belt at several points around its length, since uneven tension can shorten belt life. Repeat the measurement after the drive has run for a short period to confirm the reading holds.
What happens if a V-belt is too tight or too loose?
An over-tensioned belt puts extra load on the pulley bearings and shaft, which can cause premature bearing failure and stretch the belt. An under-tensioned belt slips on the pulleys, squeals, generates heat, and wears out quickly, which reduces power transmission. Both conditions show up as symptoms you can check after adjustment, including squealing, glazed belt surfaces, vibration, and unusual bearing noise.
Should V-belt tension be checked after installation?
Yes. New V-belts stretch and seat in during the first hours of operation, so tension drops after installation. Recheck and retension the belt after a short run-in period, then include tension checks in your routine maintenance schedule. Consult the manufacturer's guidance on run-in time, and check tension again whenever you replace belts or service the drive.
If you need a replacement belt or a set of matched belts, browse our inventory and get personalized help finding the right section and length for your drive. For guidance on tensioning for long belt life, see V-belt tensioning for maximum life, and for keeping the drive square, read our pulley alignment guide for beginners.