 how-to
How Do You Measure Belt Tension for Optimal Performance?
Last Updated: October 27, 2026
Quick Summary
To measure belt tension, use the belt deflection method: lay a straightedge across both pulleys, press the belt at its midpoint with a spring scale, and measure how far it drops below the straightedge. Compare that reading to the drive manufacturer's spec sheet deflection range, not a single number.
- Lock out and tag out the drive before you begin any belt tension check.
- Press with real force at the midpoint, since pressing too gently gives false readings.
- A spring deflection gauge suits standard V-belts, while a sonic meter suits cogged or ribbed belts.
- Take three readings and average them, keeping the gauge plunger square to the belt.
- Re-tension new belts after the first shift, then recheck the reading.
Table of Contents
- What You'll Need Before You Measure Belt Tension
- The Belt Deflection Method: A Step-by-Step Process
- Using a V-Belt Tension Gauge for Repeatable Readings
- How to Confirm Correct V-Belt Tension on Any Drive
- Signs of Improper Belt Tension You Should Never Ignore
- Pulley Misalignment, Heat, and Contamination: What Shortens Belt Life
- A Preventative Maintenance Schedule for Belt Tension Checks
- Order the Right Replacement Belt From V-Belt Nation
- Frequently Asked Questions
What You'll Need Before You Measure Belt Tension
Belt tension is the amount of force holding a V-belt snug against its pulleys, and getting it right is the difference between a drive that runs for years and one that fails in months. Below, we'll show you how to measure belt tension for optimal performance.
The right tension keeps friction high enough to transmit power without slipping. Too loose and the belt slips, heats up, and wears fast. Too tight and you load the bearings and stretch the belt.
Gather these items first:
- A straightedge or a stiff ruler
- A tape measure or machinist's rule
- A spring scale or a V-belt tension gauge
- A marker and a notepad
- The drive manufacturer's tension spec sheet
- Safety glasses and lockout gear
The spec sheet matters most. Every drive has a target deflection range, and guessing wastes time. If you've lost the sheet, a quick call to the equipment maker usually gets you the numbers.
If you're working without specialty tools, our guide on how to measure a V-belt without tools walks through the straightedge-and-ruler approach in detail.
The Belt Deflection Method: A Step-by-Step Process
The belt deflection method checks tension by pressing the belt at its midpoint and measuring how far it moves.
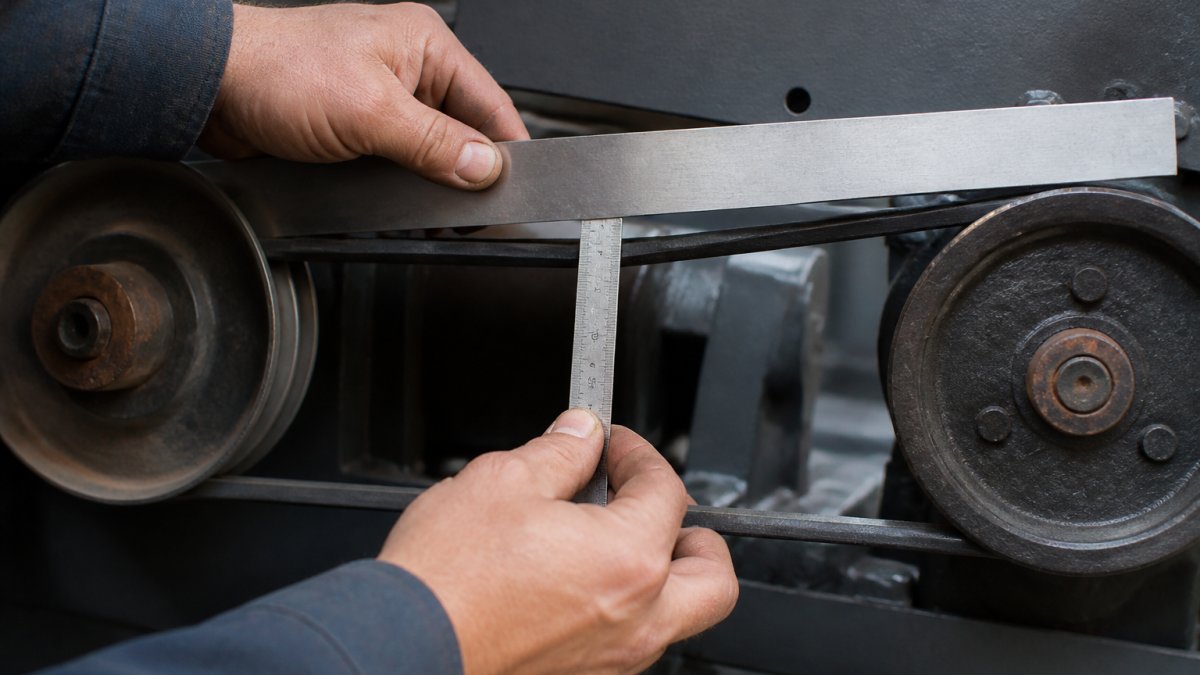
Here is the process:
- Lock out and tag out the drive so it cannot start.
- Lay a straightedge across the tops of both pulleys, resting on the belt.
- Mark the belt's midpoint between the two pulleys.
- Press down firmly at the midpoint with your thumb or a scale.
- Measure how far the belt drops below the straightedge.
- Compare that number to the spec sheet's deflection range.
A common mistake is pressing too gently. The belt should flex under real force, not a light touch. Use a spring scale to apply a consistent load so your readings repeat.
Record every reading. A log turns a one-time check into real data you can trend over time.
Using a V-Belt Tension Gauge for Repeatable Readings
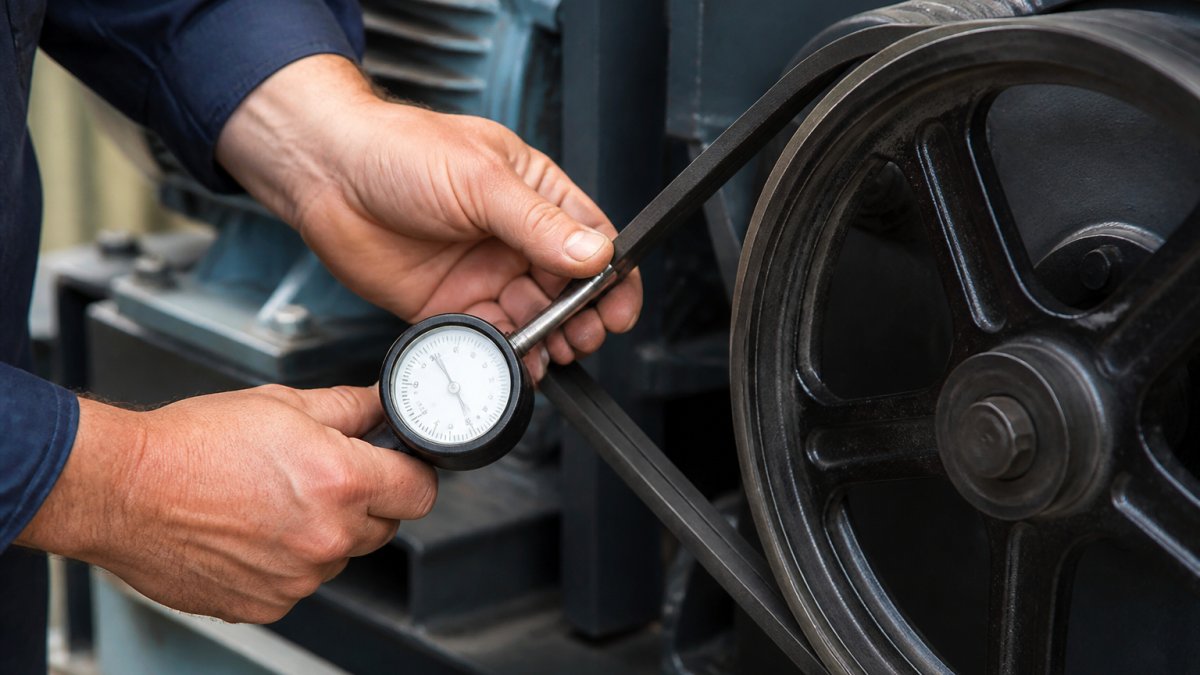
A V-belt tension gauge can be used to check belt tension. The two families, spring/deflection gauges and sonic tension meters, are different types of tools.
Spring deflection gauges: best for standard V-belts
A spring gauge (sometimes called a deflection force gauge) presses the belt a set distance and reads the force required.
To use one correctly:
- Confirm the spec's target deflection (often stated as a fraction of the span, such as 1/64 in. per inch of span) and the matching force value.
- Set the gauge's memory pointer to zero and lock the plunger.
- Place the gauge's foot at the belt midpoint, perpendicular to the belt, with the straightedge still in place.
- Press smoothly until the belt just touches the straightedge at the target deflection.
- Read the force on the scale and compare it to the spec range, not a single number.
The plunger should be square to the belt. Take three readings and average them.
Sonic tension meters: best for cogged, ribbed, and hard-to-reach drives
A sonic meter measures a belt's natural frequency and uses the belt's mass per unit length and span to calculate tension.
Setup matters more than the pluck:
- Enter the correct belt mass (from the manufacturer's data) and the actual span length, guessing either throws the reading off by a wide margin.
- Hold the sensor close to the belt, tap the belt cleanly with a finger or soft mallet, and let the meter capture the frequency.
- Take readings at the same span location each time; moving the sensor changes the harmonic the meter hears.
Choosing between them
| Situation | Better tool | Why |
|---|---|---|
| Standard V-belt, open drive, easy access | Spring deflection gauge | Direct force reading, no belt data needed |
| Cogged or ribbed belt | Sonic meter | Deflection is hard to judge on notched profiles |
| Confined space or long span | Sonic meter | No straightedge required |
| Unknown or generic belt | Spring gauge | Avoids entering unverified mass values |
Whichever tool you use, log the reading, the tool type, and the ambient temperature.
If you are deciding whether to use a gauge or the straightedge method, our guide on how to measure a V-belt without tools covers the straightedge approach.
How to Confirm Correct V-Belt Tension on Any Drive
You can check V-belt tension by matching your deflection or gauge reading to the drive spec.
Watch for these confirmations:
- No squeal at startup or under load
- Belt runs flat and centered on the pulley
- No visible whip or bounce on the slack side
- Normal running temperature, not hot to the touch
Signs of Improper Belt Tension You Should Never Ignore
Our breakdown of symptoms of failing drive belts covers warning signs.
Look for these clues:
- Squealing or chirping at startup or under load
- Black dust building up around the pulleys
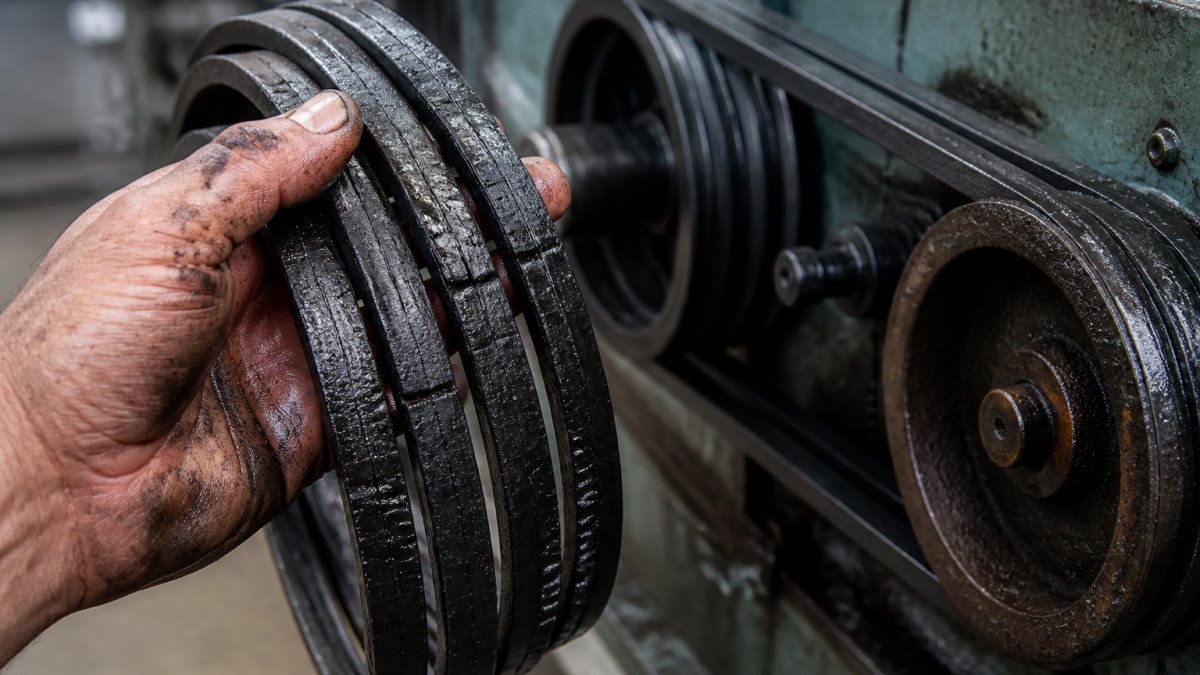
- Glazing or a shiny, hardened surface on the belt flanks
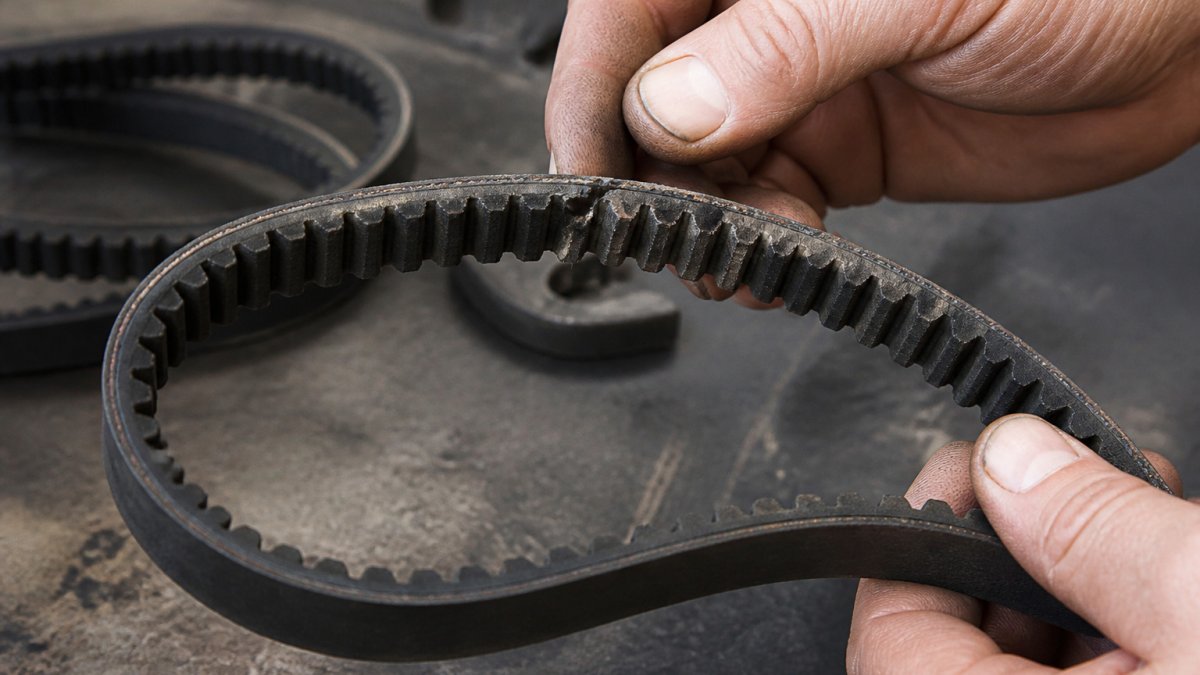
- Cracking across the ribs or along the edges
- Separation where the ribbed section pulls away from the backing
- Edge cord damage from rubbing against a misaligned pulley
- Heat accumulation that leaves the belt too hot to touch
Pulley Misalignment, Heat, and Contamination: What Shortens Belt Life
Keep drives clean and shielded where you can. Wipe down pulleys during checks and fix any oil leaks nearby.
A Preventative Maintenance Schedule for Belt Tension Checks
For the bigger picture, our guide to maintaining industrial drives covers maintenance.
Inspection schedule template
| Interval | Check | Pass criteria | Action if failed |
|---|---|---|---|
| Daily (walk-by) | Listen for squeal, look for dust trails | No squeal, no fresh black dust | Note location, schedule a check |
| Weekly | Belt tracking and pulley condition | Belt centered, no glazing or buildup | Clean pulleys, investigate misalignment |
| Monthly | Visual wear inspection | No cracks, separation, or edge cord damage | Replace belt, log cause |
| Quarterly | Deflection or gauge check | Reading inside spec range | Re-tension to spec, recheck after a shift |
| After break-in | Re-tension new belts | Reading inside spec after first shift | Re-tension once, then recheck |
| Annually | Full alignment check | Straightedge or laser shows no offset | Realign pulleys, replace worn belts |
Reading wear by belt material
- Rubber V-belts typically glaze and harden on the flanks first, then crack across the ribs. Glazing points to slip or contamination; cracking points to age or heat.
- Polyurethane belts tend to wear at the edges and can develop a polished, shiny surface before they crack. Edge wear usually means misalignment.
- Aramid-reinforced cogged belts often show tooth root cracking or cord pull-out before the backing fails. Tooth damage under load suggests over-tensioning or shock loads.
Logging and trending
Record every reading with the date, tool used, ambient temperature, and any corrective action.
Our step-by-step guide to installing replacement wedge V-belts covers installation.
Order the Right Replacement Belt From V-Belt Nation
V-Belt Nation offers classic, wedge, cogged, banded, and lawn and garden belts. Free ground shipping applies on all U.S. orders over $175, and our Price Match Guarantee is available.
If you're installing a new belt, our step-by-step guide to installing replacement wedge V-belts walks you through the process. And when you're deciding whether to re-tension or replace, our industrial belt replacement frequency guide helps you choose.
Get started with V-Belt Nation. Shop our selection of belts and take advantage of free ground shipping on U.S. orders over $175.
Frequently Asked Questions
How much should a V-belt deflect when pressed?
A common rule of thumb is 1/64 inch of deflection for every inch of span between shaft centers. On a 32-inch span, that works out to about 1/2 inch of deflection at the midpoint. Always confirm against the belt manufacturer's specification for your belt section and drive, because cogged, banded, and wedge belts can call for different values. Measure at the center of the span with a straightedge laid across both pulleys so the reading is consistent.
Can you measure belt tension without a tension gauge?
Yes. The belt deflection method needs only a straightedge and a ruler. Lay the straightedge across the two pulleys, press down on the belt at the midpoint of the span, and measure how far it moves. Compare that number to the deflection your belt manufacturer specifies. A V-belt tension gauge gives more repeatable readings and is worth the investment if you check multiple drives regularly, but the deflection method is accurate enough for most routine checks.
What are the signs of improper belt tension?
Too loose shows up as slippage, squealing on startup, and glazed or shiny pulley flanks. Too tight shows up as running noise, vibration, heat accumulation at the bearings, and edge cord damage. Either way, you may see cracking, separation, or tooth shear on a cogged belt well before its expected service life. If a belt fails early, check tension and pulley misalignment before installing a replacement, or the new belt will fail the same way.
How often should industrial belt tension be checked?
Check tension after the first 24 to 48 hours of running on a new belt, since belts seat into the groove and lose some tension initially. After that, inspect monthly for critical drives and quarterly for less demanding ones. Add a check whenever you hear new running noise, see vibration, or notice belt dust around the drive. Keep a simple log of deflection readings and dates so you can spot a belt that keeps loosening.