 how-to
How to Install Replacement Wedge V-Belts: Step-by-Step
Last Updated: October 23, 2026
Quick Summary
To install replacement wedge V-belts, lock out the machine, confirm the correct section and length, clean and align the sheaves, then loosen the drive and walk the belt on by hand without prying. Tension it with a gauge to the drive manufacturer's spec and retension after the first hour and first full shift.
- Lock out and tag the disconnect, release stored energy, and test the start control before opening the guard.
- Wedge sections are deeper and narrower than classical A, B, C, and D sections at the same top width.
- A 5V belt measures 5/8 inch at the top, a 3V measures 3/8 inch, and an 8V measures 1 inch.
- Never pry a belt over a sheave; loosen the drive unit until the belt goes slack and lift it off by hand.
- Replace the whole matched set at once and never mix a new belt with worn ones on the same drive.
Table of Contents
- Safety First: Lockout, Tagout, and Pre-Installation Checks
- How to Measure a Wedge V-Belt for the Correct Replacement
- Inspecting and Cleaning Pulleys and Sheaves Before Installation
- V-Belt Pulley Alignment: Checking and Correcting with a Straightedge
- Removing the Old Belt and Loosening the Drive Unit
- Installing Replacement Wedge V-Belts Without Forcing
- Wedge V-Belt Tensioning: Deflection, Force, and Retensioning
- Matched Set V-Belts and Post-Installation Run-In
- Frequently Asked Questions
Safety First: Lockout, Tagout, and Pre-Installation Checks
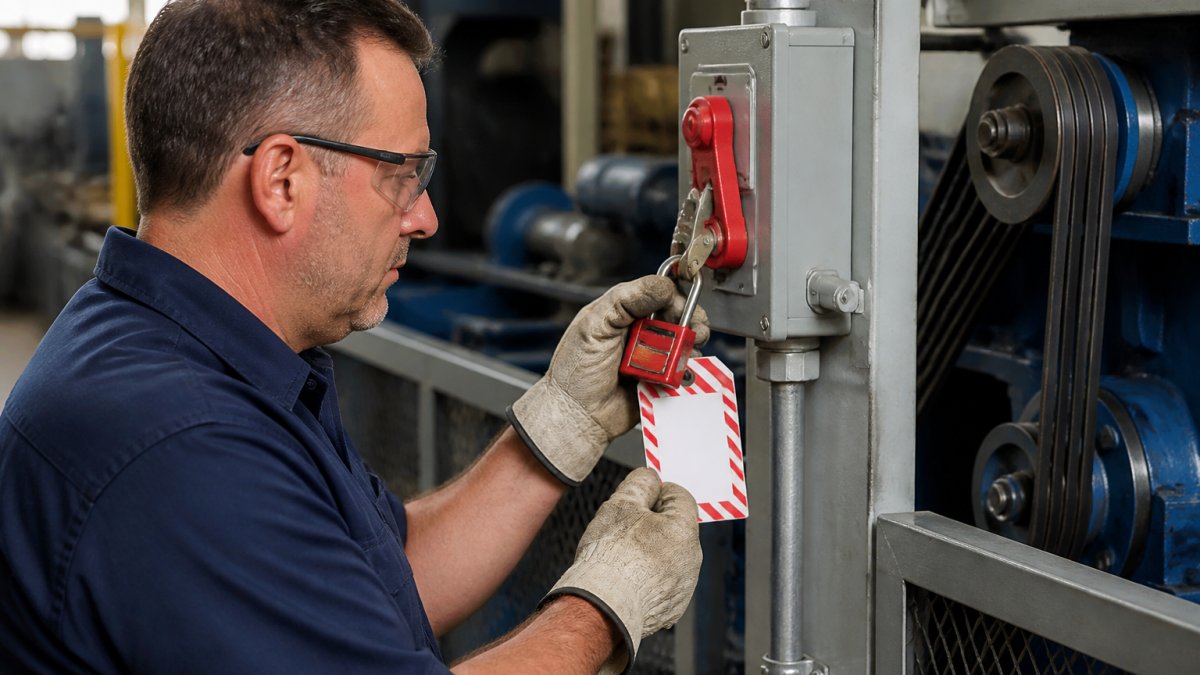
Installing replacement wedge V-belts starts with one rule: the machine must be dead and stay dead. Cut the power, lock the disconnect, and tag it.
Here is the shutdown sequence we recommend:
- Shut down the machine through its normal stop sequence
- Open the main disconnect and apply a personal padlock
- Attach a tag with your name and the date
Never trust a stop button alone. Someone else can press start.
How to Measure a Wedge V-Belt for the Correct Replacement
A wedge V-belt is not a classic V-belt with a different label. Wedge sections (3V, 5V, 8V, and the metric SP series) are deeper and narrower than classical A, B, C, and D sections at the same top width, so the belt wedges farther into the groove and transmits more load per unit of width. A classical belt will sit too high in a wedge groove, grip on a smaller contact patch, and wear out fast.
Step 1: Read the belt markings
Every wedge belt carries a section code molded or printed on the back. Common codes you will see:
- 3V, 5V, 8V, the standard inch-series wedge profiles
- SPZ, SPA, SPB, SPC, the metric wedge profiles, which are dimensionally similar to 3V/5V/8V but not identical
- 3VX, 5VX, 8VX, cogged (raw-edge) versions of the same wedge sections
Write down the full code, including any prefix or suffix. "5VX 900" is a cogged 5V section with a 90-inch outside length; "SPB 2240" is a metric SPB section with a 2,240-millimeter pitch length. Mixing inch and metric designations is a common ordering error.
Step 2: Measure outside length and top width
If the marking is worn off, measure the old belt before you discard it:
- Outside length, wrap a tape measure around the belt's outer circumference with the belt laid flat and unstretched. A worn belt reads slightly long, so treat the result as a starting point and confirm against the machine's spec plate.
- Top width, measure across the widest point of the belt's cross-section with calipers. A 5V belt measures 5/8 inch at the top; a 3V measures 3/8 inch; an 8V measures 1 inch. Metric SP sections have their own nominal widths (SPZ 10 mm, SPA 13 mm, SPB 17 mm, SPC 22 mm).
- Depth, measure from the top edge to the bottom edge. Wedge belts are deeper relative to width than classical belts, and this ratio is the quickest way to confirm you have a wedge profile rather than a classical one.
Step 3: Confirm drive compatibility
A belt that matches the old belt's dimensions is not automatically the right belt. Check the drive's spec plate or manual for the specified section, length, and quantity. Some drives will not tolerate a substitution, even one with the same top width, because the groove angle and depth are matched to that profile. If the spec plate is missing, contact the manufacturer with the model and serial number before ordering.
Once you have the section, length, and quantity confirmed against the drive spec, buy replacement wedge V-belts online using those exact numbers.
Inspecting and Cleaning Pulleys and Sheaves Before Installation
Dirt in a sheave groove is a belt killer. A new wedge belt seated on rust, grit, or old rubber will slip, squeal, and wear out early.
Inspect each sheave for:
- Rust and pitting in the groove
- Burrs or nicks on the groove walls
- A wear step or ridge near the bottom of the groove
Clean with a stiff brush and a solvent-safe cloth. Never use a sharp scraper on the groove walls. A gouge there cuts the belt.
Groove wear matters more than most people think: as the walls wear, the belt sinks deeper and loses grip. For the full procedure, see our guide on how to clean V-belt pulleys properly.
Occupational Safety and Health Administration machine guarding guidance is a useful reference for guard condition while you have the cover off.
V-Belt Pulley Alignment: Checking and Correcting with a Straightedge
Misalignment is the quiet cause of most short belt life. A belt running out of line wears its sidewalls, throws heat, and can walk off the sheave.
The straightedge method works for most drives:
- Lay a straightedge across the face of both sheaves
- Check that it touches both rims evenly
- Look for a gap on one side, which signals angular misalignment
- Check offset too: the sheave faces should sit in line with each other
Correct small errors by shifting the motor or drive unit on its base.
If you are new to this check, our pulley alignment guide for beginners walks through the straightedge method step by step.
Removing the Old Belt and Loosening the Drive Unit
Never pry a belt over a sheave. That stretches the cords, damages the sheave edge, and can crack a cast pulley. The belt comes off only after the drive is loosened.
Loosen the drive unit in this order:
- Loosen the motor or tensioner mounting bolts
- Back off the tension adjuster until the belt goes slack
- Slide the motor toward the driven sheave to shorten the center distance
If the old belt will not budge, it may be seized or bonded to the groove. Do not force it with a screwdriver; our guide on how to safely remove a seized V-belt from a motor covers the safe method.
While the old belt is off, check the shafts. A worn shaft or a spun bushing will ruin a new belt fast.
Installing Replacement Wedge V-Belts Without Forcing
A wedge belt should drop into the grooves by hand. If it needs force, something is wrong: the wrong profile, the wrong length, or the drive is still too tight.
Install in this order:
- Seat the belt in the driven sheave groove first
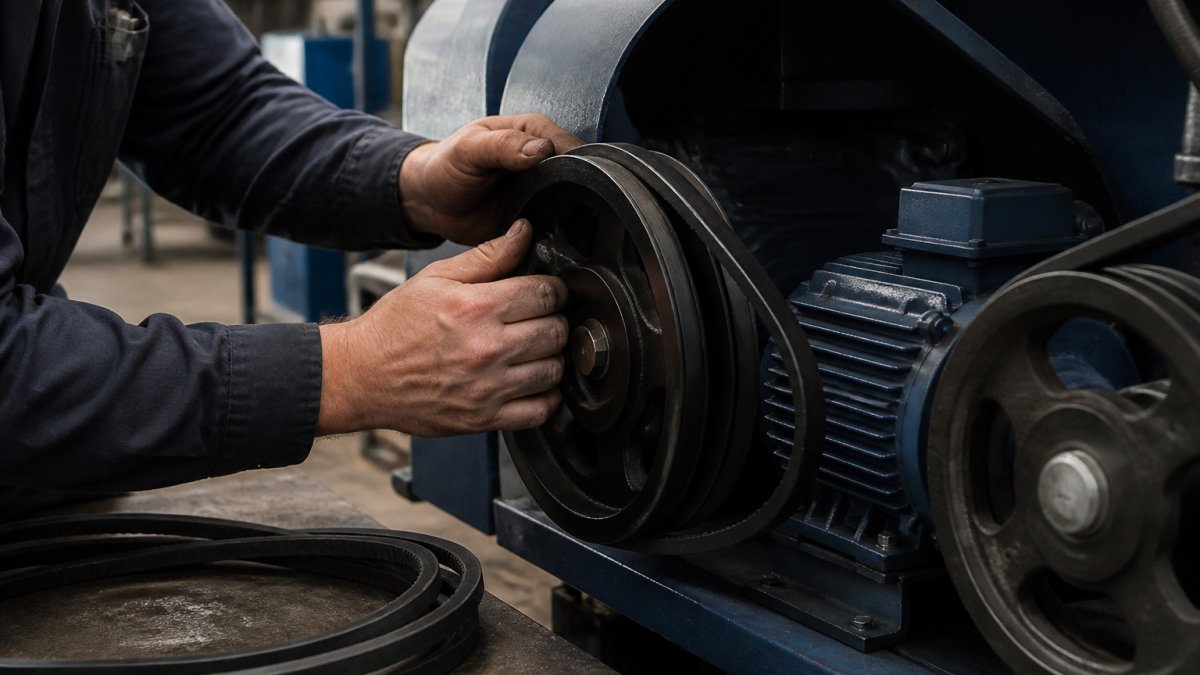
- Walk it onto the drive sheave by hand, rotating the sheave as you go
- Confirm the belt sits fully in both grooves, not riding on the groove edges
- Check that the belt back is level with the sheave rim
On multi-groove drives, fit the full set at once. Never mix a new belt with worn ones on the same drive. The new belt carries more load, and the set fails early.
Wedge V-Belt Tensioning: Deflection, Force, and Retensioning
Wedge V-belt tensioning is where most installation jobs succeed or fail. Too loose and the belt slips, glazes, and burns; too tight and it overloads bearings and stretches the cords. The deflection method is the standard field procedure, but it only works if you apply a measured force and compare the result to a specification, not to a feeling.
The deflection-force procedure
- Set the center distance to the drive manufacturer's specification. If you do not have the spec, set it so the belt has roughly 1/4 inch of slack at the midpoint before tensioning.
- Lay a straightedge across the tops of both sheaves, touching both rims.
- Measure the span length, the straight-line distance between the points where the belt leaves each sheave.
- Apply a perpendicular force at the belt midpoint using a spring scale or belt tension gauge. Push until the belt deflects to the target amount.
- Read the force at the target deflection and compare it to the drive manufacturer's specification for your belt section and span length.
A common field rule is 1/64 inch of deflection per inch of span, with roughly 10 to 15 pounds of force for 3V and 5V sections and 15 to 20 pounds for 8V sections. Treat those as starting points only: the drive manufacturer's specification always overrides any rule of thumb, and the correct force depends on belt section, span length, and design load.
Why a force gauge beats thumb pressure
Thumb pressure is not repeatable: two technicians press with different force and read different deflections, and neither tells you whether the belt is at the specified tension. A spring scale or belt tension gauge gives you a number you can compare to a spec and record for the next interval. Tension by feel and you are guessing, a belt 20 percent under-tensioned will slip and fail long before its rated life.
Retensioning after run-in
New wedge belts stretch as they seat into the grooves. Plan on two retensioning checks:
- After the first 30 minutes to 1 hour of operation, new belts settle quickly, and tension drops measurably in that first run.
- After the first full shift (8 hours) of operation, check again and retension to spec if needed.
After that, follow the drive manufacturer's recommended inspection interval, commonly every 500 operating hours or at each scheduled maintenance interval, whichever comes first. Record the force and deflection at each check to spot a belt losing tension faster than normal, often the first sign of a worn sheave or failing tensioner.
For a deeper walkthrough, read our V-belt tensioning guide for maximum life. It covers force gauges and retensioning intervals in detail.
Mechanical power transmission guidance from the American Society of Mechanical Engineers is a helpful reference for drive standards.
Matched Set V-Belts and Post-Installation Run-In
Matched set V-belts are made and coded to run together as one set, so each belt carries its share of the load.
Follow these rules for sets:
- Replace the whole set, never one belt at a time
- Keep the matching code from the same set together
- Check that all belts in the set sit at the same tension
After installation, run the drive briefly and recheck.
Watch for these signs during run-in:
| Symptom | Likely Cause | Fix |
|---|---|---|
| Squeal at startup | Belt too loose | Retension to spec |
| Heat and smell | Belt too tight or misaligned | Check tension and alignment |
| Belt walking off | Misalignment | Realign with straightedge |
| Uneven wear on one side | Worn sheave groove | Replace the sheave |
Belt drive maintenance guidance from the Engineering ToolBox is a handy reference for tension and alignment checks.
At V-Belt Nation, we stock classic and wedge profiles, cogged, banded, and lawn and garden belts, so you can match the section and length you measured.
A belt that fails early usually points back to one of three things: a dirty groove, a misaligned sheave, or the wrong tension. Get those right and a replacement wedge V-belt will run quietly for its full service life.
Frequently Asked Questions
How do you install a replacement wedge V-belt?
Start by locking out the power and confirming the machine cannot start. Inspect and clean the sheave grooves, check pulley alignment with a straightedge, and loosen the drive unit to reduce belt tension. Slide the new wedge V-belt into the grooves by hand, never prying it over the sheave flange. Retension to the belt manufacturer's deflection specification, retighten the drive, and run the machine for 15-30 minutes before checking tension again.
How tight should a wedge V-belt be?
Set tension by measuring deflection at the center of the belt span. Apply a force perpendicular to the belt and compare the deflection to the belt maker's chart for that profile and center distance. A common starting point is about 1/64 inch of deflection per inch of span, but always confirm with the specific wedge V-belt tensioning data. Too loose causes slip and squeal; too tight overloads bearings and shortens belt life.
Do wedge V-belts need to be installed as a matched set?
Yes, when a drive uses two or more belts, install matched set V-belts from the same production batch. Mixing a new belt with worn belts, or pairing belts from different batches, causes uneven load sharing, vibration, and premature failure. Replace the full set at once, and verify the matched set code on each belt before installation.
When should a replacement wedge V-belt be retensioned?
Retension after the first 15-30 minutes of run-in, then again after roughly 24 hours of operation. New belts seat into the sheave grooves and lose some initial tension. Check deflection with the same method used at installation and adjust to the recommended value. After that, inspect tension during routine maintenance and any time you notice slip, noise, or vibration.